Enrich Discord user profiles with community verification
Enrich member profiles to get full visibility into your community.
Product Update
Common Room is a GTM and sales pipeline platform focused on unifying intent and buying signals, enriching contacts and accounts with AI-powered context, and activating precise pipeline plays. Learn more.
Community activity remains supported as one of many possible sources of intent within the broader set of GTM signals. Some resources below reflect earlier community-led examples and may be outdated.
Overview
Discord communities are a treasure trove of business-relevant conversations, helpful product feedback, and, of course, premium memes. But, it’s hard to prioritize what to pay attention to or surface insights to your team when you’re not sure who’s doing the talking.
That’s because anonymity is the default mode for Discord — this makes it difficult to tie users to the identities recorded in your product and CRM and to get a holistic picture of your community. But not anymore.
In this playbook, we’ll show you how to automatically enrich user profiles to get full visibility into your Discord community. You’ll create a simple workflow that verifies the identity of a community member in order for them to gain access to messages and the ability to post in channels.
Preparation
Before you get started on this playbook, there are a few preparation steps for you to consider if you have an existing Discord server. Take some time to read through the suggestions below, and feel free to reach out to our Customer Success team if you need more guidance.
Tools and permissions
Verification options
You have two options to choose for verification.
- Verify your entire community. This is the option we recommend, as it provides the highest conversion rate (how many users wind up verifying), and gives you the most accurate information about your community members. This playbook focuses solely on this option.
- Provide special access only for verified contacts. This option allows you to still verify some of your contacts if you have high-value content that you want to provide access to for a smaller group of verified contacts.
Rollout plan
Prior to enabling the verification workflow, we strongly recommend getting buy-in from both your team and community members. Here are a few things to consider.
- Get internal buy-in. Meet with key internal stakeholders and employees actively moderating and participating in your Discord server, such as Developer Advocates. Share with them your reasoning and plan for verification.
- Brief key community members. Align with key community members, such as moderators and champions, on your reasoning and plan for verification. Partner together with them in spreading the message, where possible.
- Create messaging assets. Start building assets, including the pre-launch announcement for the whole community, the messaging for the verification prompt, and the copy for the bot. We have some examples available at the bottom of this playbook in the appendix.
- Tell your community. Communicate what community should expect to happen and when, what they’ll need to do to verify, and why. Address any questions or concerns from the community about the verification process.
- Launch community verification by following this playbook.
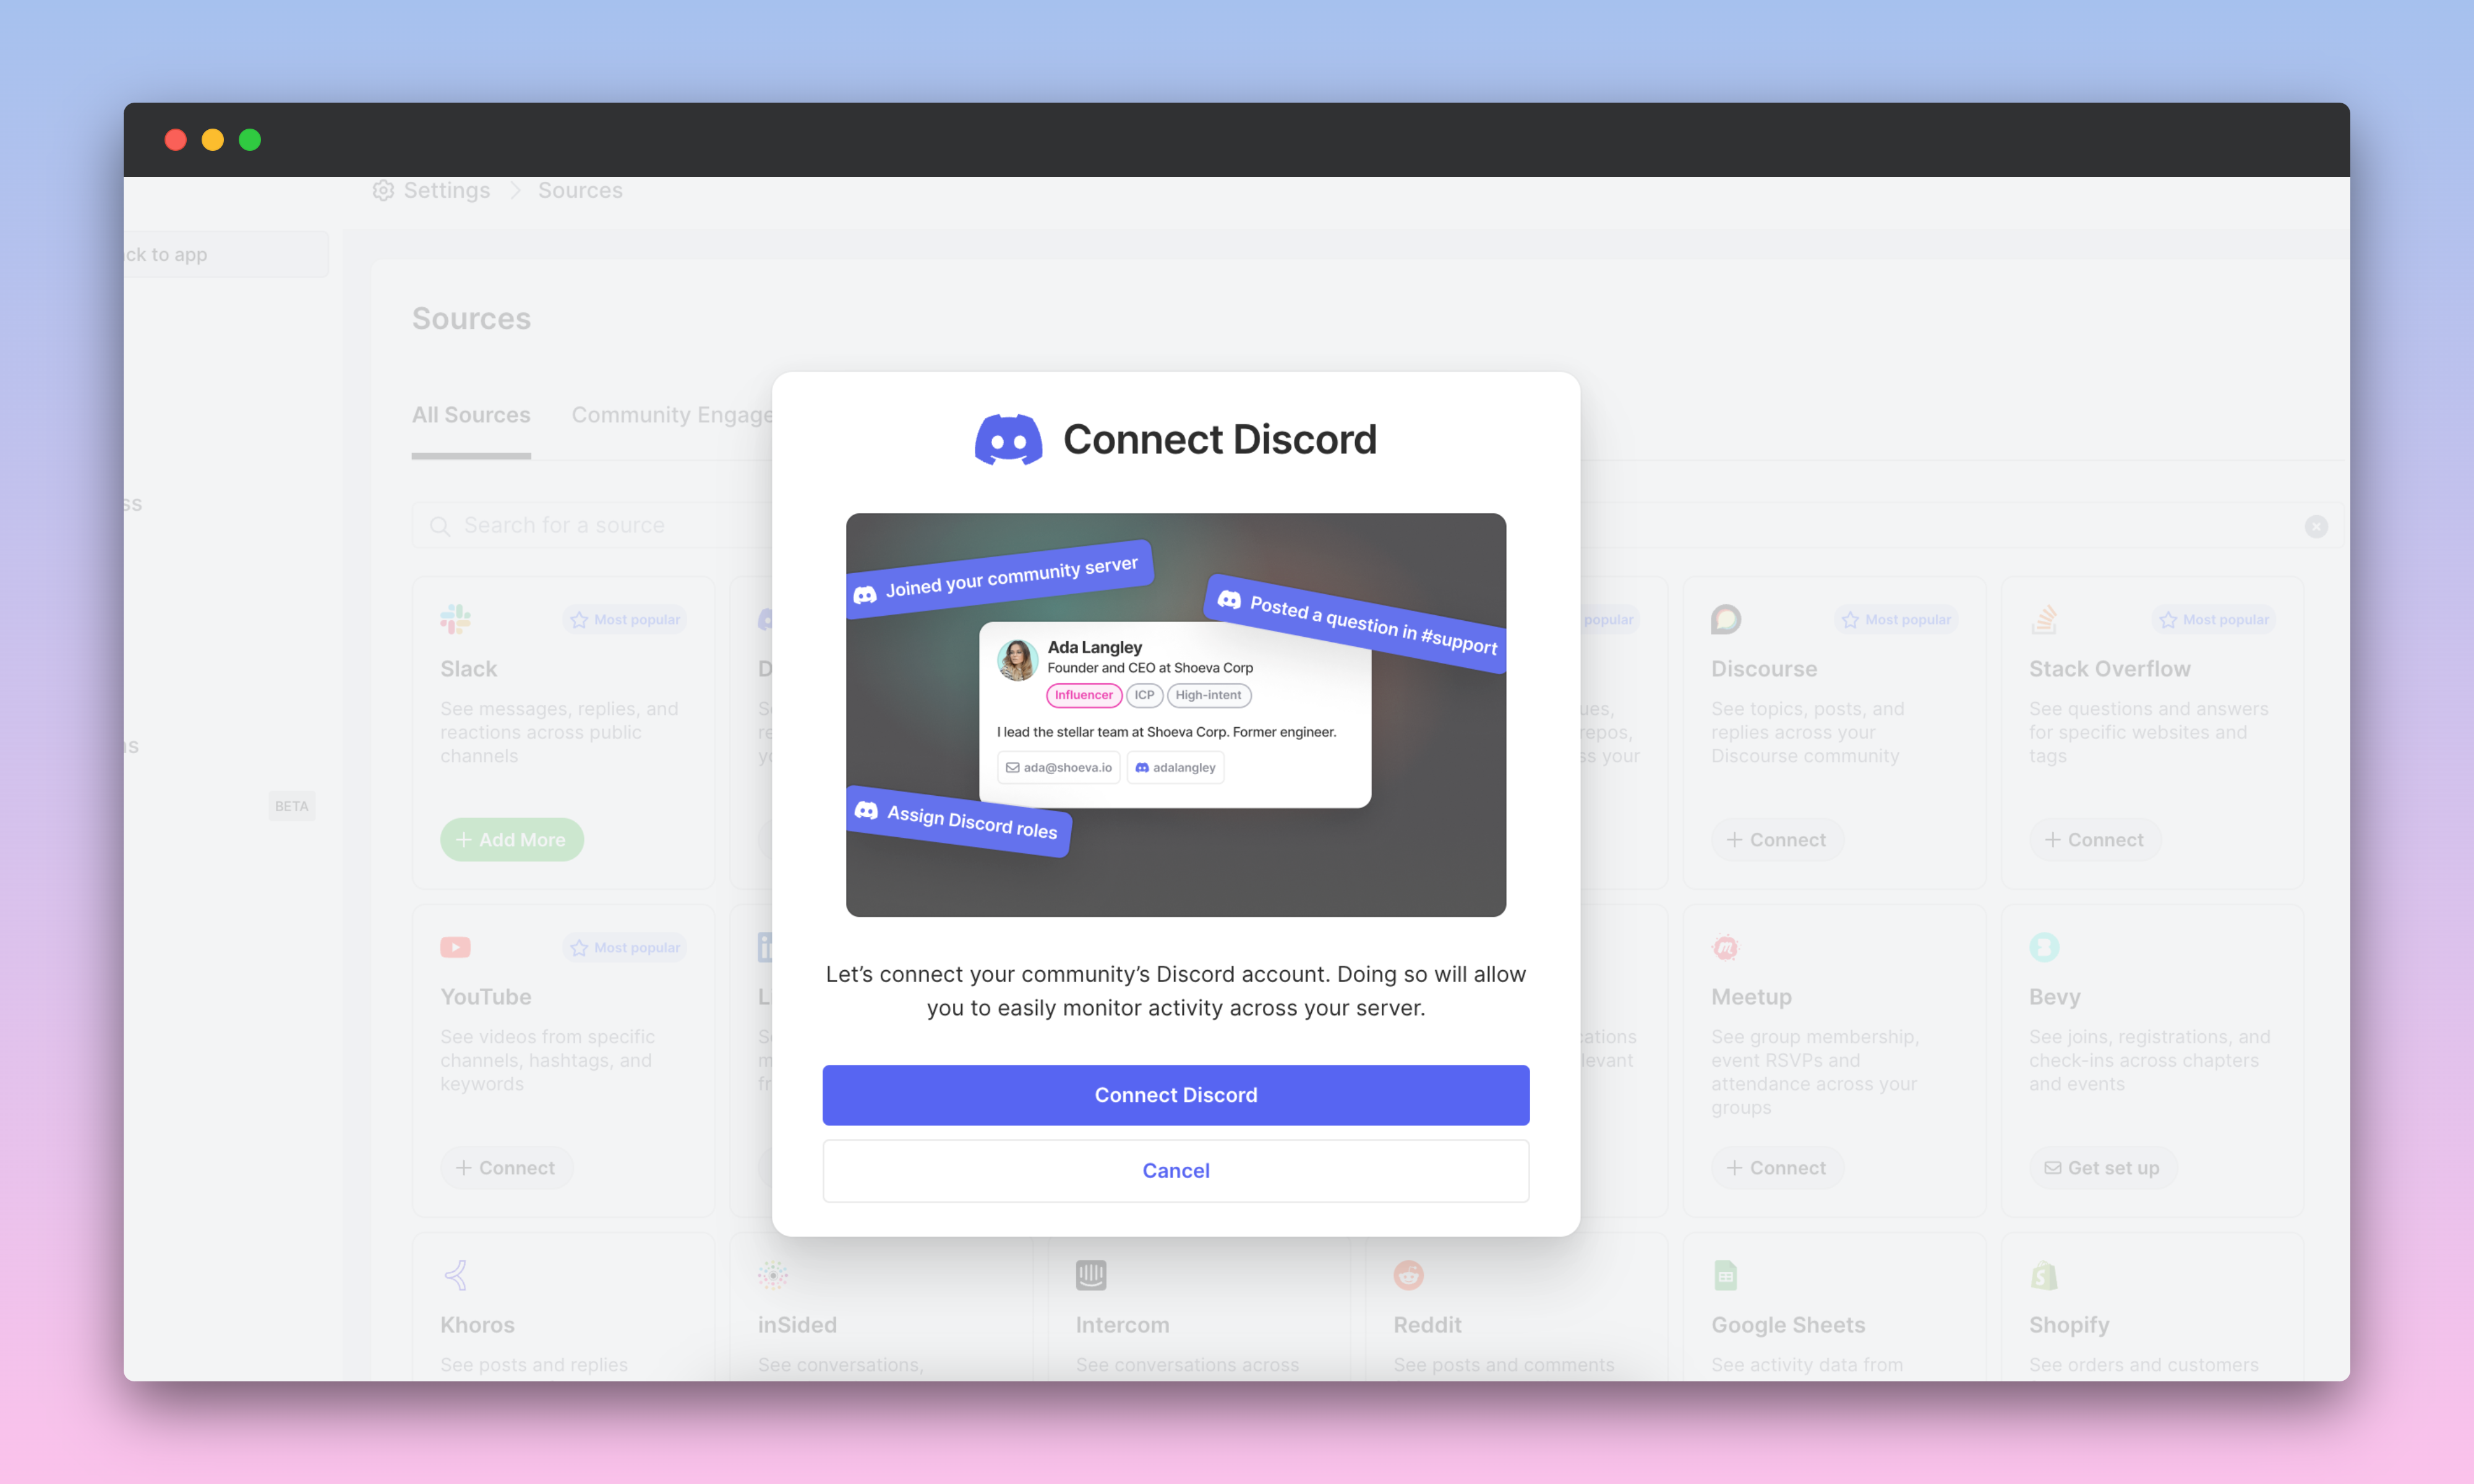
Step 1: Connect Common Room to Discord
Before setting up your Discord verification workflow, connect Common Room to your Discord server by following the interactive guide below (see the full setup guide here). Once you’ve completed the connection, a new role named Community Verification will be created on Discord.
Step 2: Configure Discord server roles
After connecting Discord with Common Room, you’ll need to configure your server roles and permissions in Discord.
- Click your server name in the top-left corner, then select Server Settings.
- Open the Roles page from within Server Settings. You’ll notice a Community Verification role has been created already, but you don’t need to do anything with this role yet.
- Click Create Role to create a new, dedicated role that you want to use to verify identities—for example, one called Verified.
- Click Permissions for the Verified role, and toggle on the permission options for View Channels and Read Message History. You can enable other permissions for this role as desired. Click Save Changes when you’re done.
Step 3: Configure Discord verification channels
Next, you’ll create a new text channel to be used for verifying new users — we recommend naming it #start-here. You can also use an existing channel if you have one you’d prefer to use.
- Click the + icon next to Text Channels to create a new channel.
- Name the channel something like #start-here, and then click Create Channel.
Step 4: Create a Common Room workflow
In this step you’ll create the Discord onboarding and verification workflow in Common Room. This workflow enables you to set the expectation that users need to verify their identities to gain access to your community, and creates the verification steps for them to follow.
- Open Workflows in Common Room, click View all templates, and select the Discord onboarding and verification template.
- Connect Discord for automation. If this is your first time building a Discord workflow in Common Room, you'll need to first click "Connect Discord for automation" in order to create the Roomie role in Discord. The Roomie role handles all messages in Discord that are created from Common Room.
- Select a channel you want to use to post the initial onboarding welcome message.
- Open Discord → Server Settings → Roles, and drag the newly created Roomie role above Community Verification and Verified. This ensures that Common Room can automatically assign the Verified role upon verification.
- Go back to your Common Room workflow and add an onboarding welcome message to one of your Discord channels.
- Add the verification message and the text for the verification button.
- Assign a Discord role for verified members. This should match the role you have already created in Discord.
- Optionally, add a survey question to send to verified members. This is helpful for asking for more details about your members, like their role, industry, etc.
- Review your workflow and make sure you’re ready to save it. Remember: once you save this workflow, we’ll post your survey to Discord and start recording your member responses.
- Click Save to publish your workflow and post your onboarding welcome message.
Step 5: Launch the member verification process
After completing Step 4, immediately navigate back to your Discord server to finalize and launch the verification process. In this step you’ll restrict access to most or all channels in your Discord server except for members who have verified their identity and have been assigned the Verified role.
- Click your server name in the top-left corner, then select Server Settings → Roles.
- Click Default Permissions at the top of the Roles page.
- Click “Clear permissions” to remove all permissions and access to channels for the @everyone role, then click Save Changes.
- Open the channel settings for #start-here and open the Permissions page.
- Under Roles/Members, select @everyone and toggle on the option permission to View Channel. Click Save Changes when you’re done.
Step 6: Monitor the verification process in your community
We recommend paying close attention to your community after launching the verification process, and responding to any community member questions that arise during this time.
By completing this playbook, you’ll know exactly who your community members are, enabling you to prioritize the activities and insights in your community.
FAQs
What’s the difference between the Roomie and Community Verification roles?
The Community Verification role can assign roles to members, and read posts from channels it has been authorized to access. This role is created automatically when you first connect Discord to Common Room.
The Roomie role handles all messages in Discord that are created from Common Room workflows. This role is automatically created when you create and save a Common Room workflow that sends messages to Discord.
Can I edit my workflow after it’s saved?
Yes, you can edit a workflow anytime. With the Discord onboarding and verification workflow, we’ll post your updated message after it’s edited and saved, so we suggest deleting any old Discord posts after that occurs.
I received an error message when creating a Common Room workflow.
If you see the error message, “Roomie bot does not have permissions to the selected channels. Please make sure Roomie bot is invited to the channel if it is a private channel.”, the Roomie role may have not been given permission to access your #start-here channel. Go to the channel settings → Permissions → Roles/Members, click the + icon, and add the Roomie
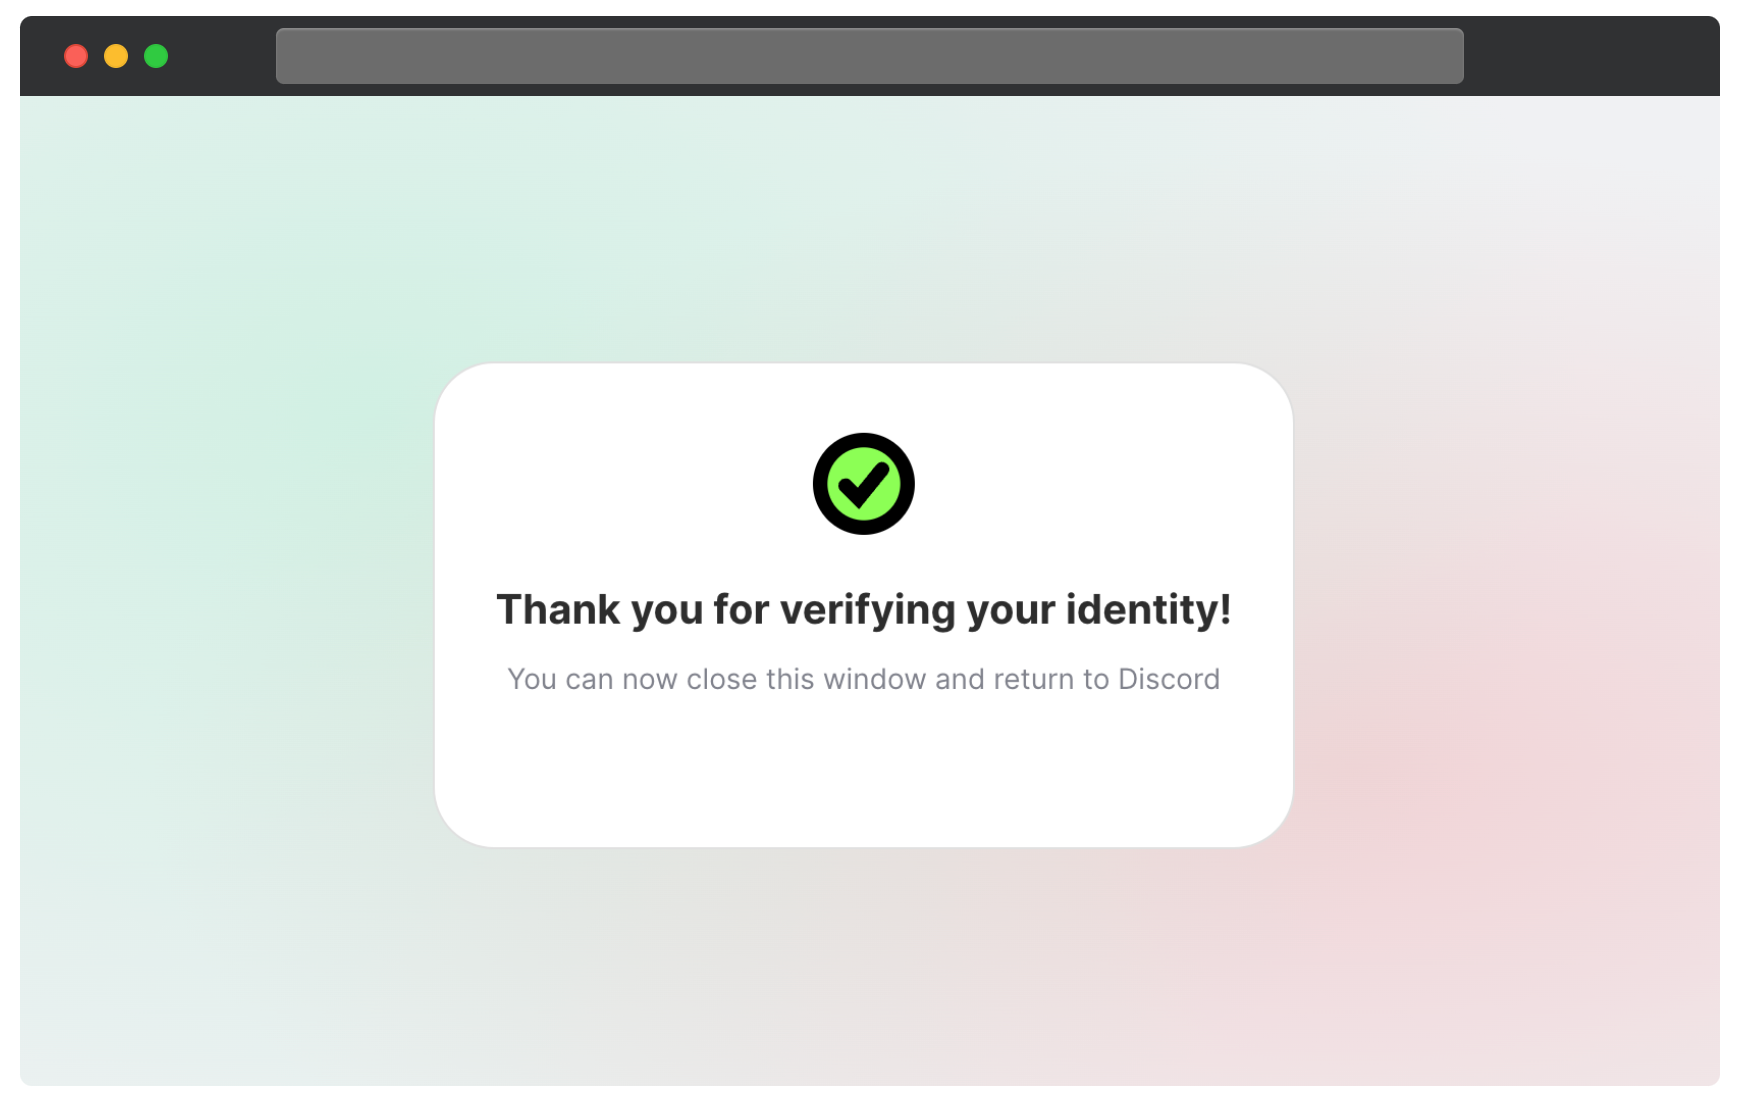
Can I customize the verification success landing page?
Yes. The default option will only show the message, “Thank you for verifying your identity!”, but you can customize the lading page to include different text. Here’s an example.
Should I expect 100% verification success?
It is unlikely that 100% of your current members will end up verifying. This is due to a couple of reasons:
- If a member is no longer active, they may not be engaged enough to be aware of the verification process & complete the steps
- Some members may prefer to simply read and explore the server without going through this process
With those reasons in mind, the verification process will enable you to easily spot those members who are likely to be active participants in your community.
What if some members can’t see the Community Verification bot?
If members mention not being able to properly see the Community Verification bot, ensure they have enabled the “Show embeds and preview website links pasted into chat” option. To check, go to Discord User Settings → Text & Images → Embed and link previews
What should I do if I have other Discord bots in my server?
If your Discord server has other existing bots you should confirm that they still have the right permissions to function in any channels that may have become restricted during the verification setup above. In some instances you may need to manually give those bots the Verified role so they can continue working correctly.
What should I do if I have other channels that I want new members to see before verifying?
Some communities might want to include a few other channels that everyone can view right off the bat, like #community-rules. If you’d like to do something similar, open the channel settings and make sure that the everyone role has permission to view those channels. And, make sure that #start-here is the top-most channel in the list so it’s the first thing new members see.
Appendix
Example of a pre-launch announcement post
The purpose of the pre-launch announcement is to share your reasoning for the process and set expectations for the whole community. Typically, this is posted by a company employee so the community knows to trust the information being shared with them. It should cover the following:
- Why you’re launching a verification bot for the community
- When the verification process will launch
- What you want the members to do
Here’s an example:
Hi all! Name here from team.
We believe that to build a safe and inclusive community—one that fosters an environment where we can better support and collaborate together—requires knowing who is participating and engaging in this great community of ours.
With that in mind, we’ll soon be asking you all to verify your identities in order to unlock channels, roles, and permissions.
On launch date we’ll be launching the Community Verification bot and you’ll all be moved to the #start-here channel. Click the link posted by the bot and in a few easy steps, you’ll have verified your identity and unlocked full access.
Verification announcement
The purpose of the verification announcement is to provide instructions on how a community member can verify their identity to unlock additional channels, roles, permissions, etc.
While it can be a simple text post, a short video walking through the process can help make the content more engaging and authentic. This prompt is typically posted in a #start-here channel.
Here’s an example:
Welcome to Community Name!
We believe in building a safe and supportive community, and we need your help. In just a few easy steps, you can verify your identity to unlock more channels.
Click the “Verify me!” link below posted by Community Verification bot to get started!
Verification prompt
This is the message posted by the Community Verification bot asking members to click the link to verify.
Here's an example:
Please verify your identity to unlock more channels. Verify me!
We think you'd like these
Playbook
Onboard and verify new members in your Discord server
Personalize your Discord community experience while de-anonymizing members.
Blog post
Using Discord for community management
Nov 15th, 2022·9min readA look at Discord: how community leaders use it for building community and tips for engagement as well as how to track your progress with the platform.