Enrich Gmail signups with firmographic info
Automatically find the person and company behind the personal email.
Overview
Product-led growth (PLG) business models come with a lot of pros.
To name a few:
✅ Users prefer to self-serve products rather than talking with sales reps.
✅ Lead acquisition becomes easier as the barrier to entry and commitment is lower.
✅ You get all sorts of intent data from users evaluating the product.
While the benefits often outweigh the drawbacks, there are some challenges that come from a product-led approach to growth.
One challenge is the influx of inbound users who sign up using a personal email.
Gmail often makes up the bulk of the volume here, but other free email providers like iCloud, Outlook, Yahoo, and even AOL show up.
And even though it’s sometimes possible to find the person behind the ISP email address, it’s a painstaking process (e.g., search the person's name if it’s in the email handle + LinkedIn and manually input details from any matches).
In this playbook, we'll show you how to bypass the painstaking Gmail enrichment process and automatically enrich leads with firmographic info using Common Room.
Let’s do this!
What you’ll need
Step 1: Import users via CSV or Google Sheet
The easiest way to test Gmail enrichment is to import a CSV or sheet into Common Room.
We suggest starting with anywhere from 100-1000 users who recently signed up for a free trial using a personal email address. Gmail typically makes up about 80-90% of these users.
You’ll need to Request a demo if you haven’t already. From there, you can click to jump into the Members view.
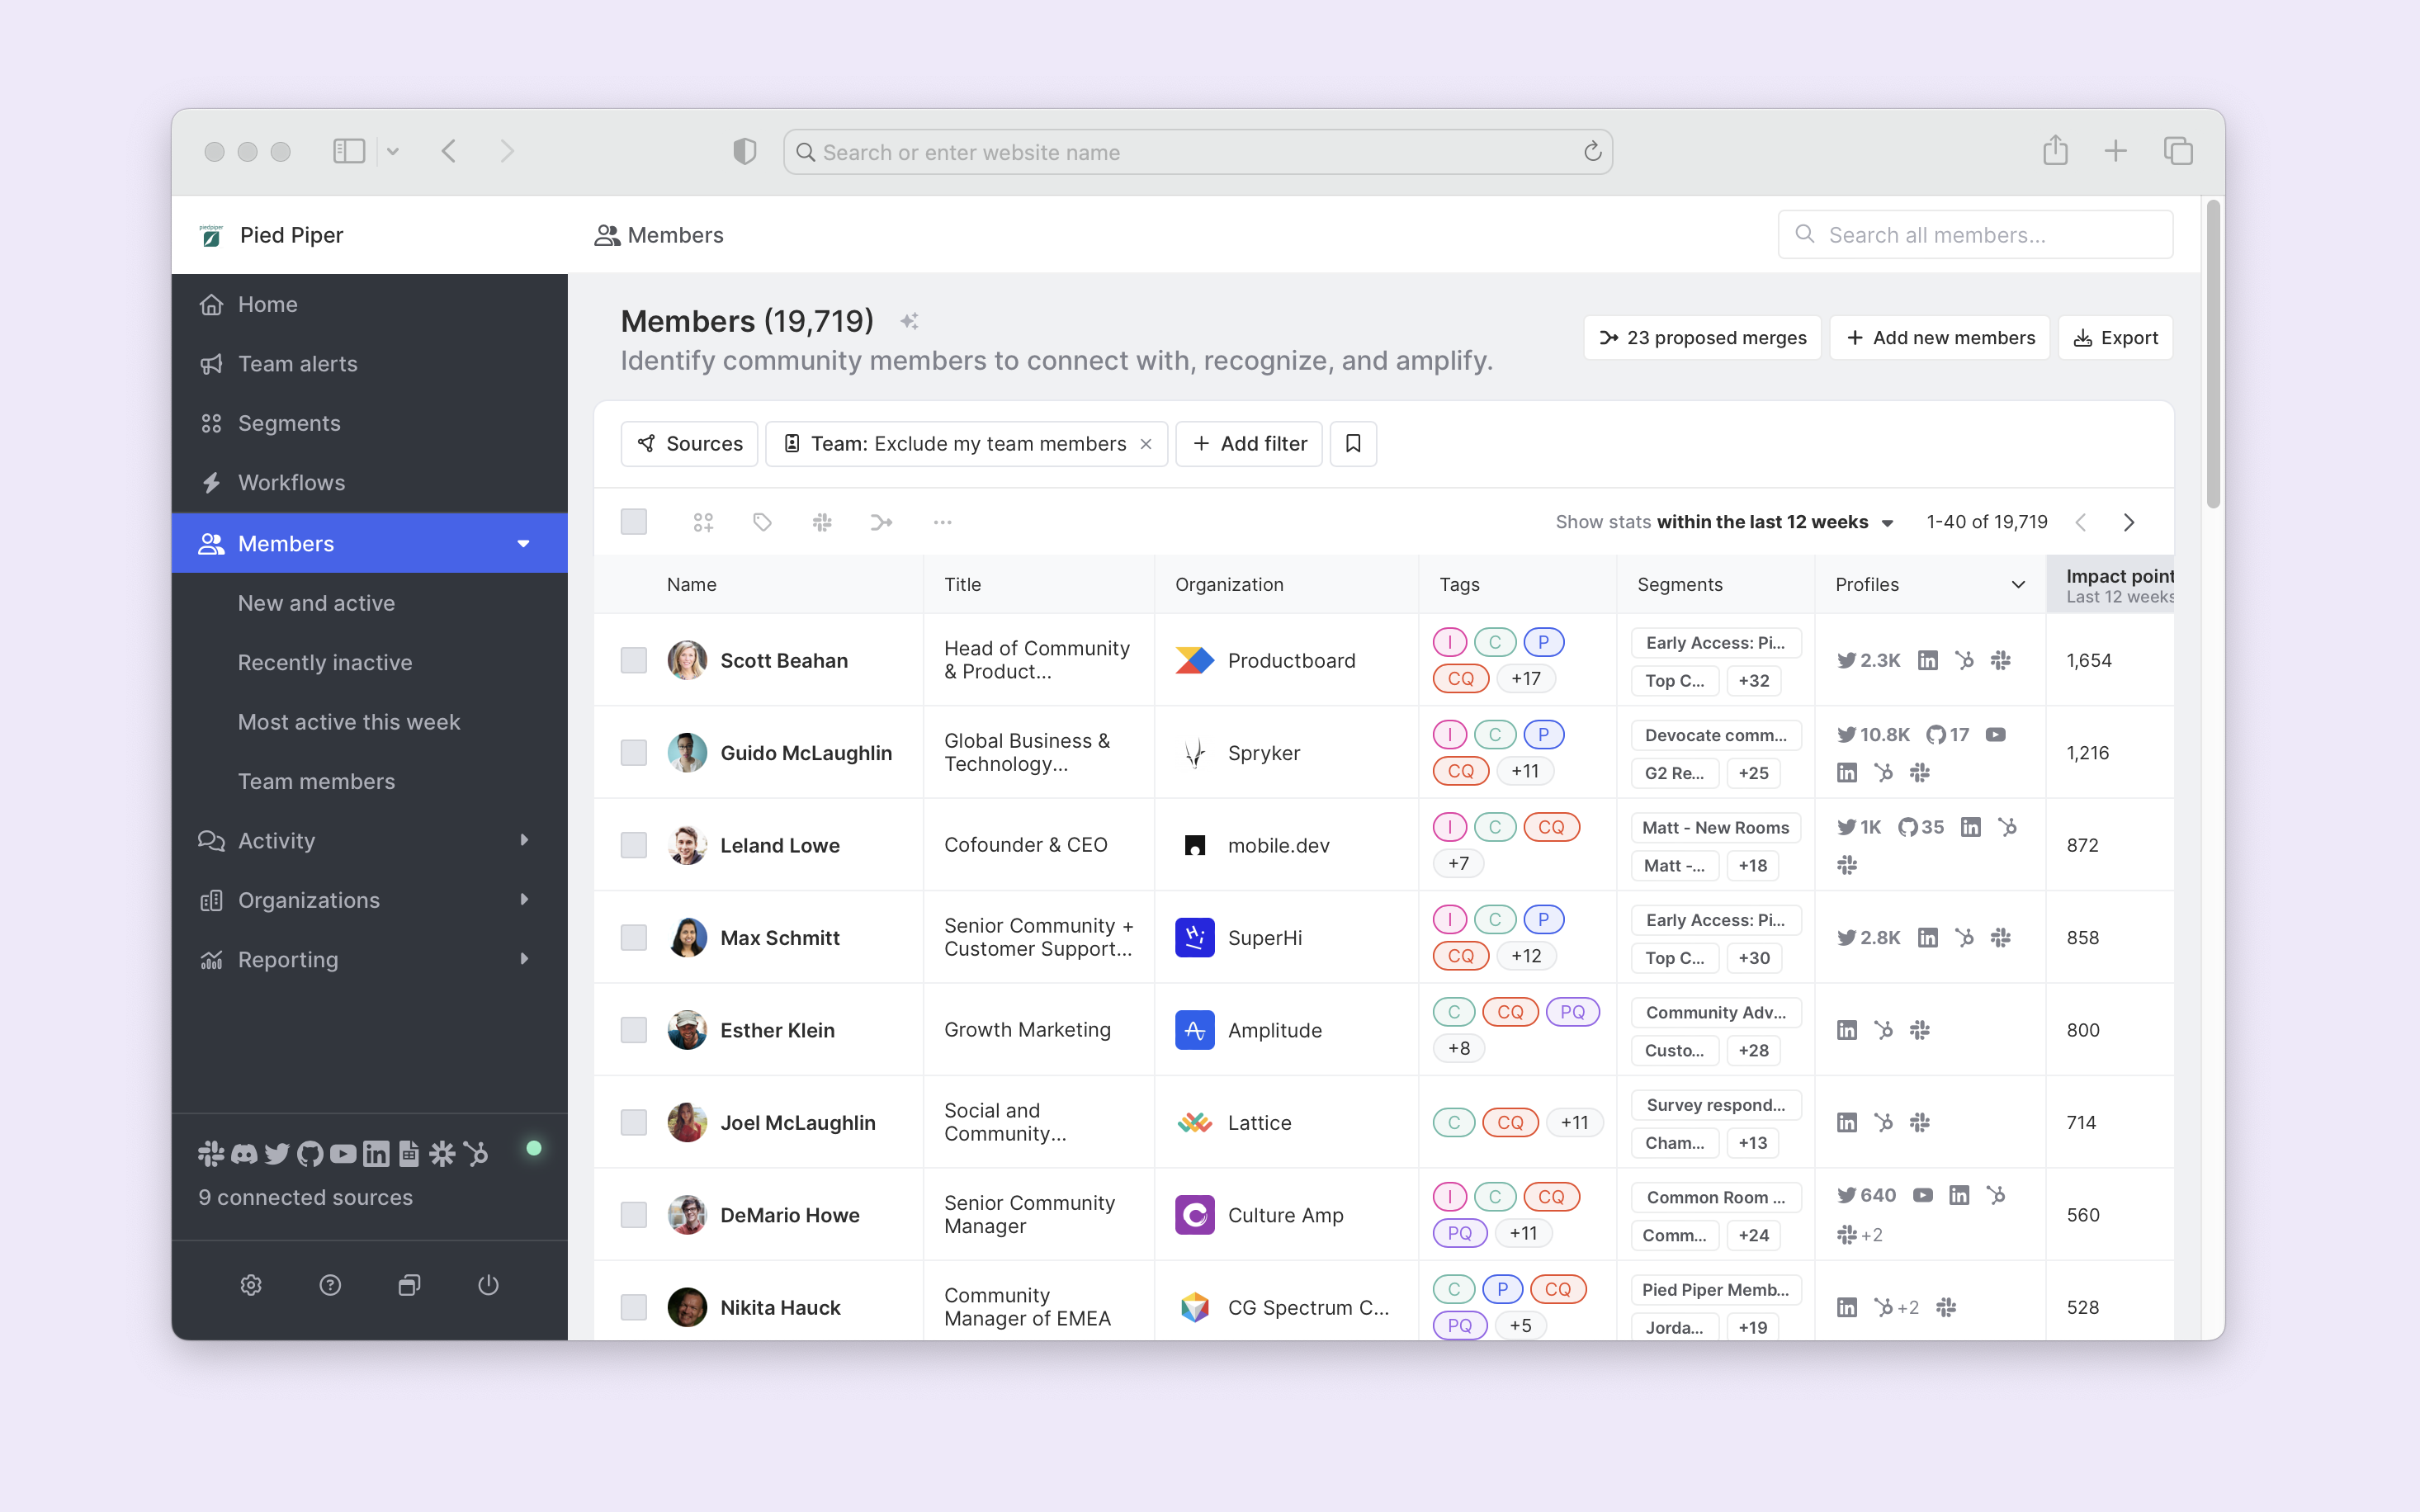
Click on the + Add new members button in the top right. This will trigger a menu to import new members, allowing us to import users by email, Twitter handle, LinkedIn URL, or GitHub username individually or in bulk.
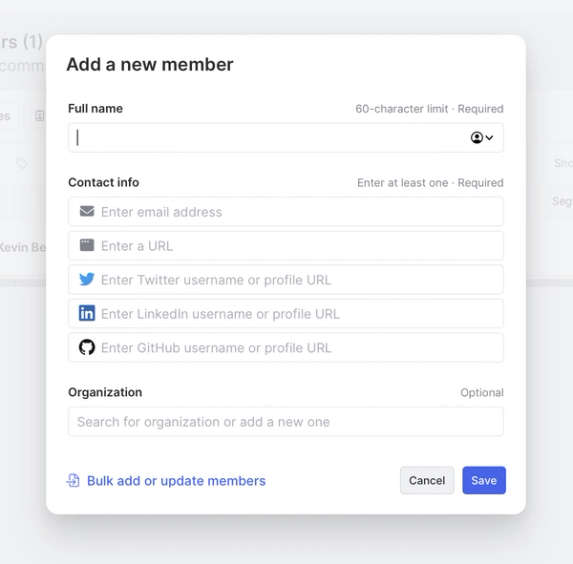
We want to import a relatively large spreadsheet of recent signups, so we’ll select the Bulk add or update members link.
This will bring us to a wizard that guides us to add import users to an existing segment and add activity. Let’s add these members to a new segment and name it something with context.
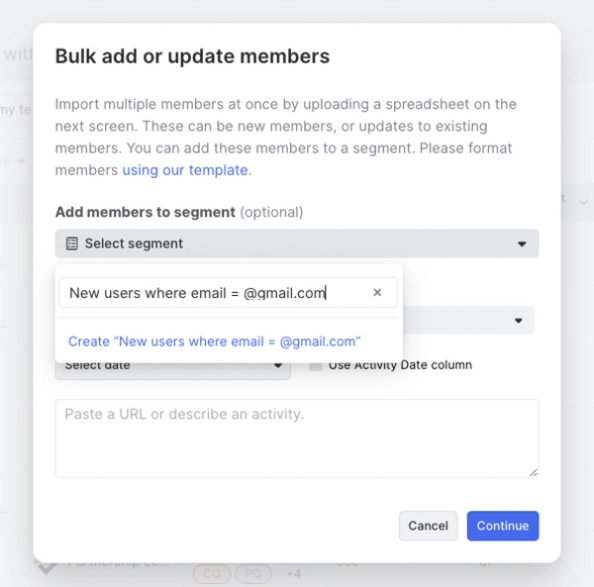
We can click Continue to import our CSV with our new segment created.
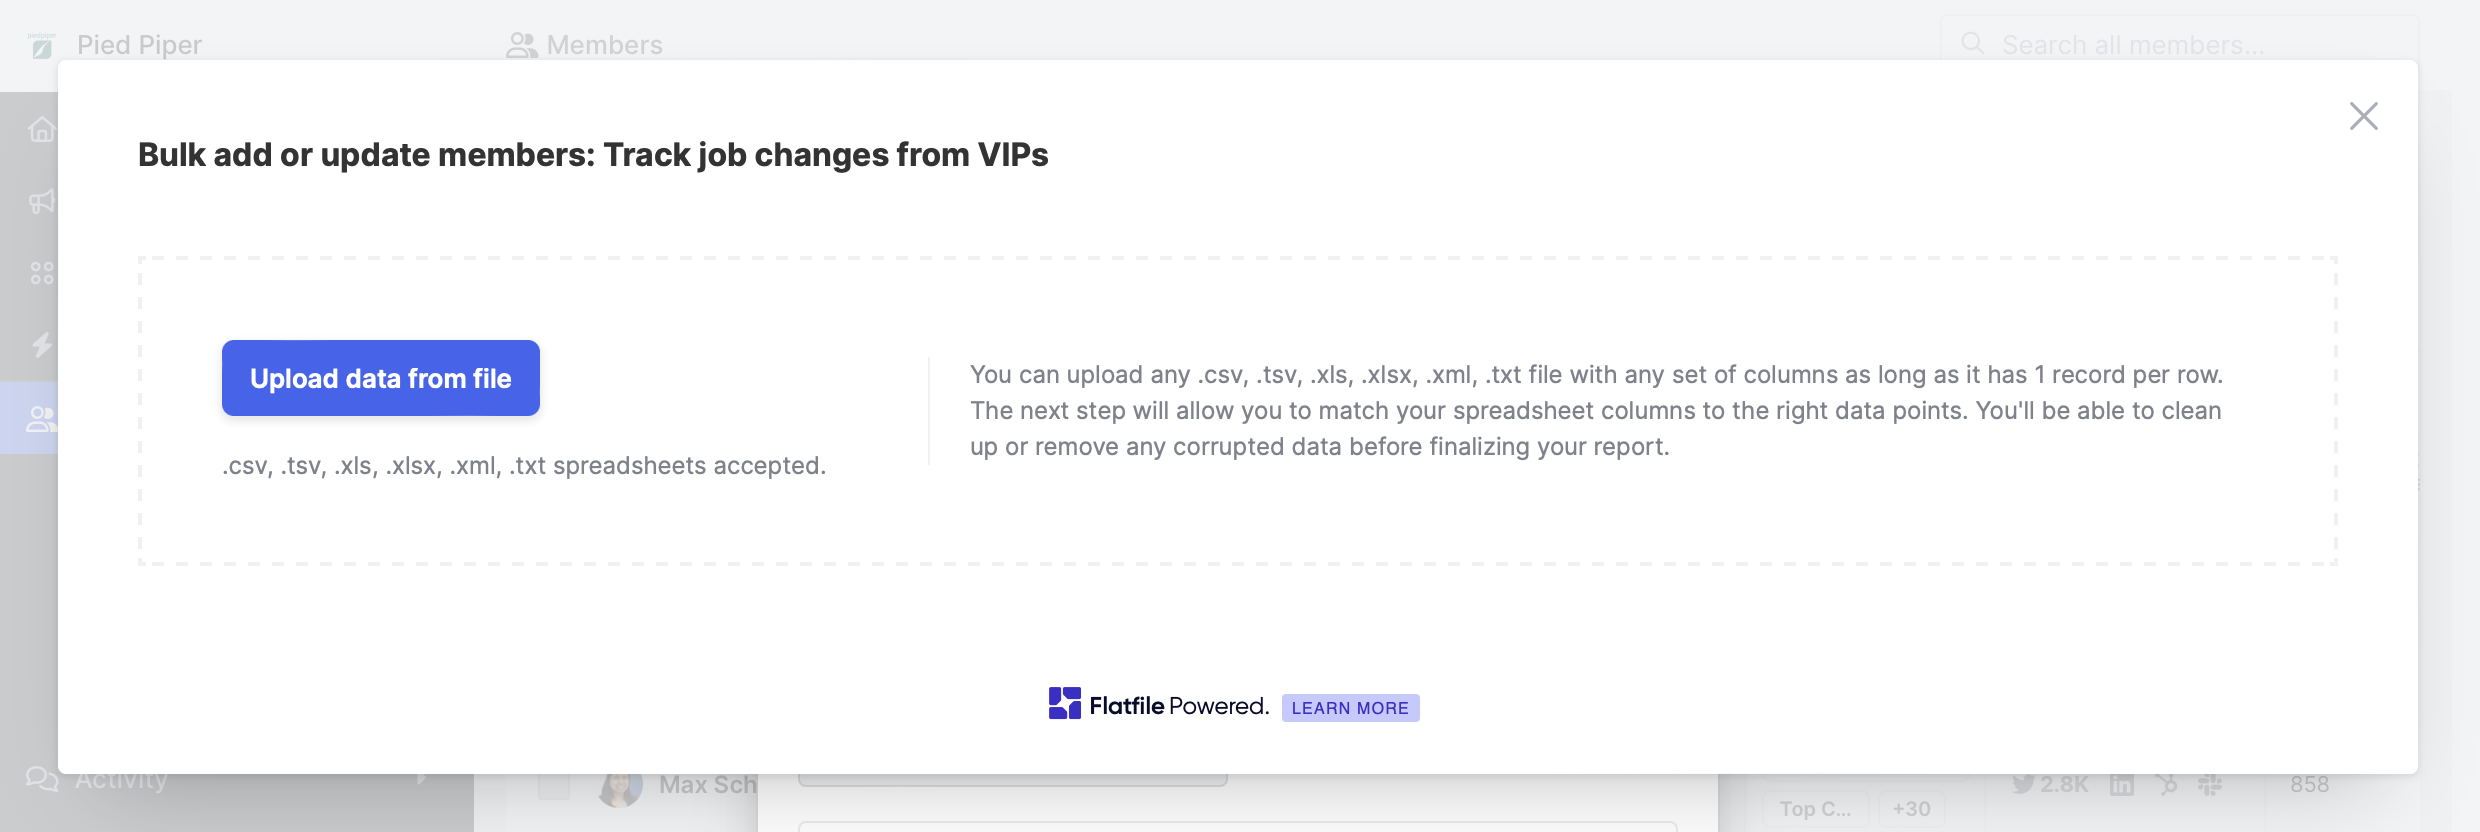
After uploading the file, you’ll be asked to confirm field mappings, review, and complete the import.
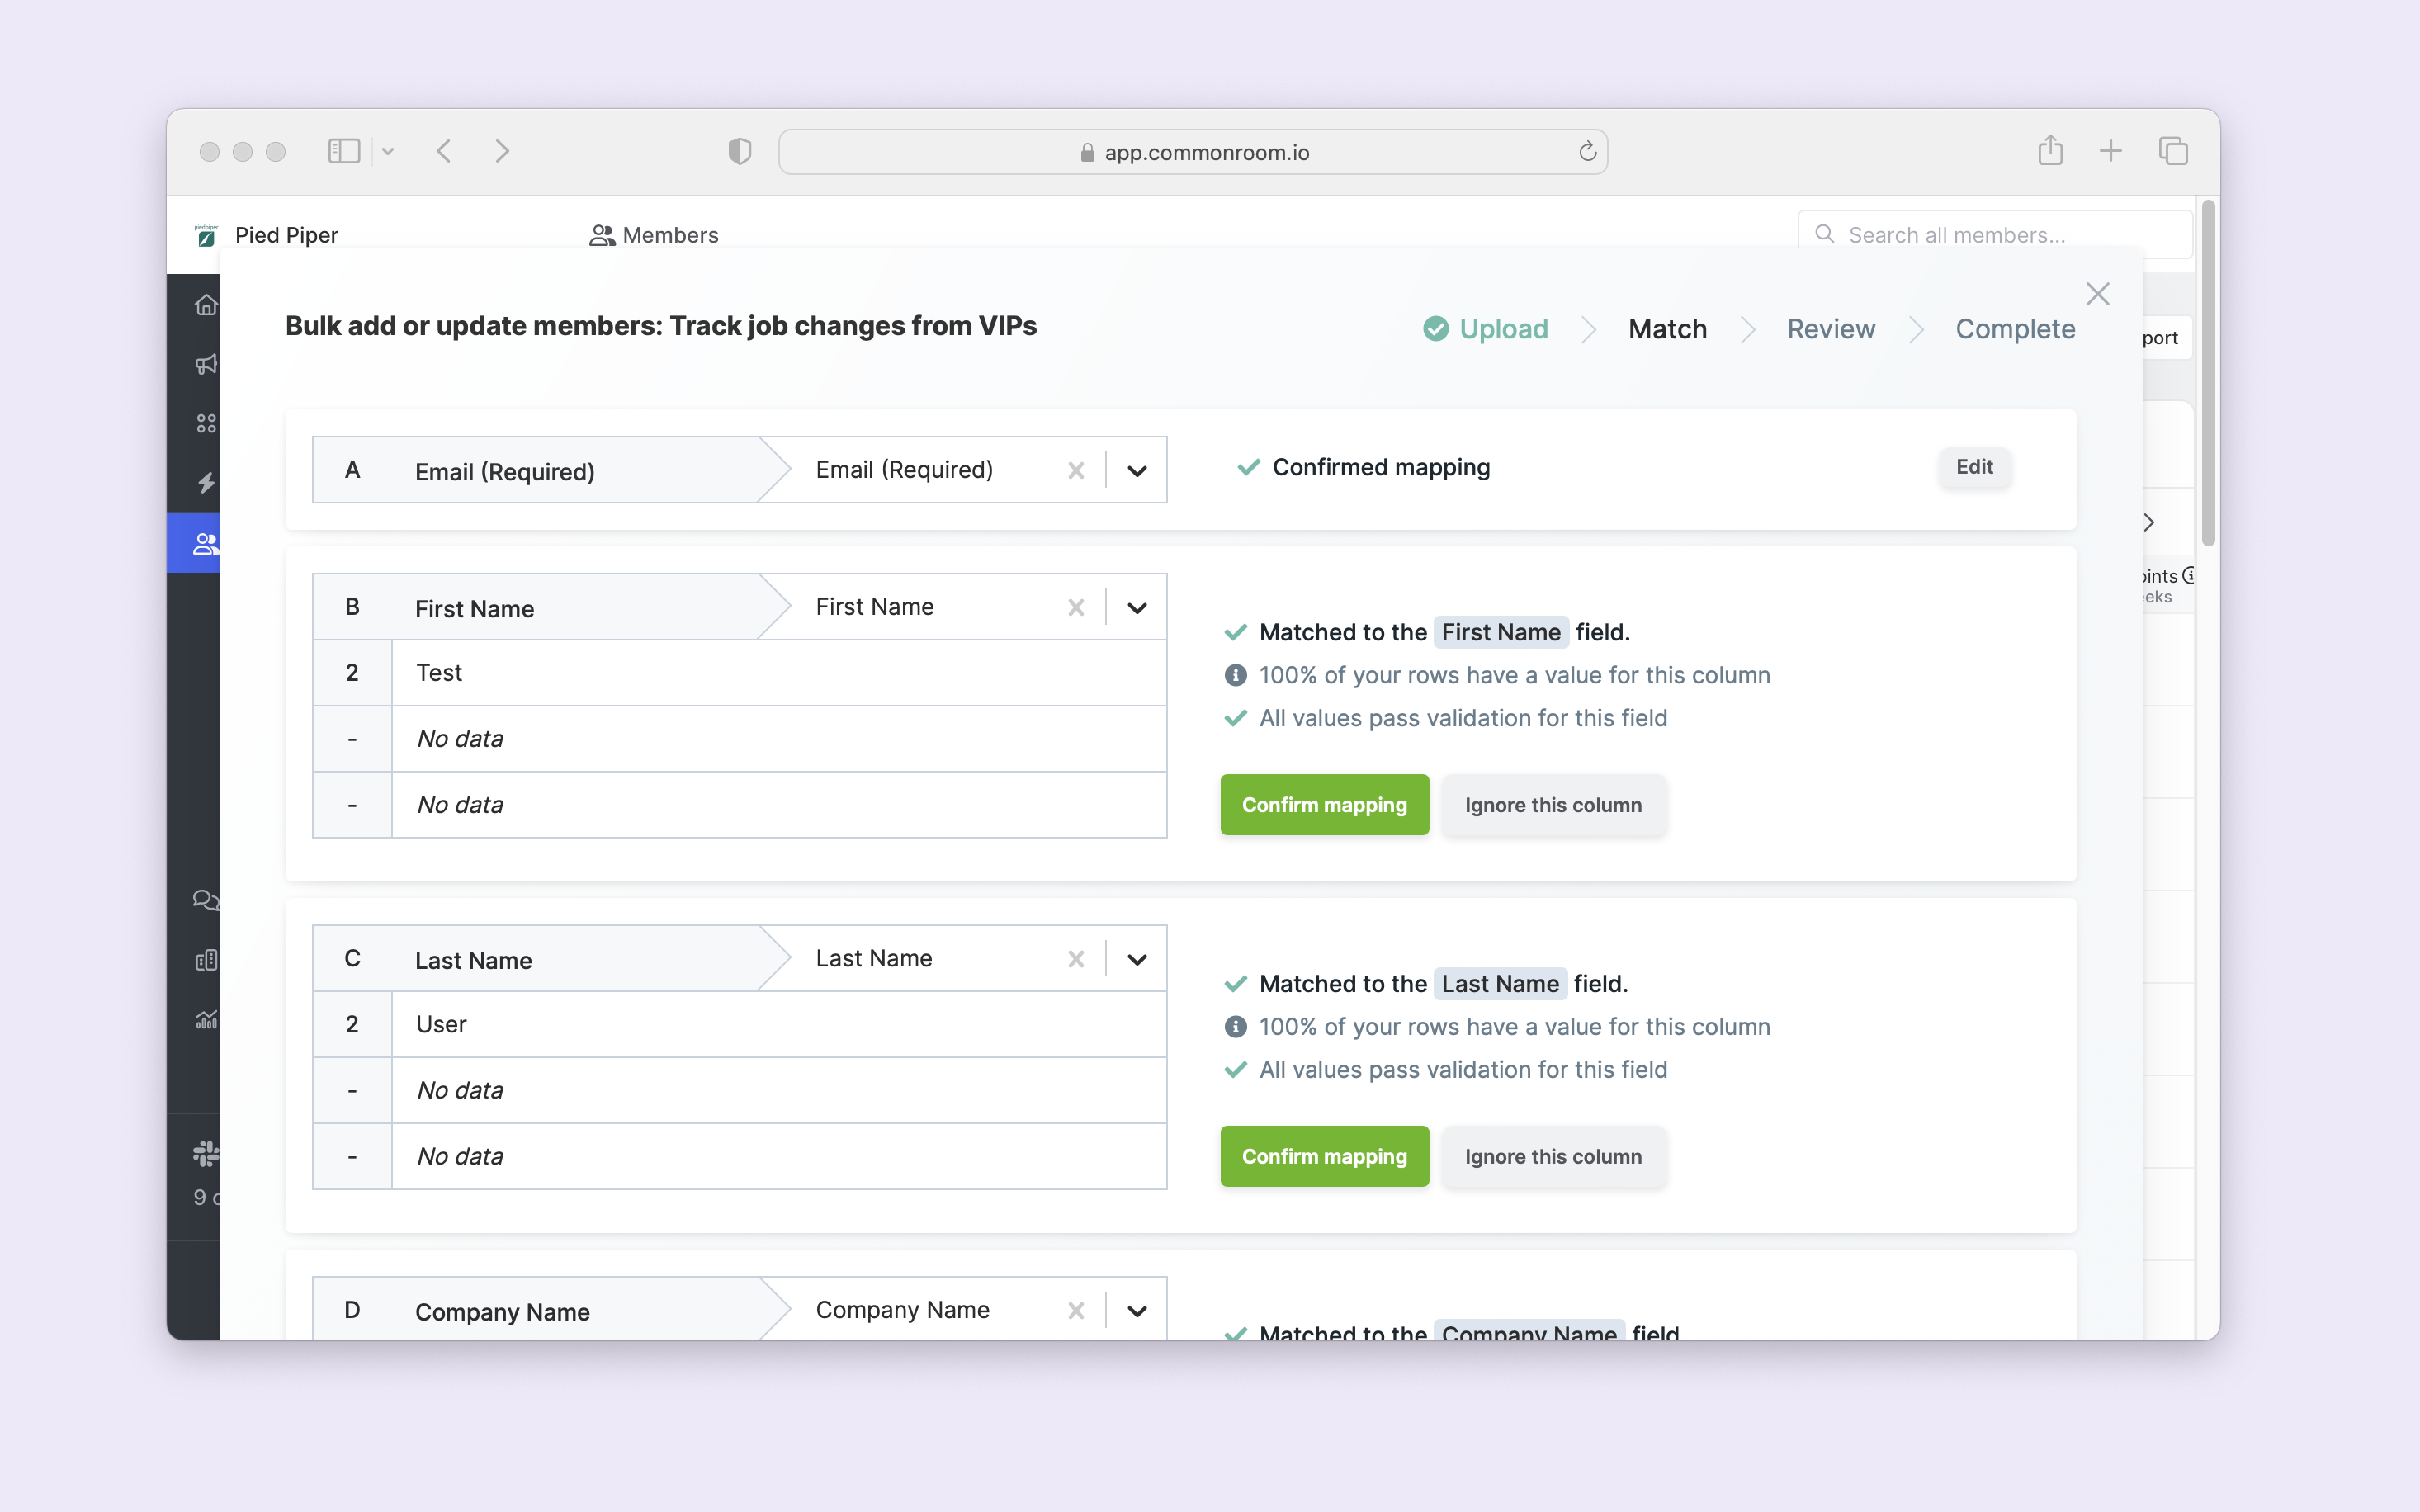
Confirm field mapping, and your list will begin to import. This takes a few minutes, depending on the size of your list.
Onto the next step!
Step 2: Tag enriched users
After waiting a while, we can return to our list and identify enriched users.
To do that, we can go to the Members menu and locate the Search all members input box on the top right of the screen.
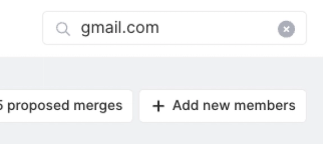
And we’ll input “gmail.com” in this box. Doing so will give us a filtered view of all gmail signups.
We’ll then click on the + Add filter button and locate the Has organization filter option.
Before selecting Yes, make note of the number of results showing. Then click Yes.
This will give us a filtered member view of enriched users.
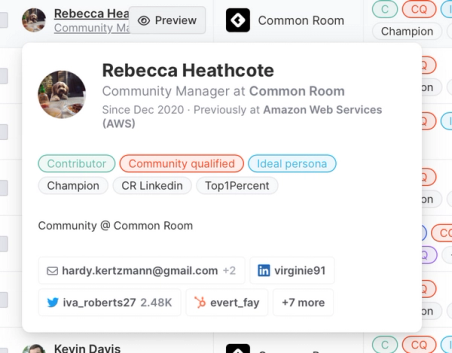
Notice that as you hover over a user profile or when you click the Preview button, you’ll see firmographic info like current employment, role, past jobs, company size, and more.
Next, we can apply a custom tag to all enriched members.
To add a tag, we’ll click select the checkbox in the top left of the member overview pane to select all members. Then, we’ll add a custom tag (like “Enriched”) by selecting the More actions drop-down and the Tag option.

With that, our enriched users will be tagged, which we can use to operationalize workflows, apply a higher score, and build custom views.
Step 3: Export enriched users
For our last step, we can export our enriched users.
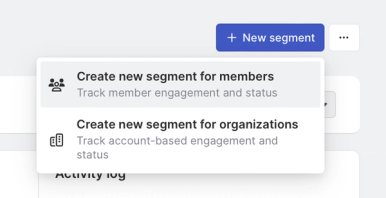
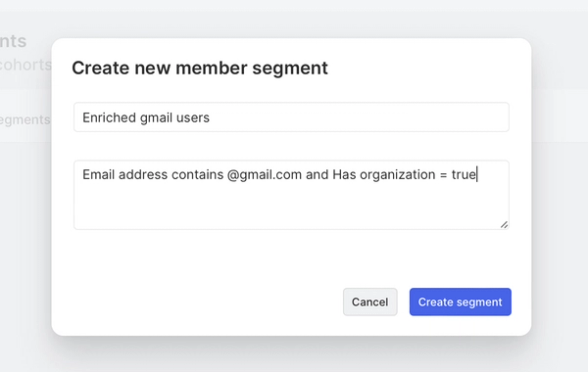
To do that, head to the Segments view and choose + New segment. And we’ll select the option to Create a new segment for members.
This will open up a modal to name our new segment. We can call it something memorable like “Enriched Gmail users.”
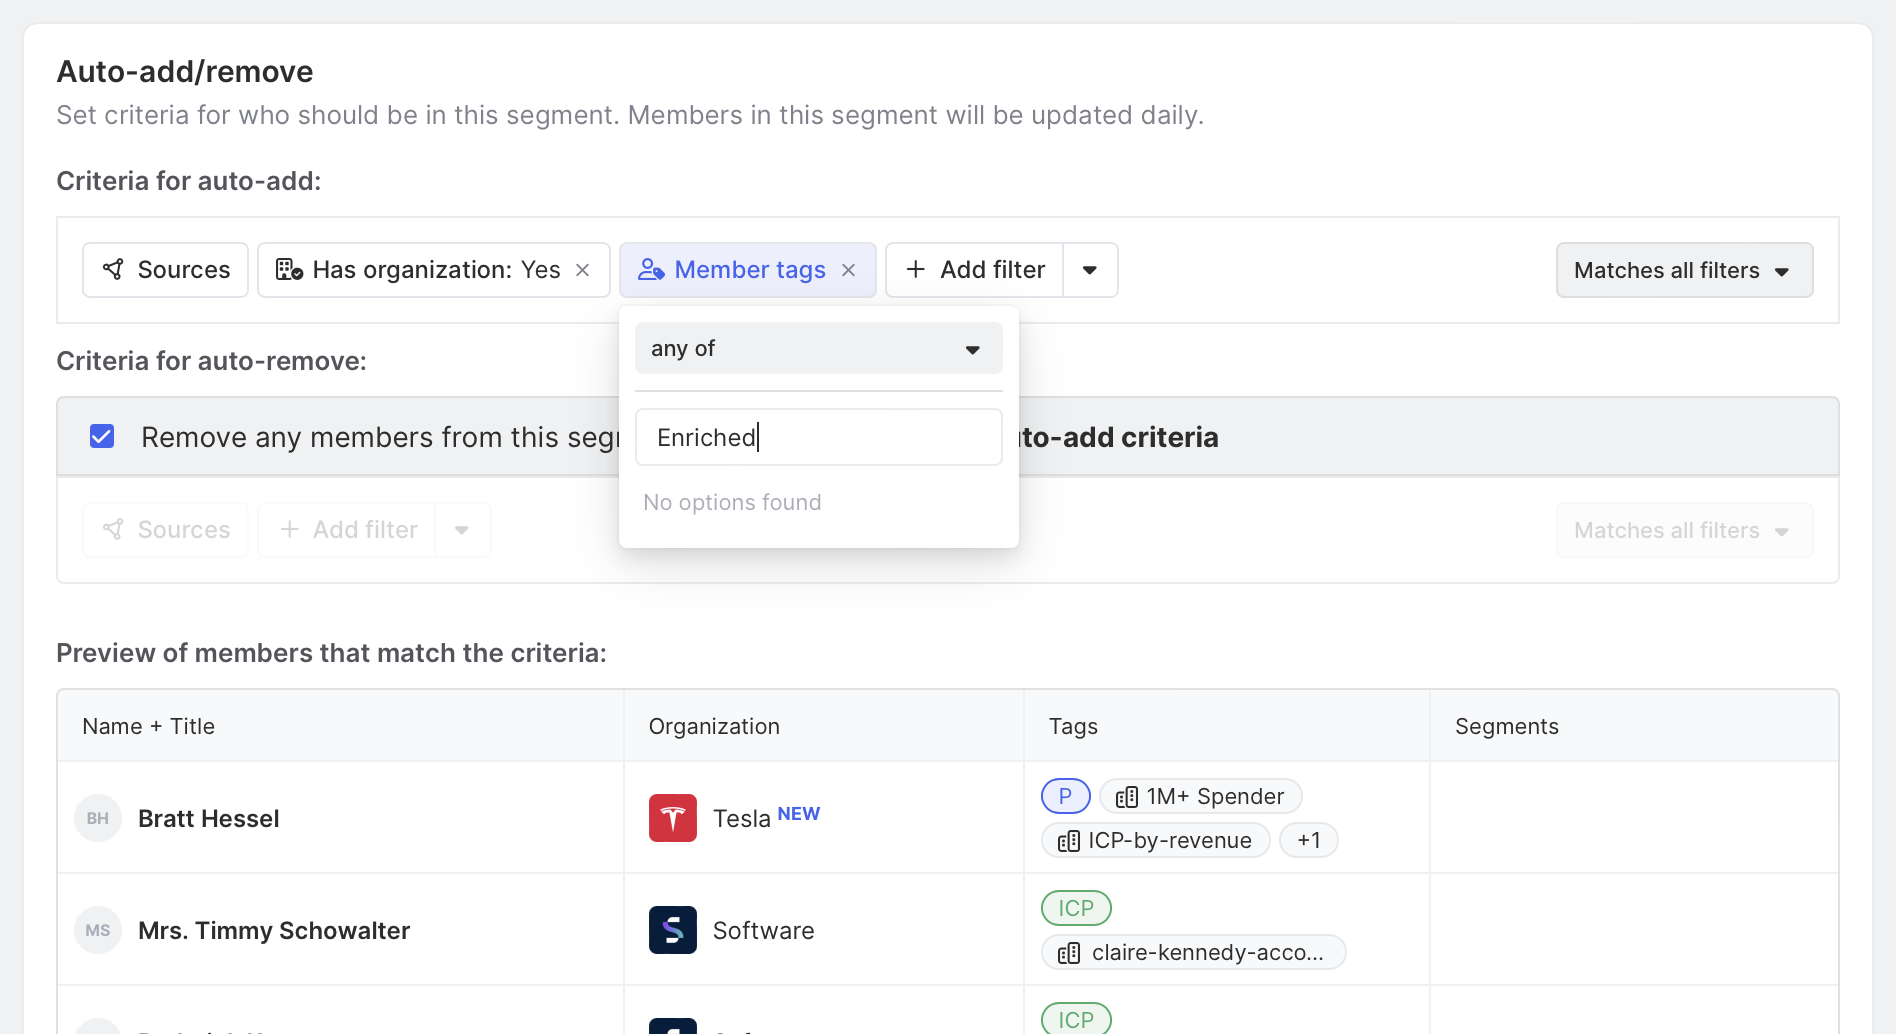
With our segment created, we can click to Set criteria and apply a Tag filter using the tag we created in the previous step. This will automatically add all the enriched Gmail users to our segment.
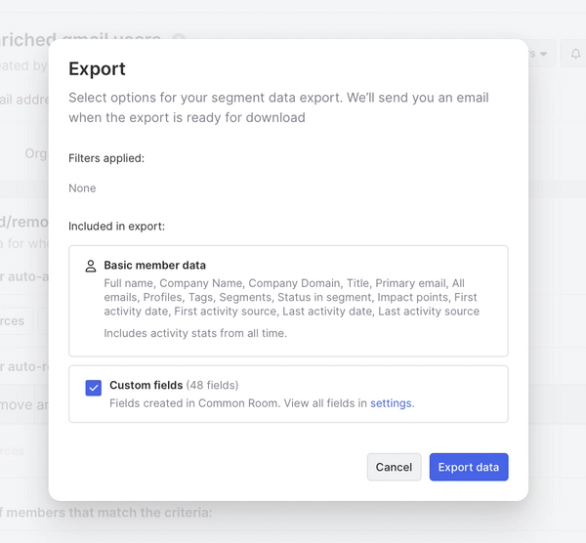
And finally, we can click the Export button and choose an option to export all fields or just basic user data.
(Bonus) Step 4: Connect your user data
Until now, this playbook has been mostly demonstrative of how Common Room can enrich personal emails.
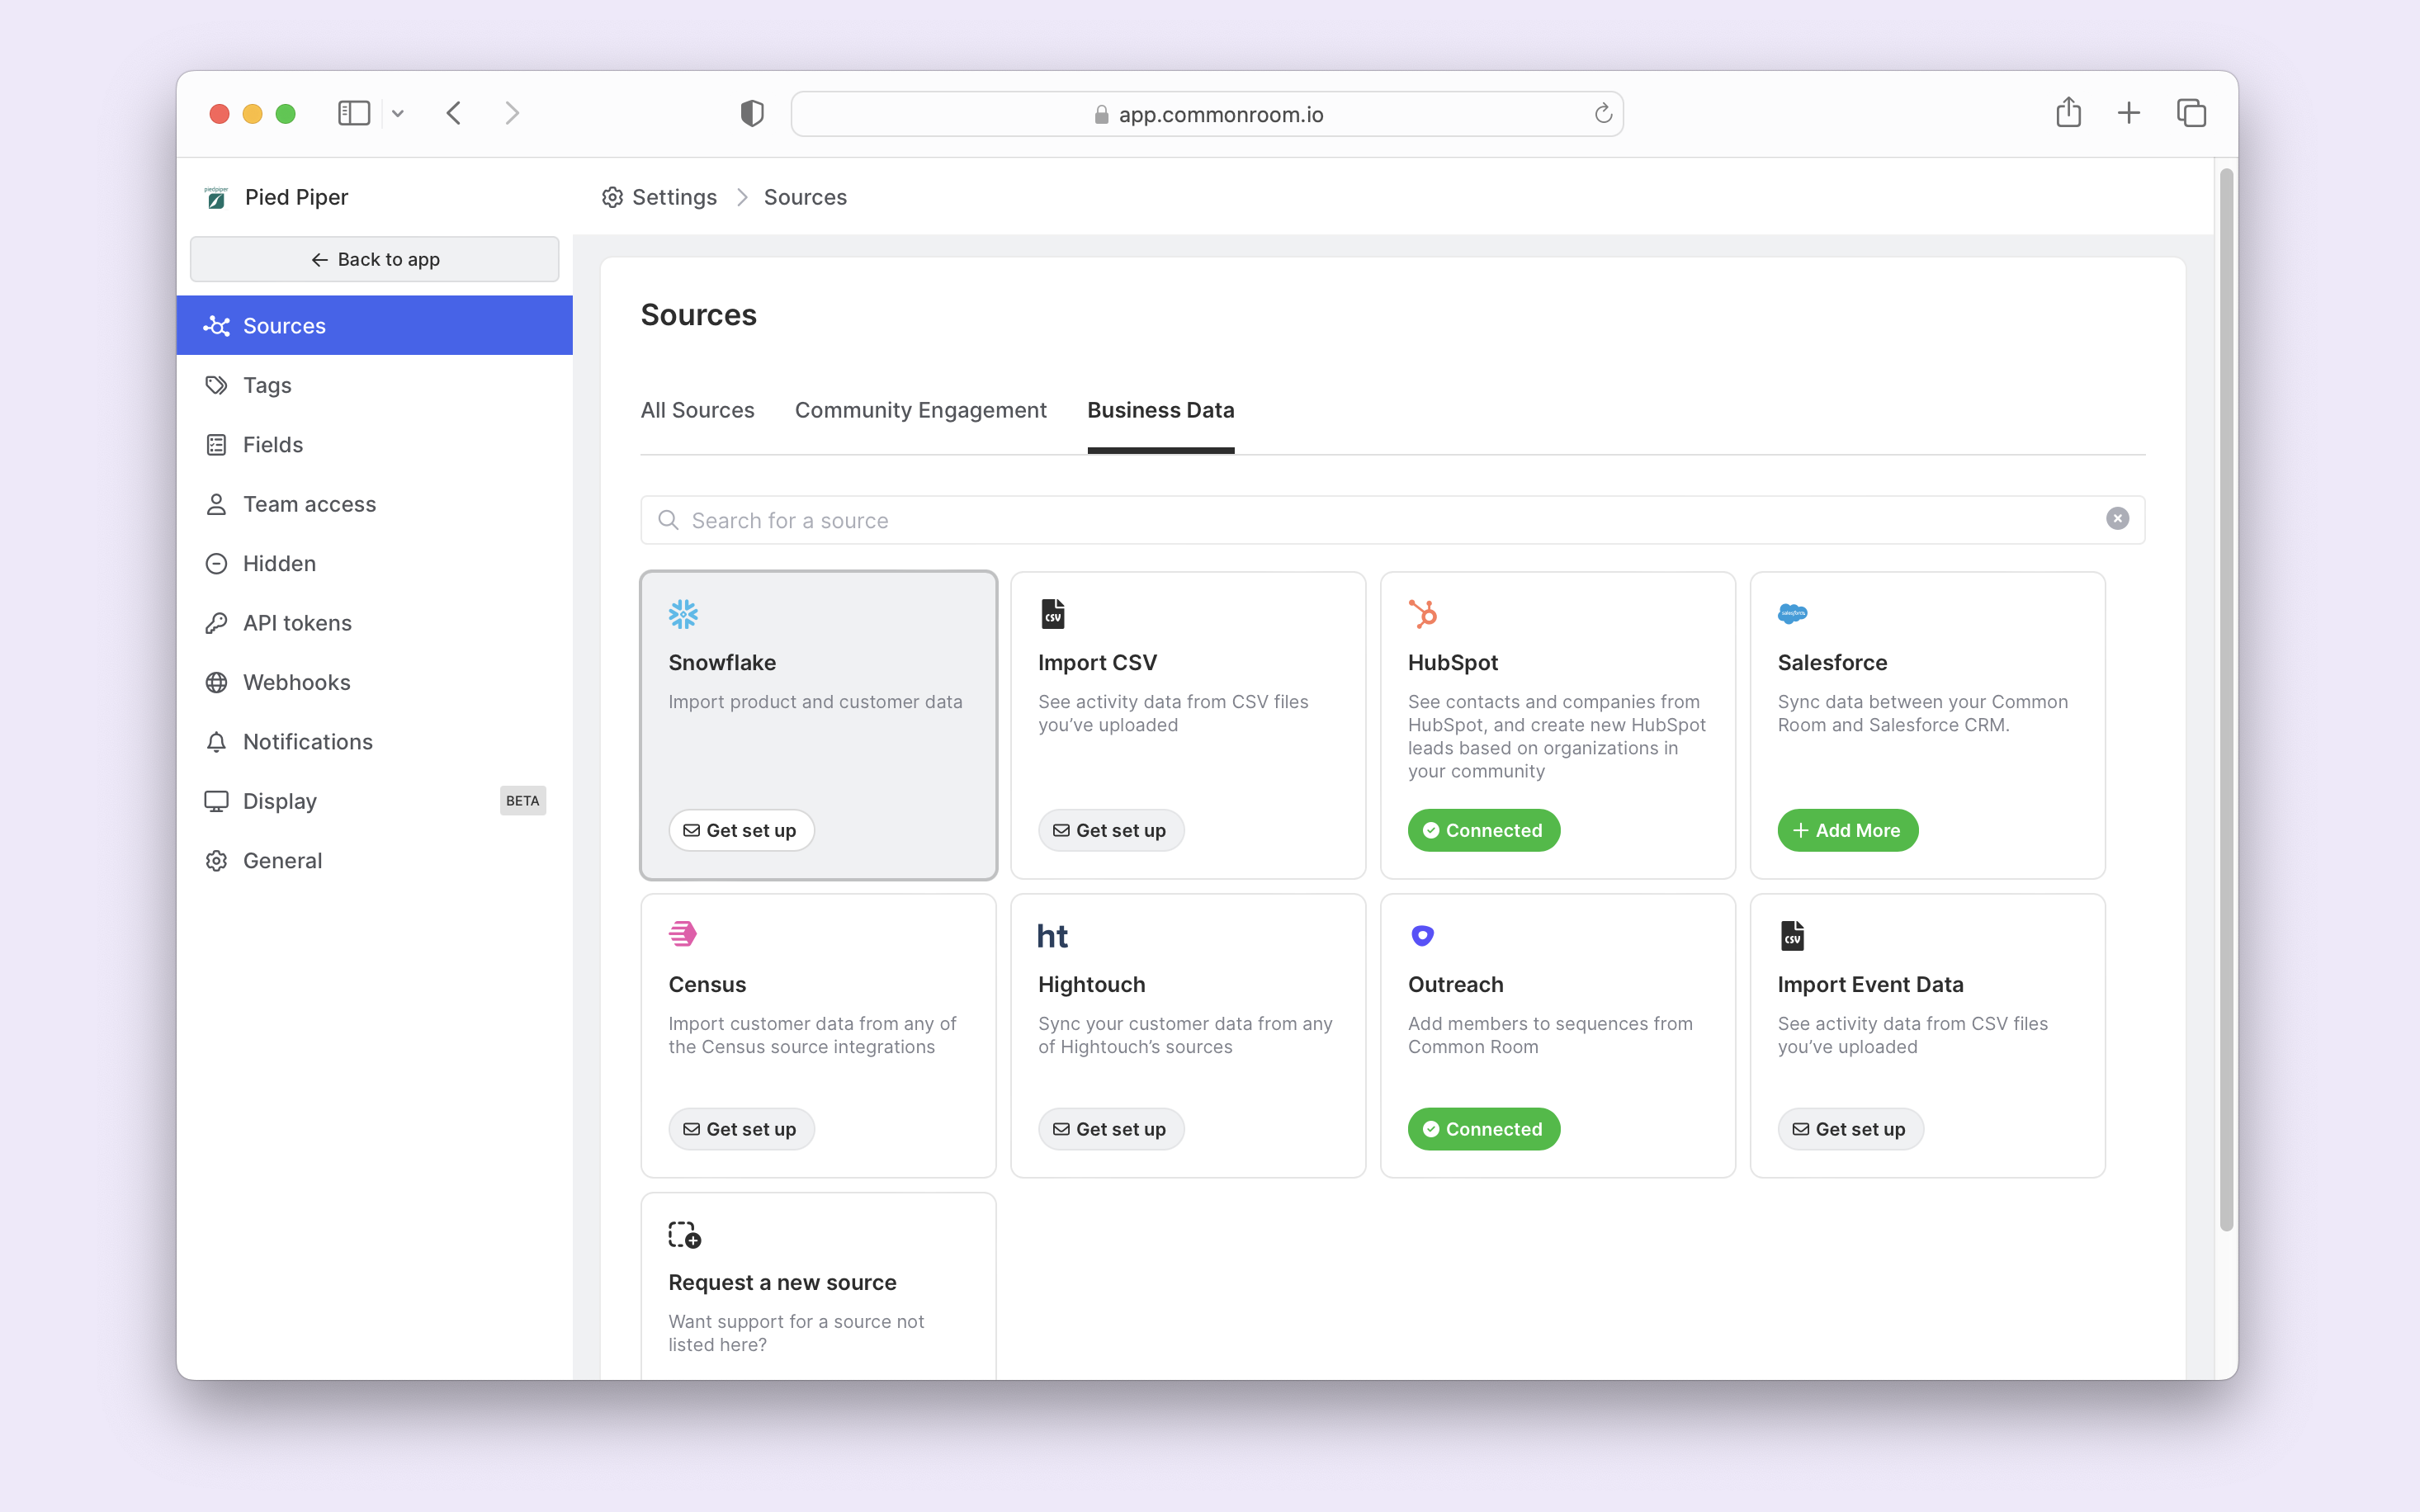
But the real value comes when you connect to a data source of product activity and new signups. Common sources include Snowflake, Salesforce, HubSpot, Census, Hightouch, or API.
Connecting new sources is easy and can be done in just a few steps.
Wrapping up
In this playbook, we showed a quick, yet manual method for enriching users who sign up with a personal email domain like Gmail or Yahoo.
When we connect an always-on data source, all of this enrichment happens automatically as new users are detected in Common Room. And the more sources you integrate, the better enrichment you’ll see.
We think you'd like these
Playbook
Track job changes of customers and key contacts
Fuel efficient growth and reduce churn at the same time.


Playbook
Automatically identify and track economic buyers
Hone in on the people who hold the purse strings.

Playbook
Find and qualify leads based on their tech stack
Separate the best opportunities from the rest.

