Quickly surface product-qualified leads (PQL)
Turn product users into product buyers.
Overview
Nothing says “I’m ready to buy” like a person who’s already getting value from your product.
Product-qualified leads (PQL)—sales opportunities qualified based on their product usage—tend to convert faster and more frequently.
But identifying them can be a challenge. Not every new sign-up counts as a PQL.
In this playbook, we’ll show you how to connect the dots between product usage and intent, spotlight PQLs, and follow up with them fast.
Let’s rock and roll 🤘
What you’ll need:
Step 1: Connect Snowflake
First we need to get our hands on our product data. In this example, our goal is to map the data fields we use to track product usage in Snowflake to Common Room ❄️
Sign in to Common Room, click on Settings in the left sidebar (the little ⚙️ icon at the bottom), and navigate to Sources.

Find Snowflake in the list of data sources and click Get set up.
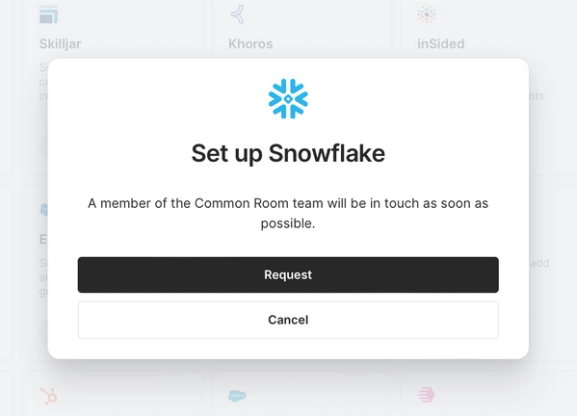
The team from Common Room will work with you to quickly set up your integration.
You can customize how the data that’s pulled in from Snowflake is mapped to different fields in Common Room.
Let’s say we’re a software company that sells collaborative design software. We offer a free four-week trial of our starter plan.
We want to ingest data from Snowflake that tells us when someone signed up for a free trial, how many design files they’ve created, and how many other people they’ve invited to join them.
But product data is only one piece of the puzzle. To understand which leads are worth our time, we also want to get a look at user activity across digital channels.
Step 2: Connect digital channels
We have a lively user base on Slack and see lots of activity on LinkedIn.
Not only will connecting these channels to Common Room give us visibility into intent signals outside of our product, it will help us deanonymize users and connect product usage to specific individuals and organizations 🕵️
We’ll start by choosing Slack from the list of sources.
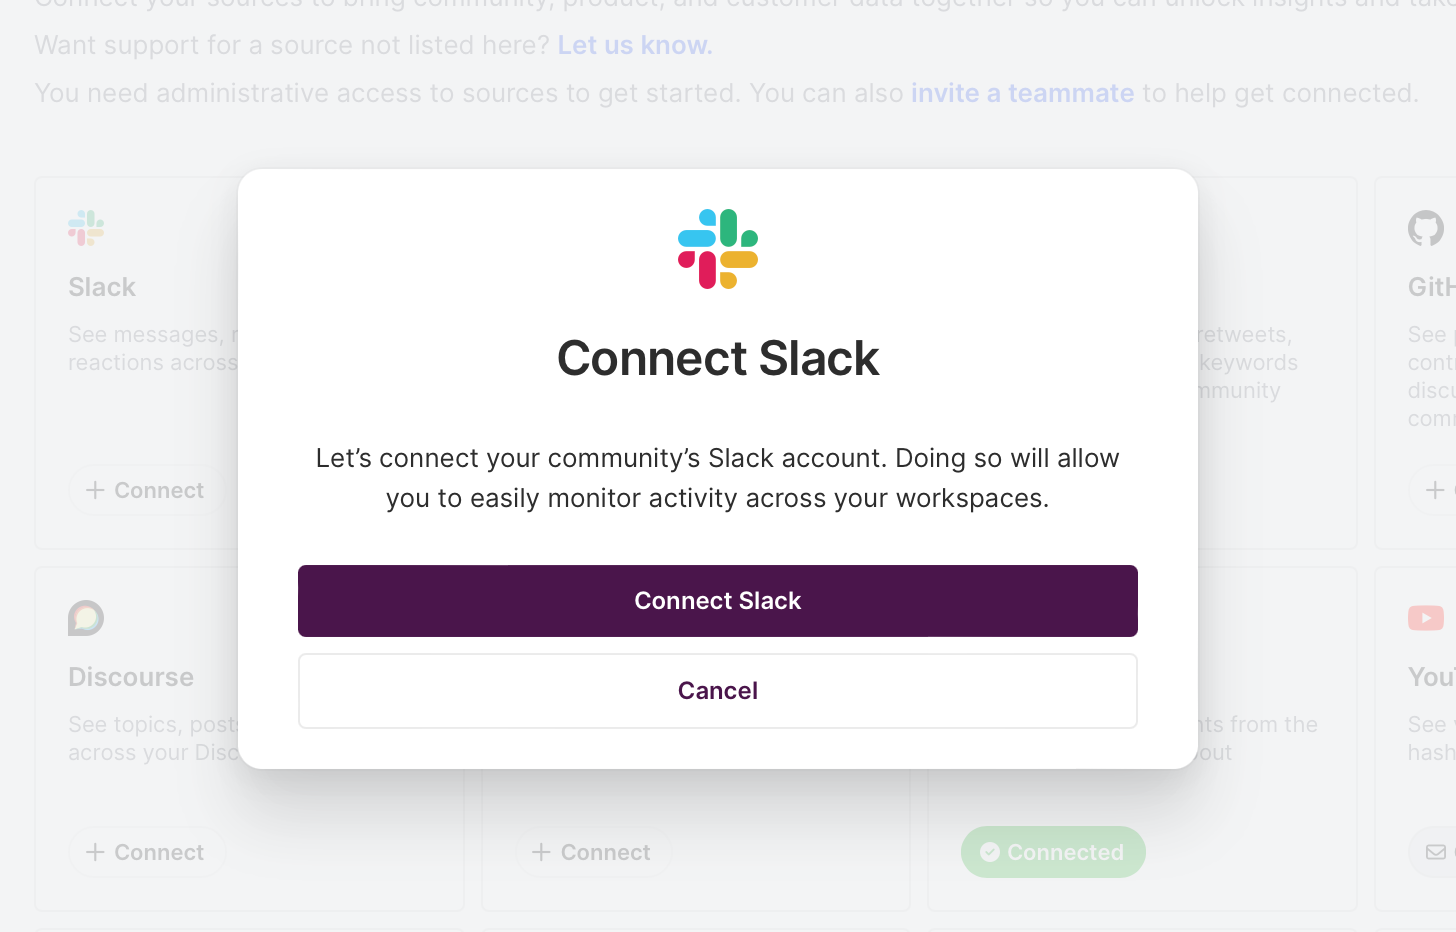
We’ll be asked to connect and authenticate our account. Once that’s done, data from Slack will start flowing into Common Room.
We’ll then repeat this process with LinkedIn.
Okay, now that our digital channels are connected, let’s make sure we can surface our PQLs in our CRM.
Step 3: Connect Salesforce
Salesforce is our source of truth, so we’ll choose it from the list of data sources.
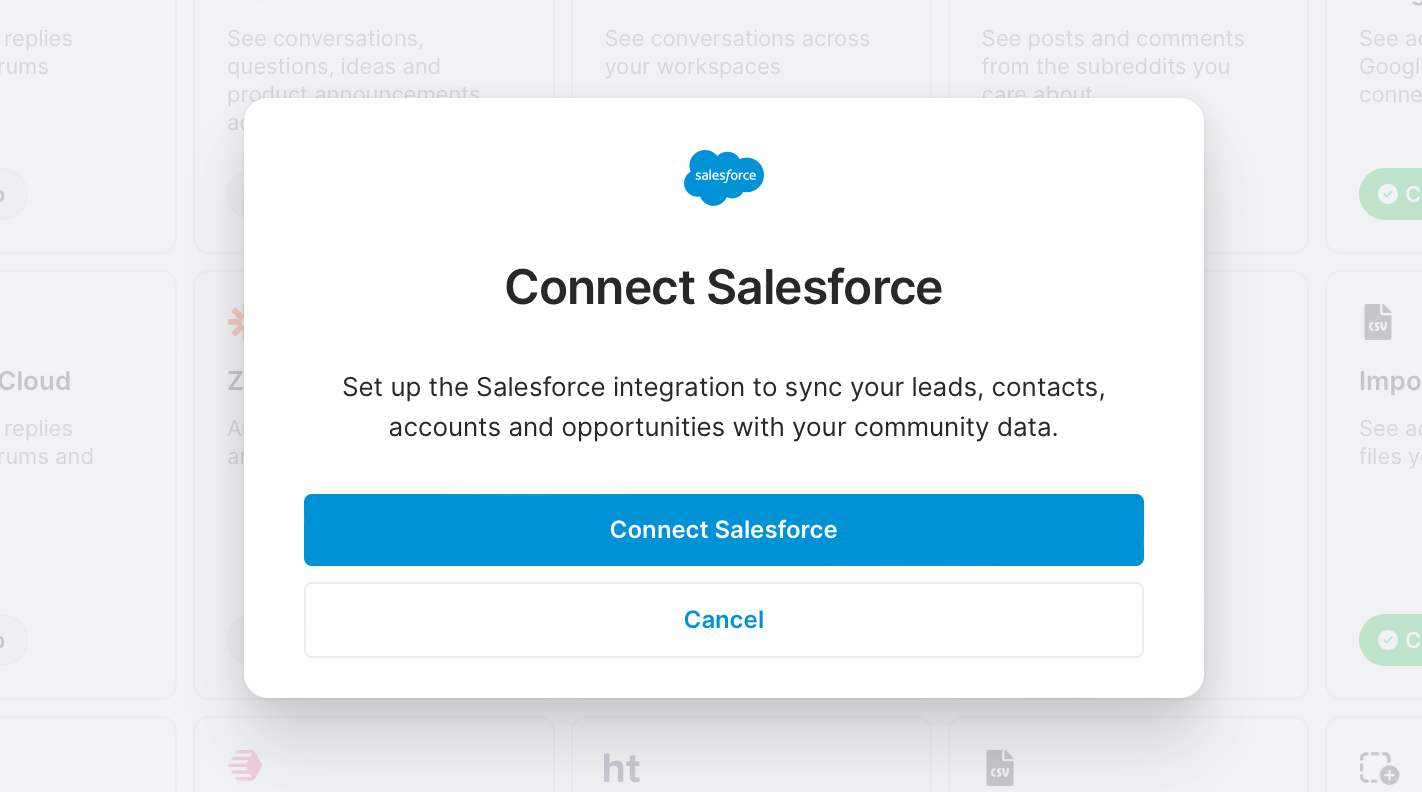
We’ll need to confirm that we’re an admin (otherwise, we can invite an admin to finish the integration setup). Then we’ll authenticate our account and bam—we’re ready to configure how data from Salesforce flows into Common Room and vice versa.
Once we’ve completed our outbound data setup, we can send the names, email addresses, company names, and more of our PQLs directly to our CRM.
Now that we know we can sync Common Room data with Salesforce, let’s get to finding our PQLs 💸
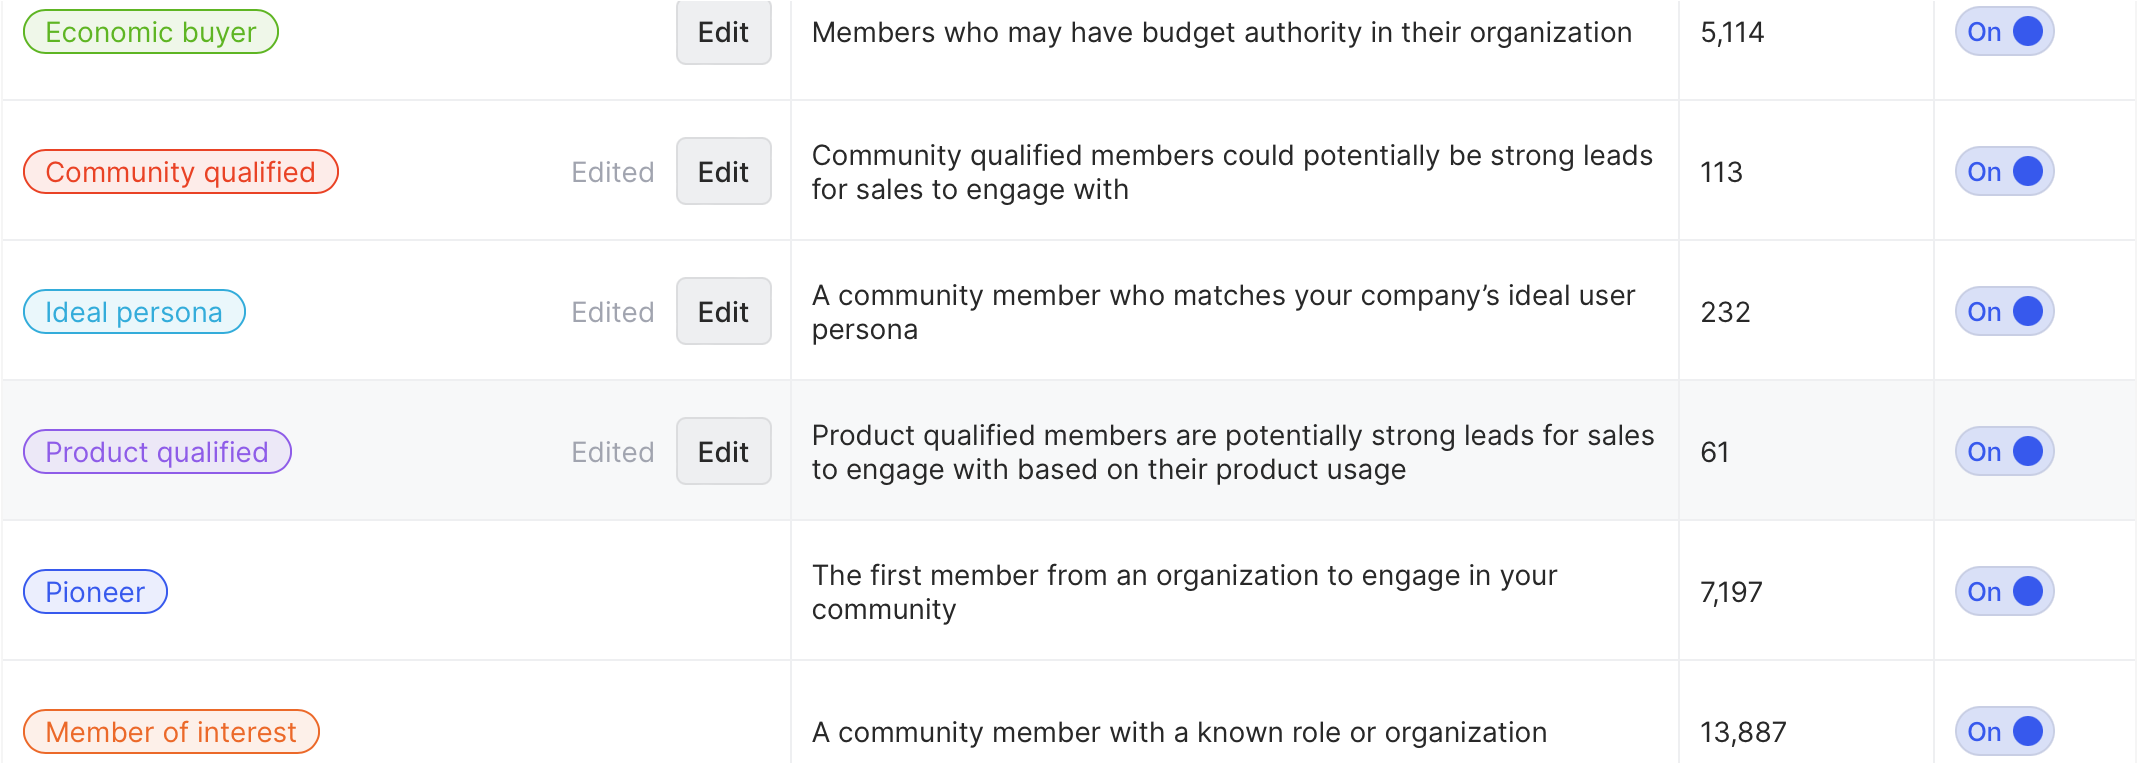
Step 4: Create product-qualified tag
Click Tags in the left sidebar of the Settings menu.
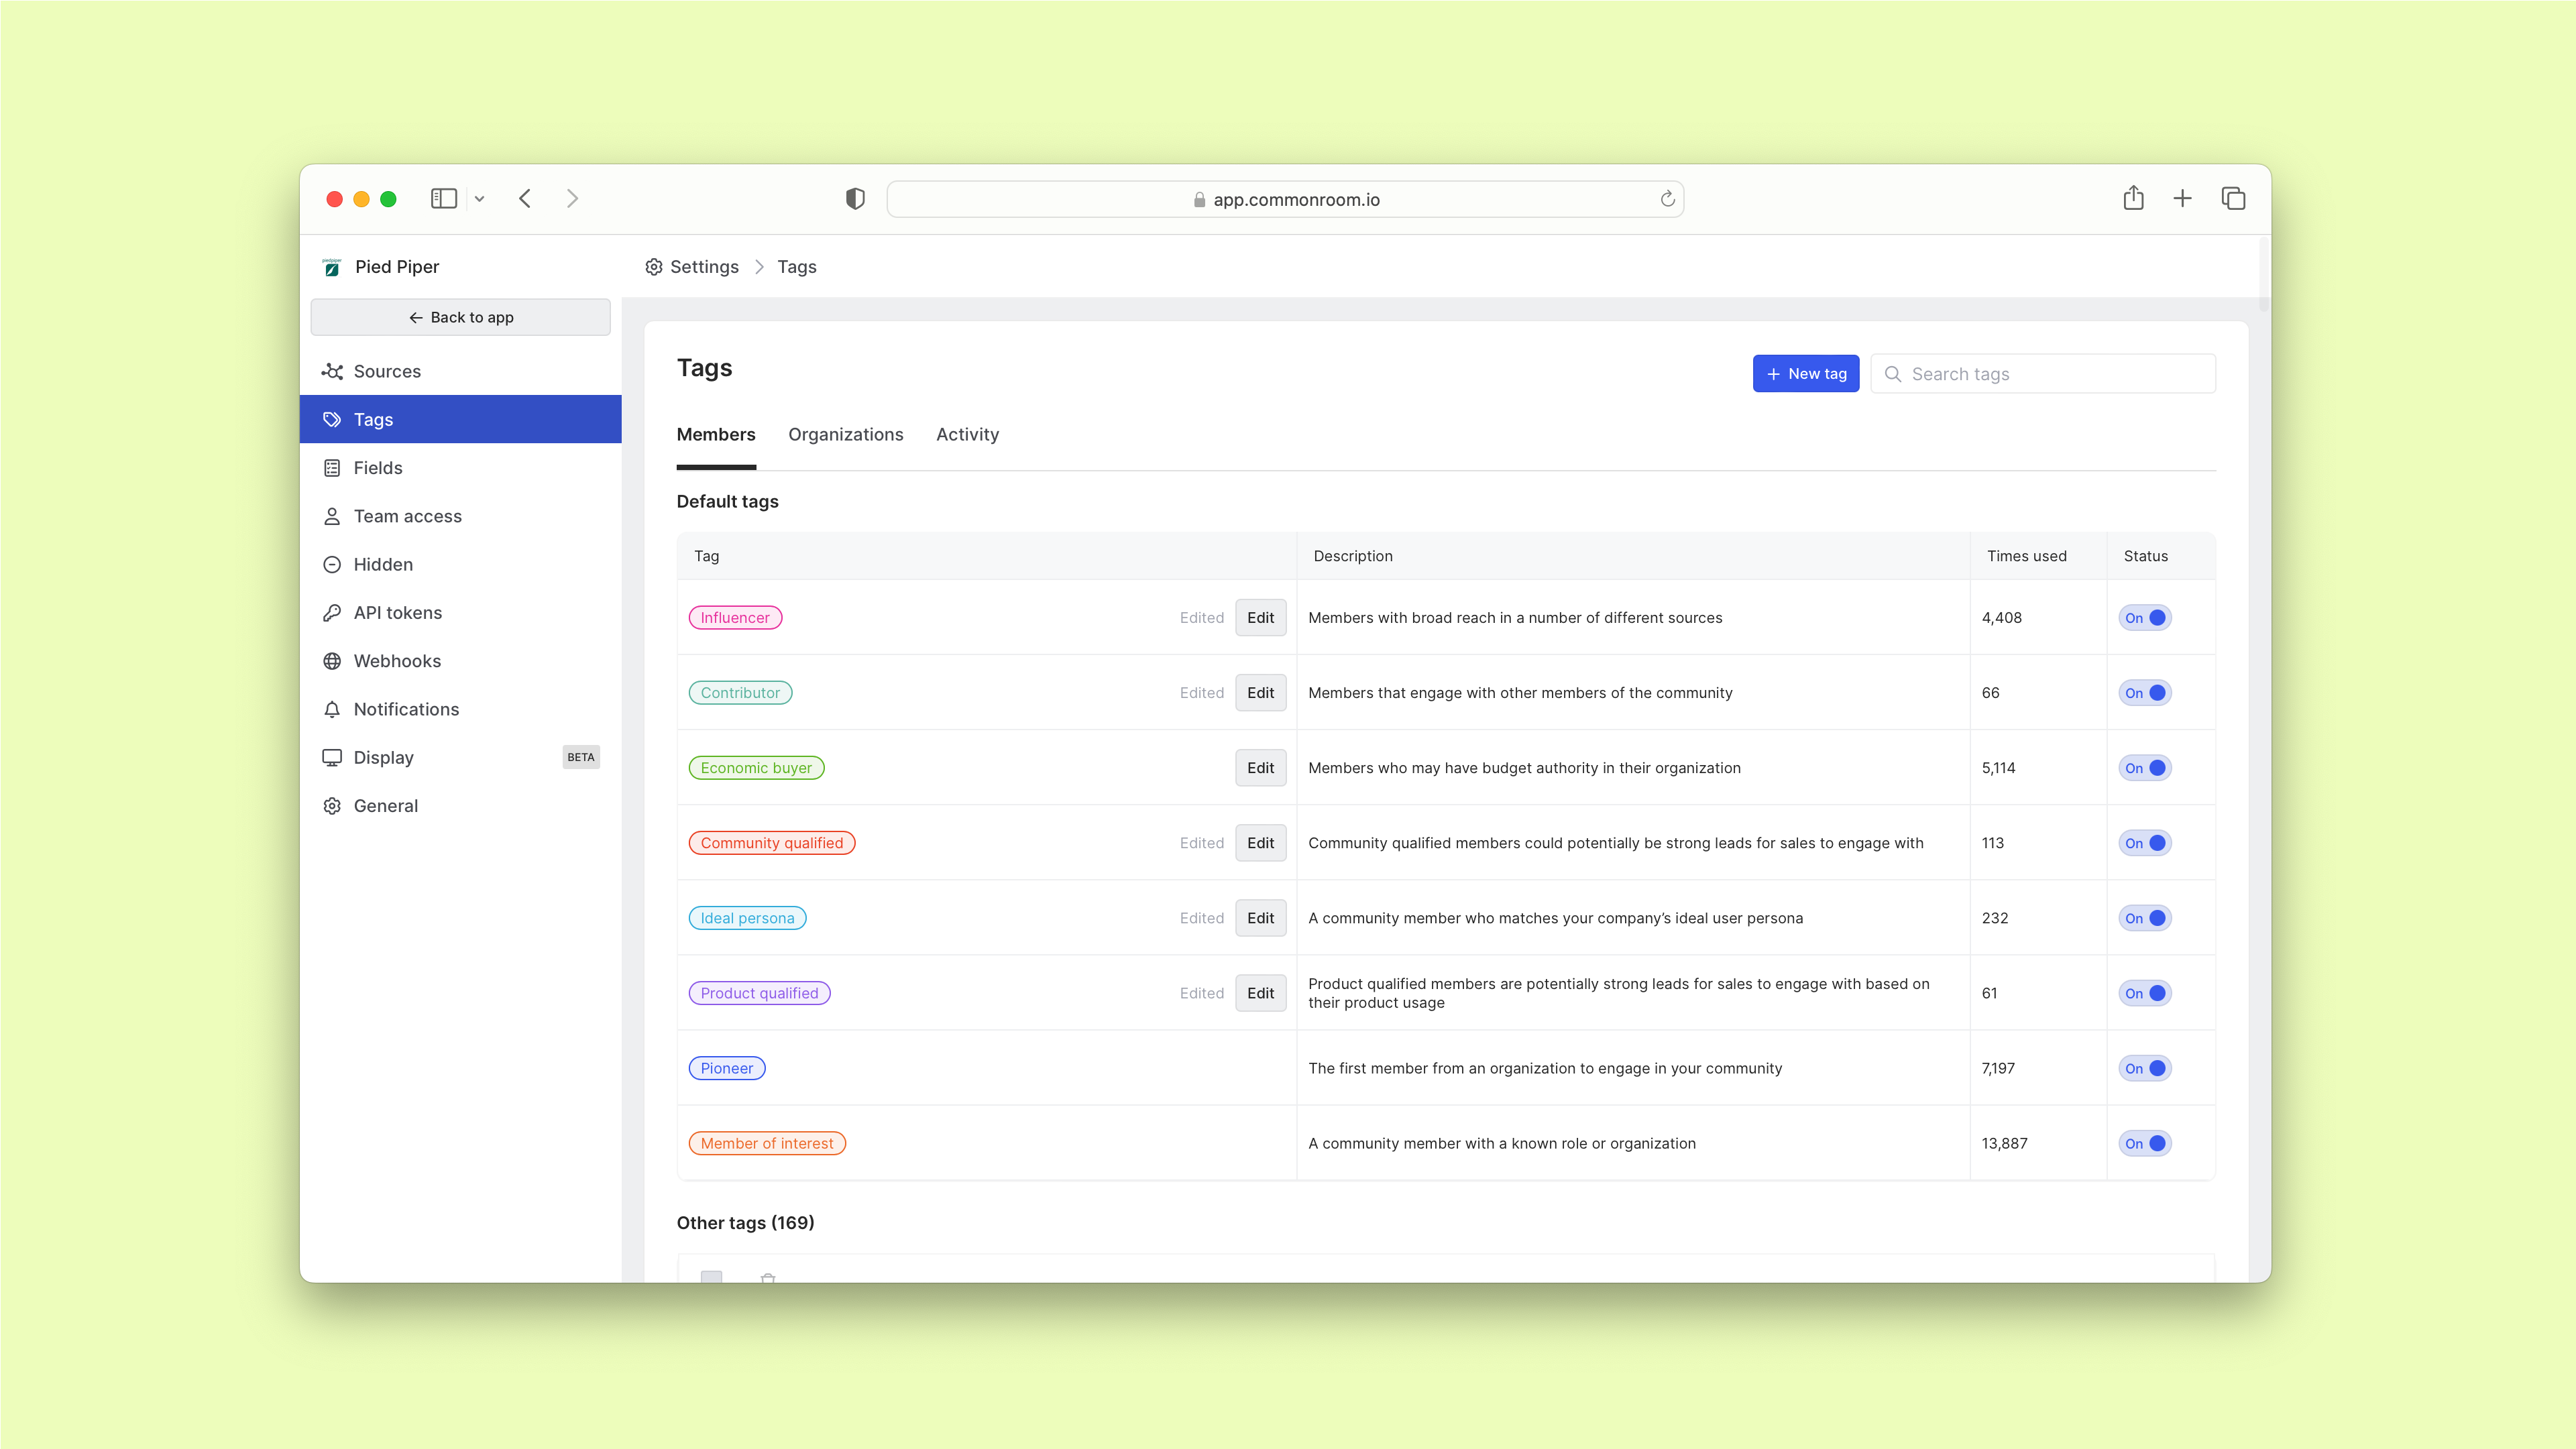
As you’ll see, the Product qualified tag is one of many default tags in Common Room. Once we turn it on, any individual who matches our criteria will automatically be tagged with this label.
Let’s decide what constitutes a product-qualified lead. We can customize our tag to include fields from Common Room, our data warehouse, and our CRM.
In this case, we want to focus on people who signed up for our product in the last 28 days, have created five or more design files, and have invited two or more people to join them.
Click Edit over the product qualified tag, then select Add filter.

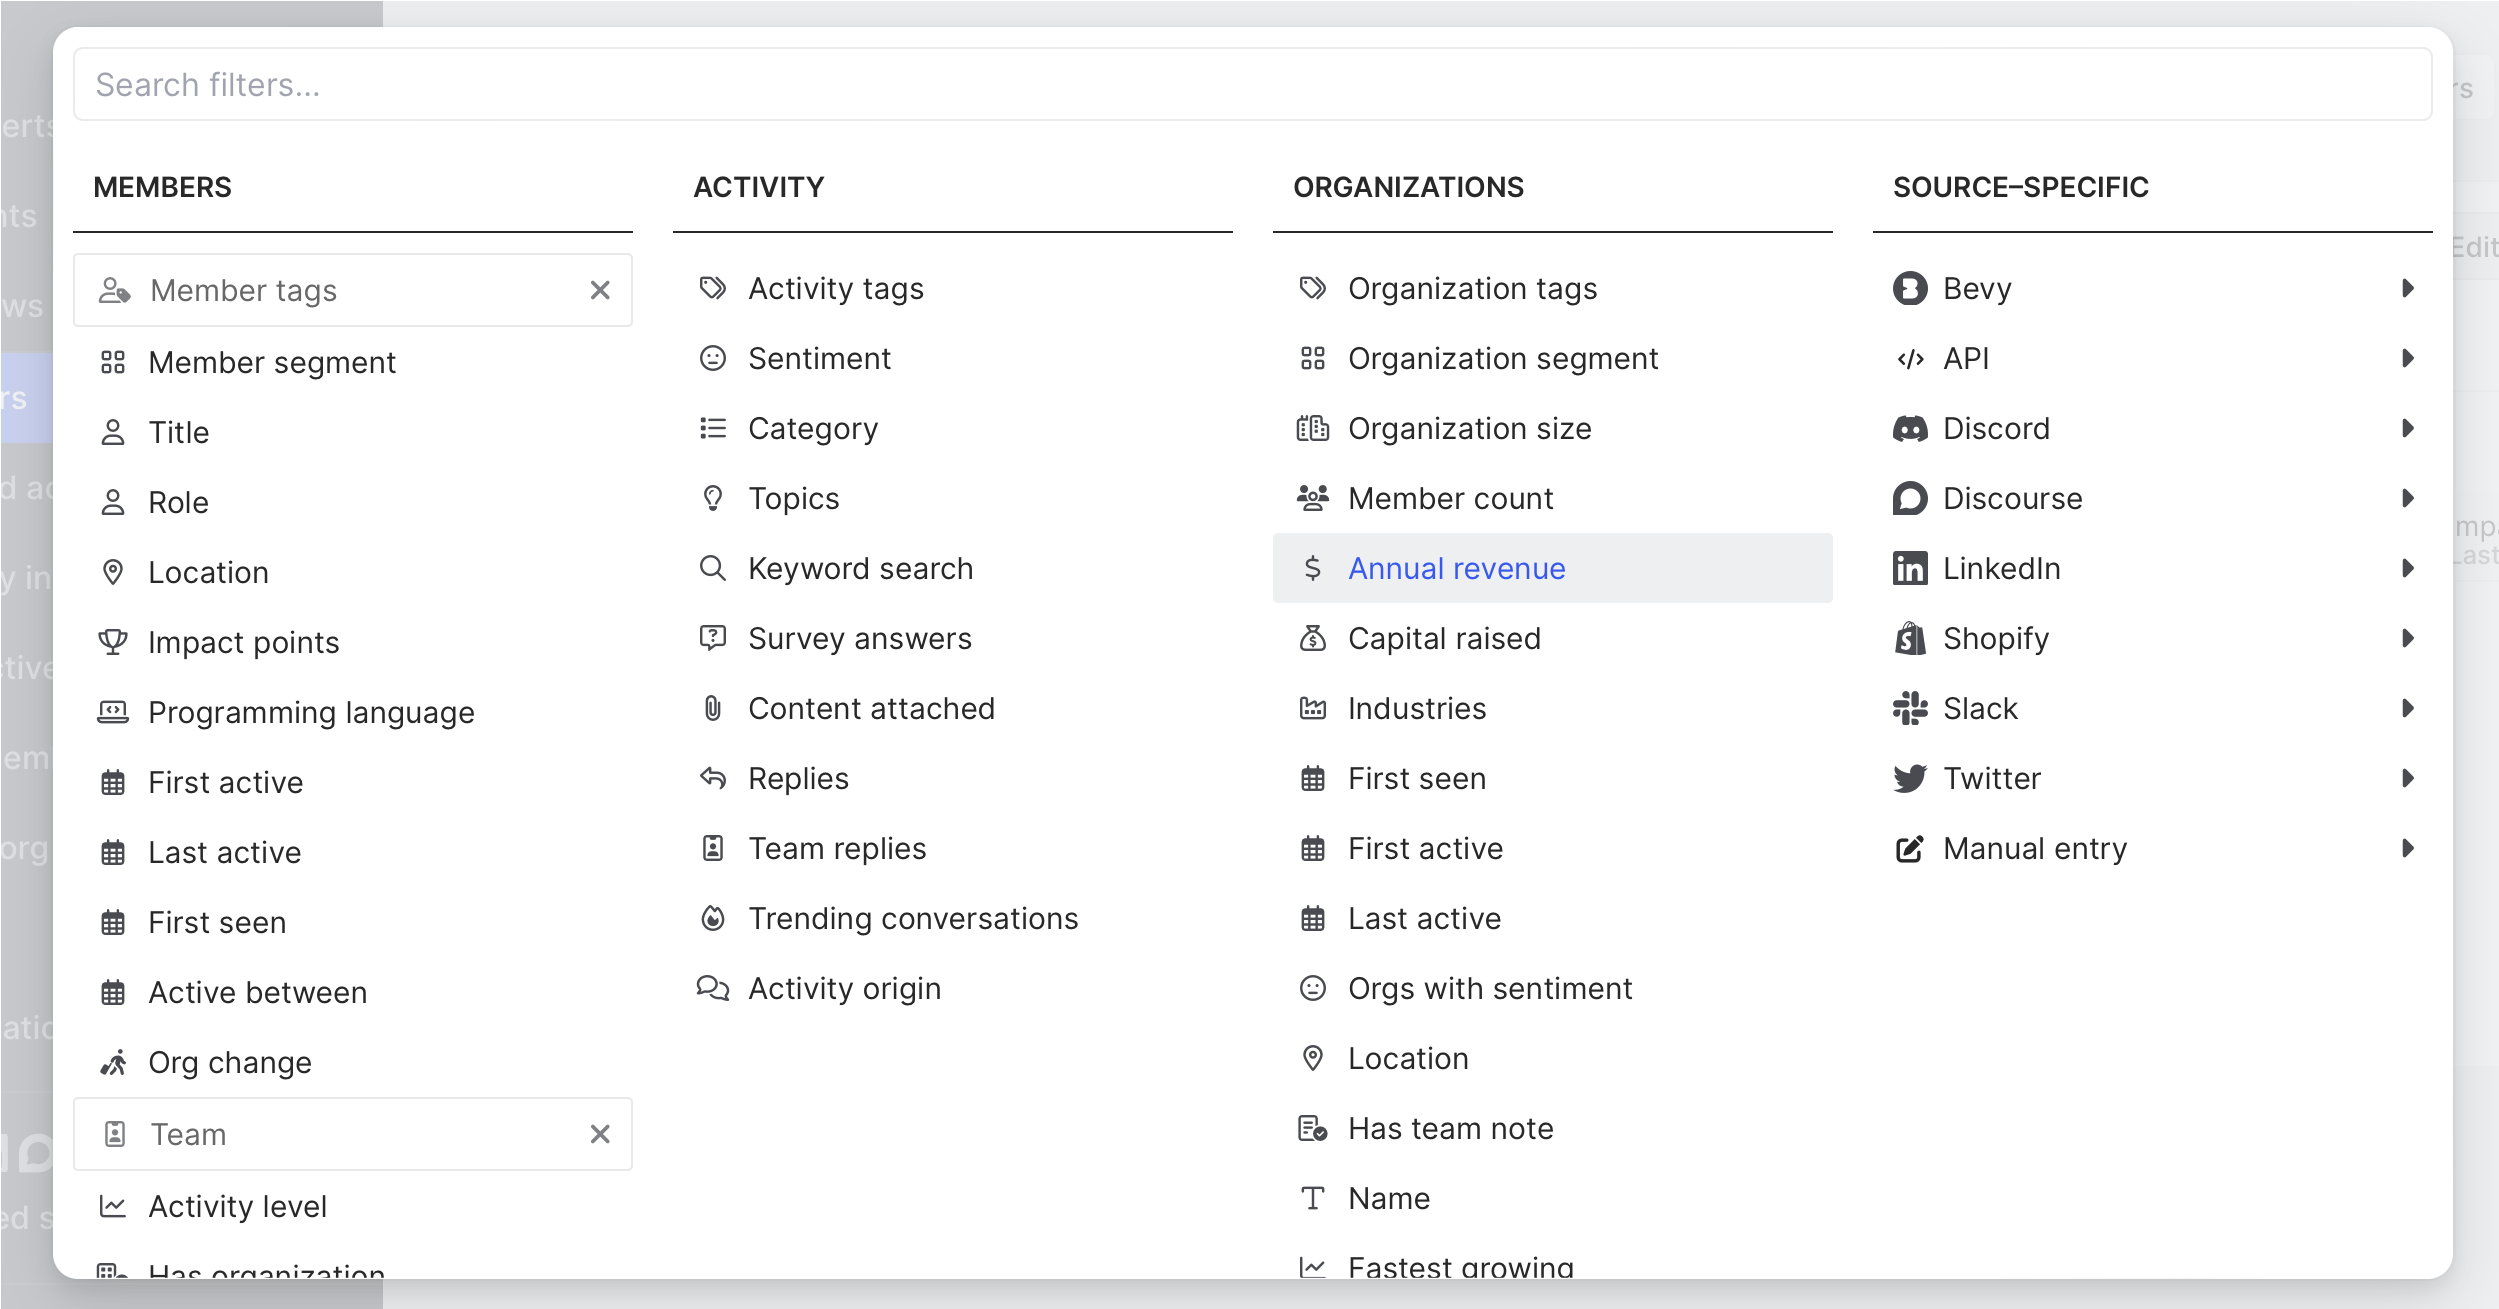
Choose Fields from the list of filters under Members.
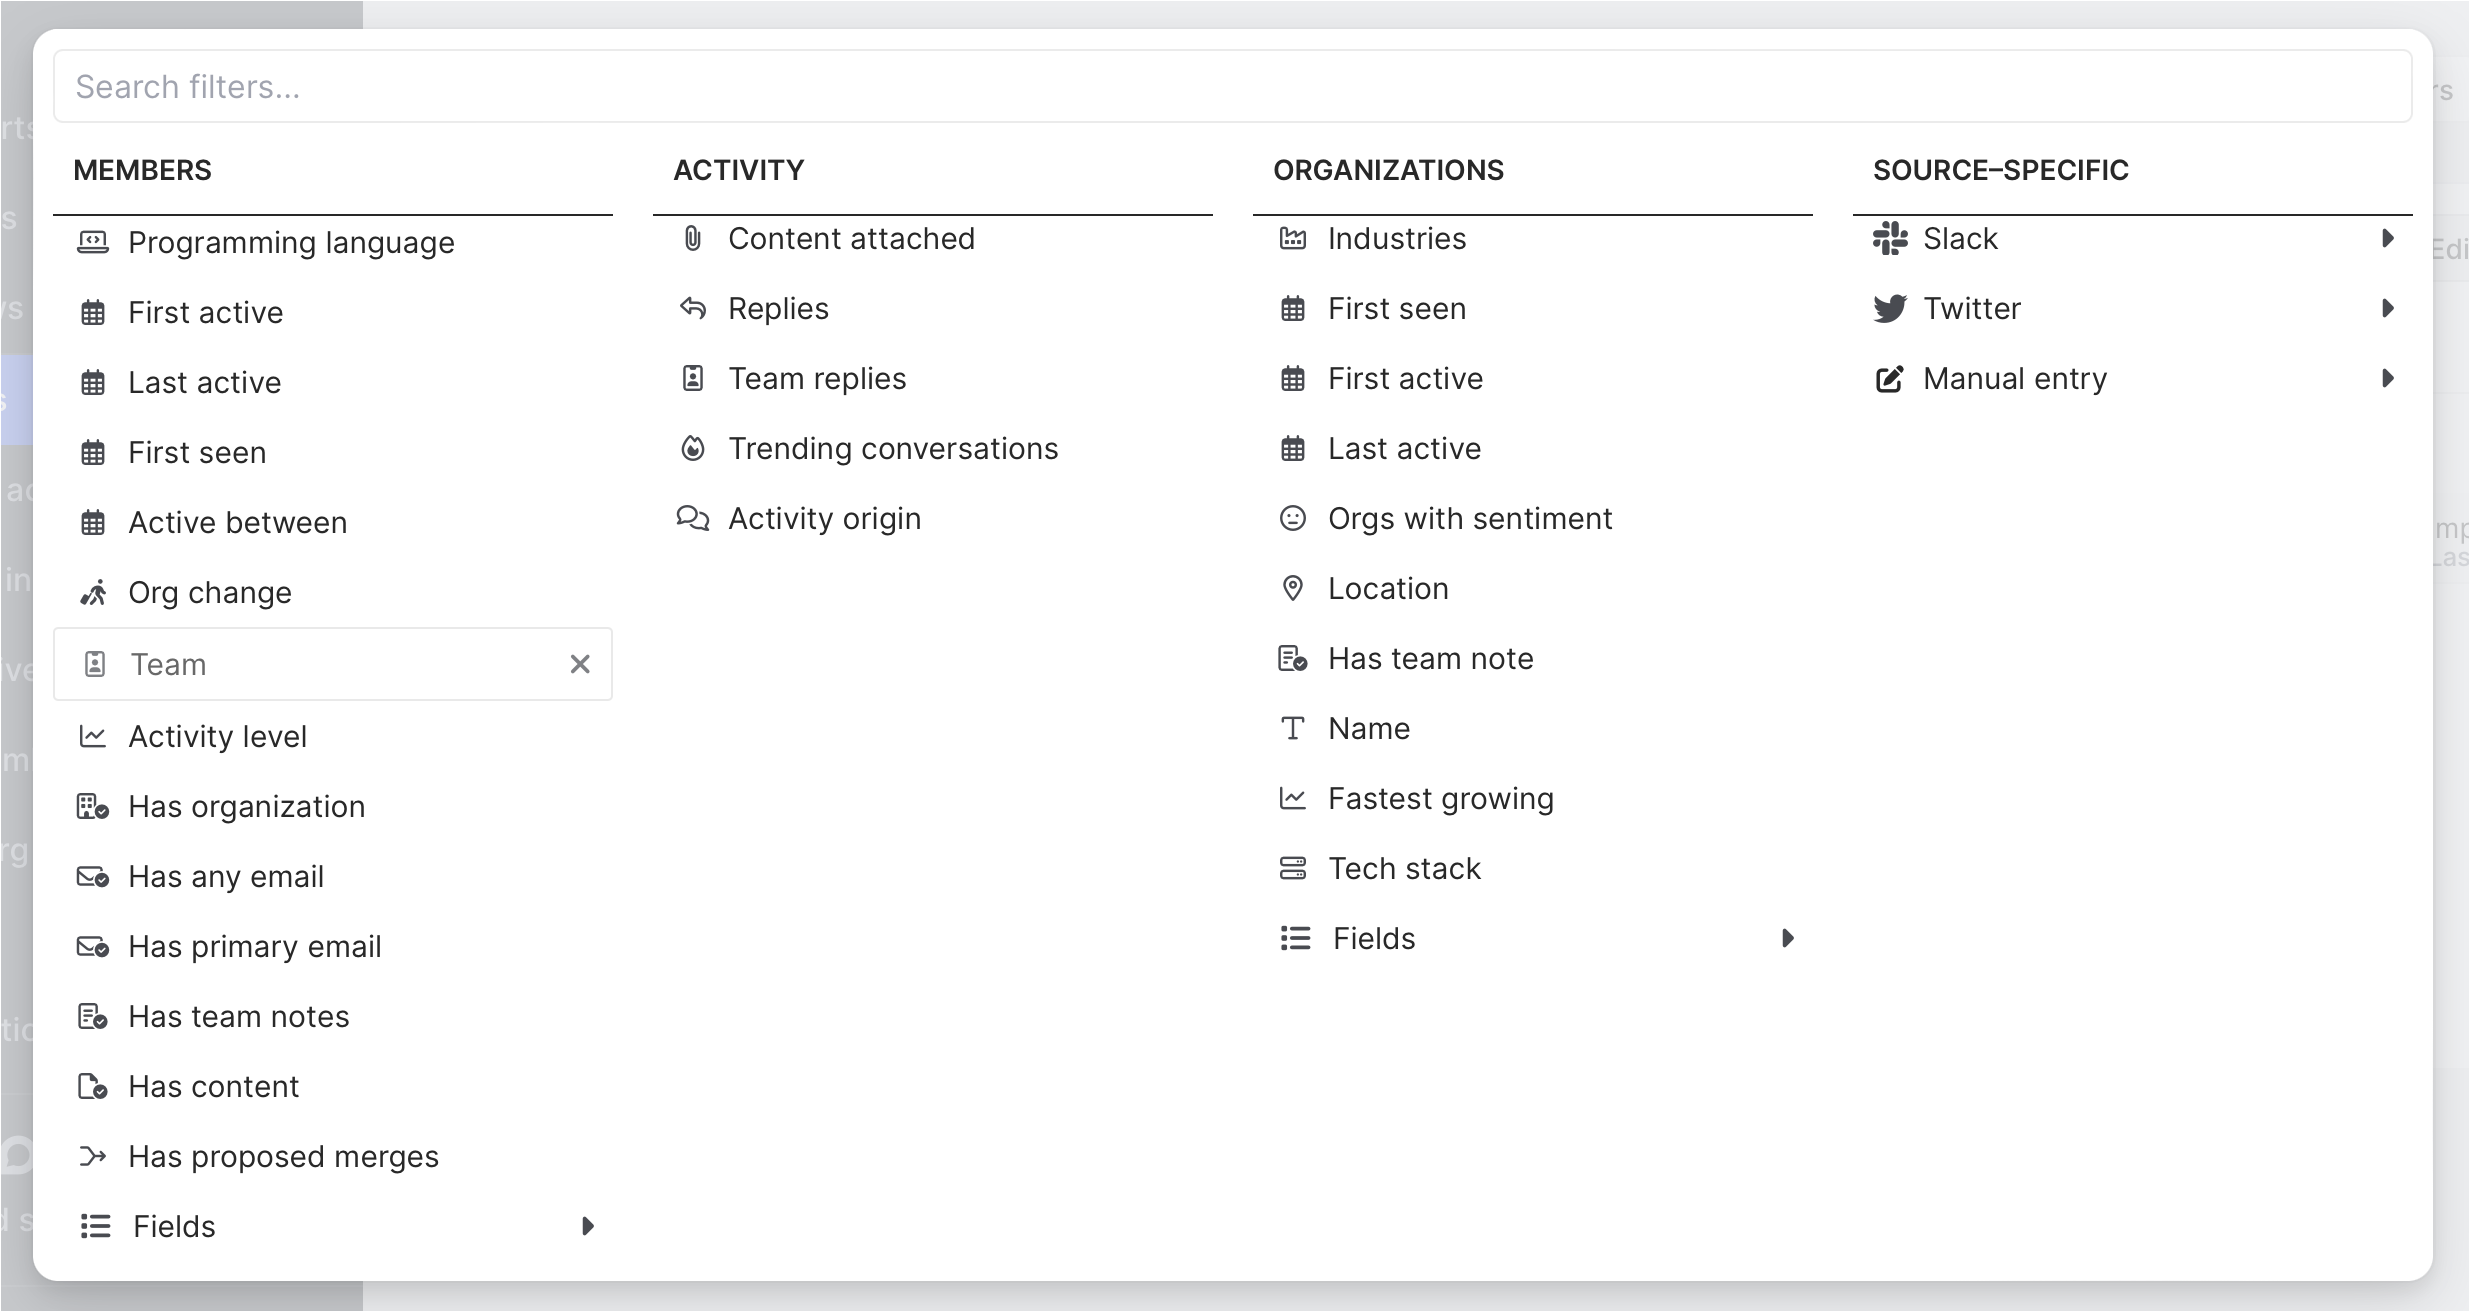
This will open up a dropdown list of all the fields we’ve mapped into Common Room from Snowflake.
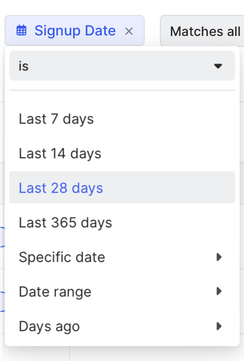
First we’ll choose Signup Date. This will bring up a dropdown menu where we can choose from a list of options or customize our own date range.
We’ll select Last 28 days.
Next we’ll add another field filter. This time we’ll choose # Design Files Created and put 5 in the At least box.
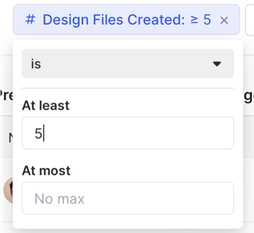
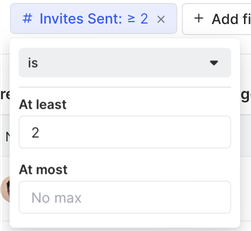
Finally, we’ll add a field filter for # Invites Sent and put 2 in the At least box.
Hit Save and you’re all set. Any individual who matches our criteria will be tagged as a product-qualified lead 🥂
Let’s take a look at what we’ve found.
Step 5: Identify PQLs
Click Back to app to exit the Settings menu, then click Members in the left sidebar.
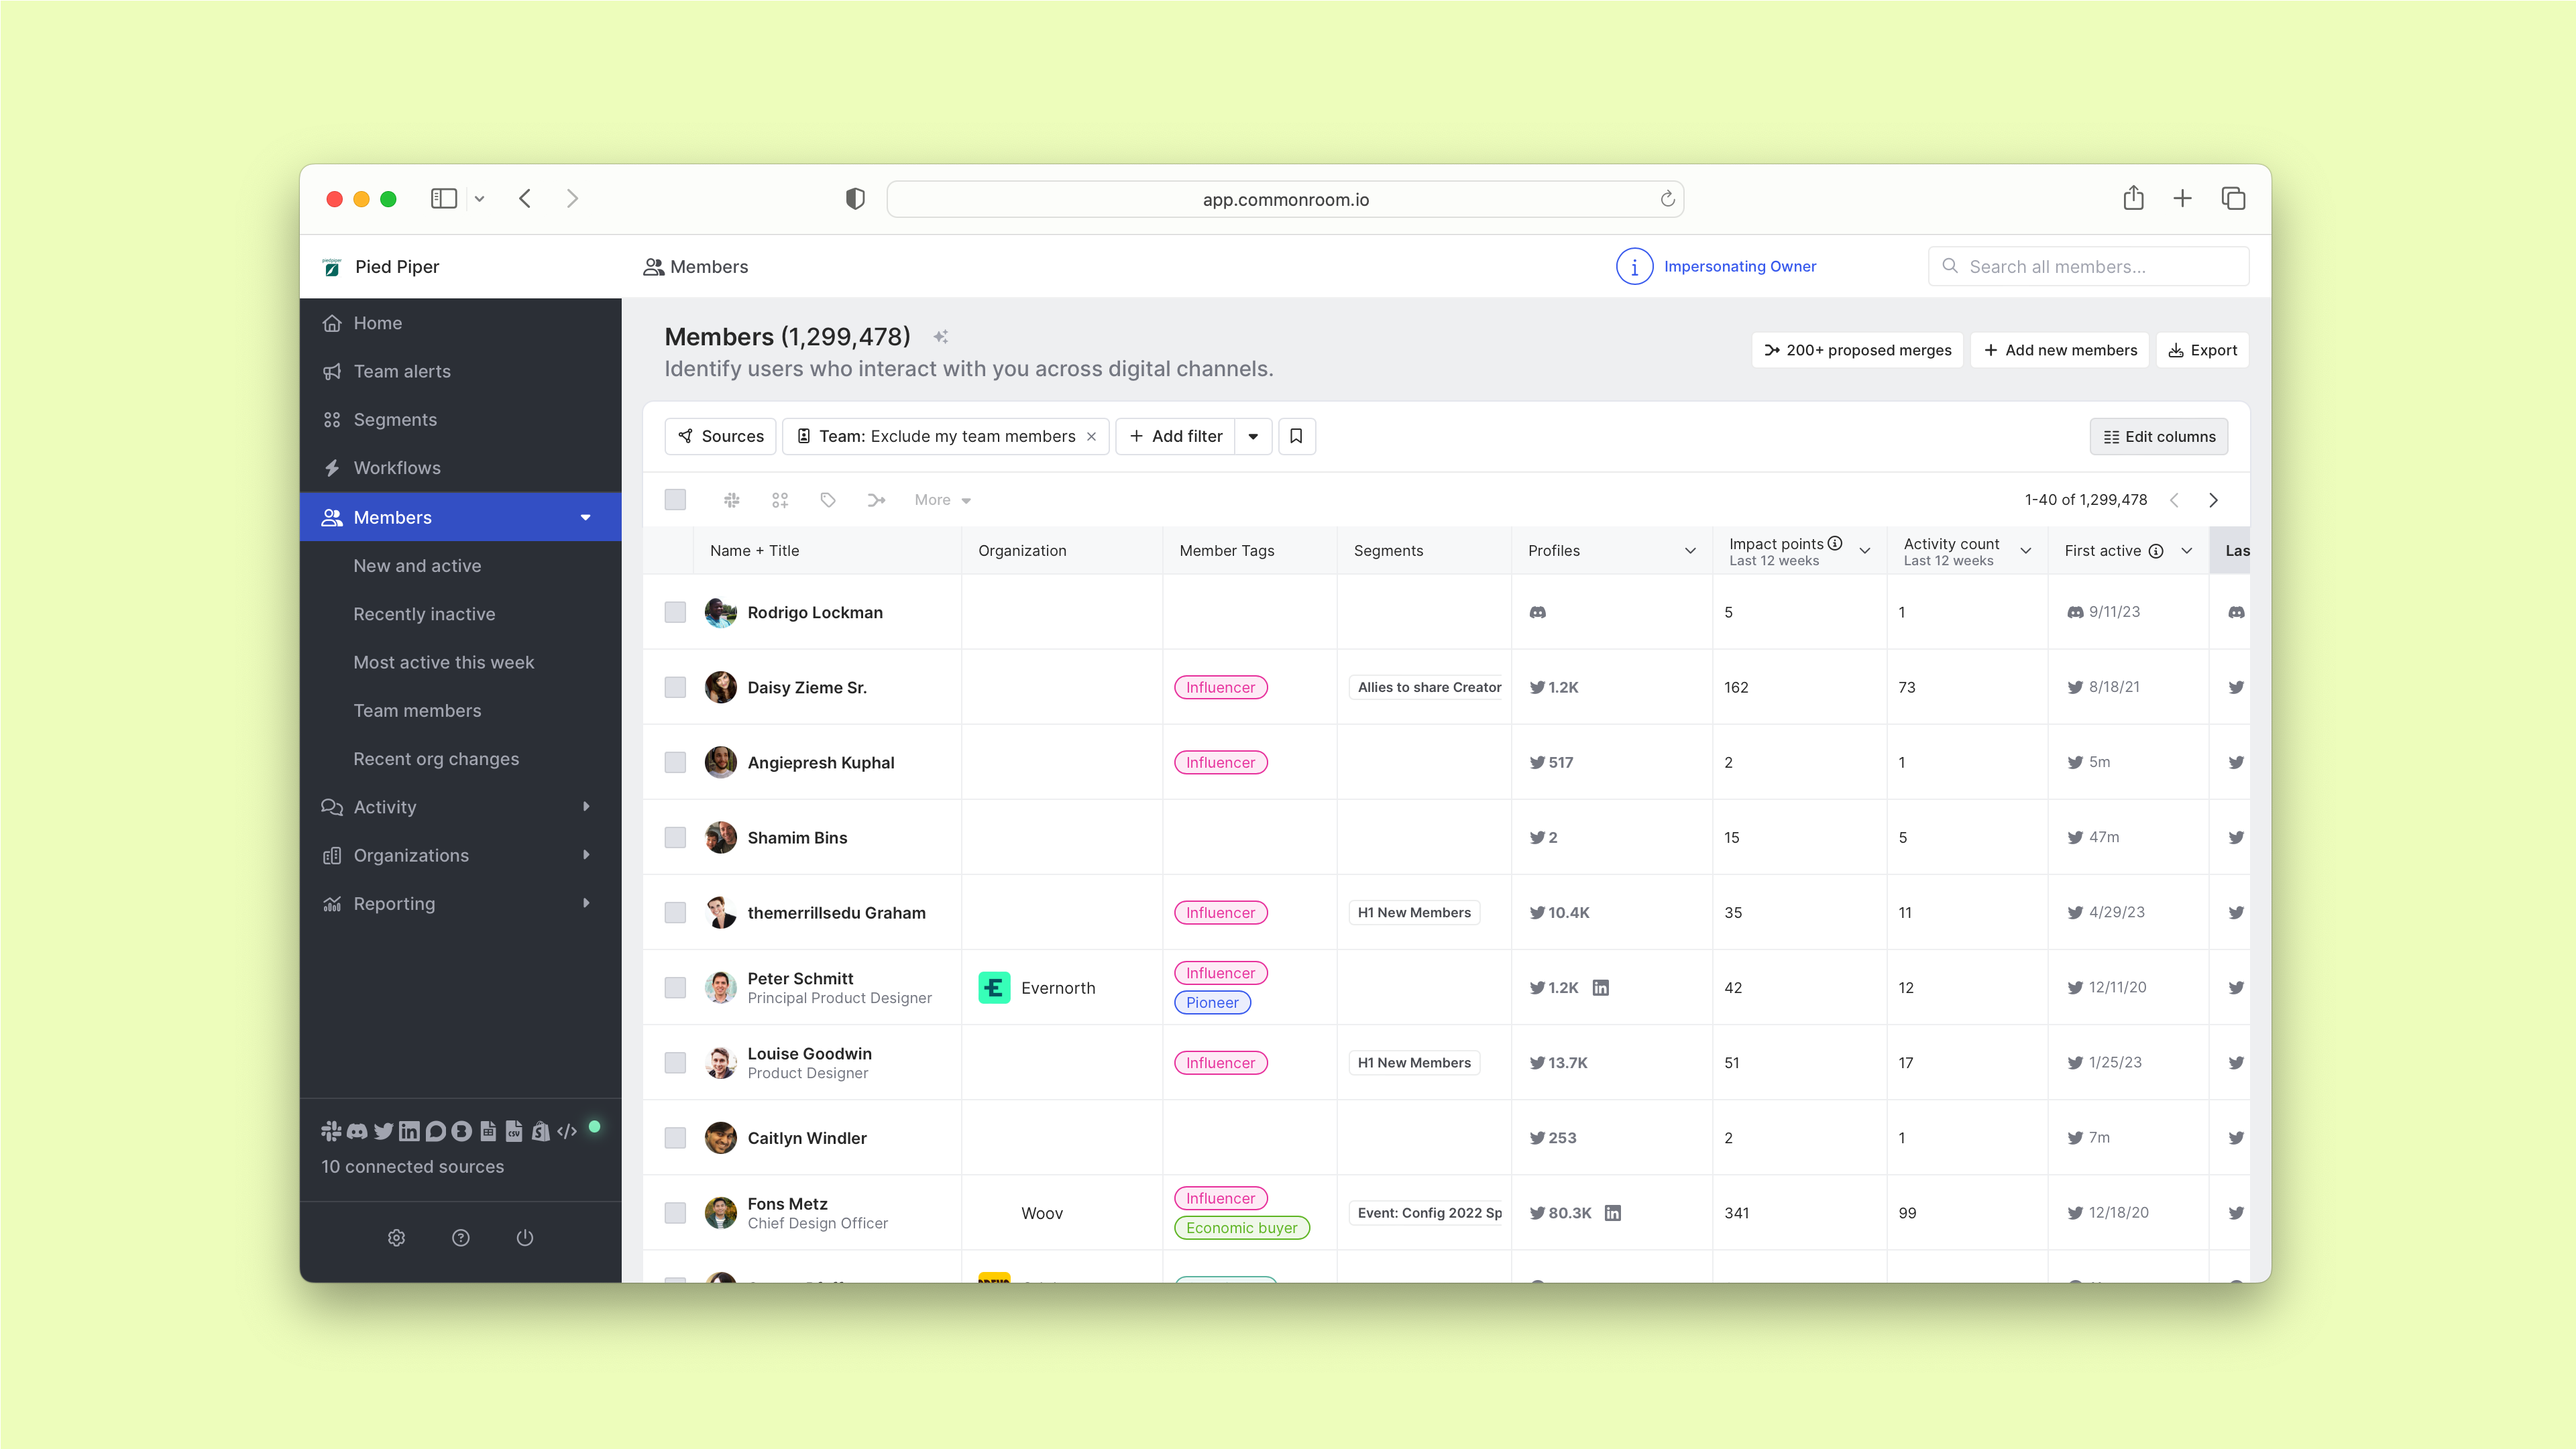
Select Add filter, then navigate to Member tags.
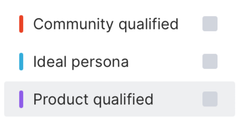
This will open up a dropdown menu. Choose Product qualified.

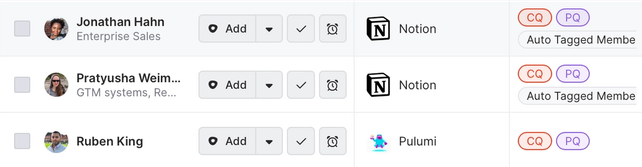
This will give us a view of every product user who matches our tag 👀
We can drill down further from here if we want to. Let’s say we'd like to prioritize the biggest and best opportunities—people who work at large organizations that bring in a certain amount of revenue each year.
We’ll click Add filter again and head over to Organization size.
After we select this filter, we’ll add 1,000 to the At least box.
Next we’ll add a filter for Annual revenue.
Then we’ll add $10M to the At least box.
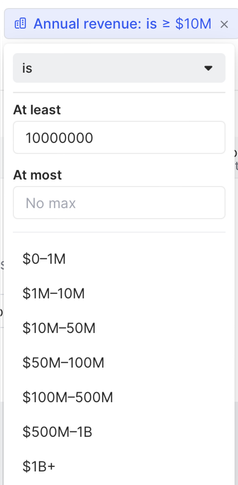
Now we have a view of all product-qualified leads that work at organizations with at least 1,000 employees and generate $10 million or more in annual revenue.
Let’s make sure we’re always kept up to date on our leads.
Step 6: Create real-time alerts
Navigate to Team alerts in the left sidebar.
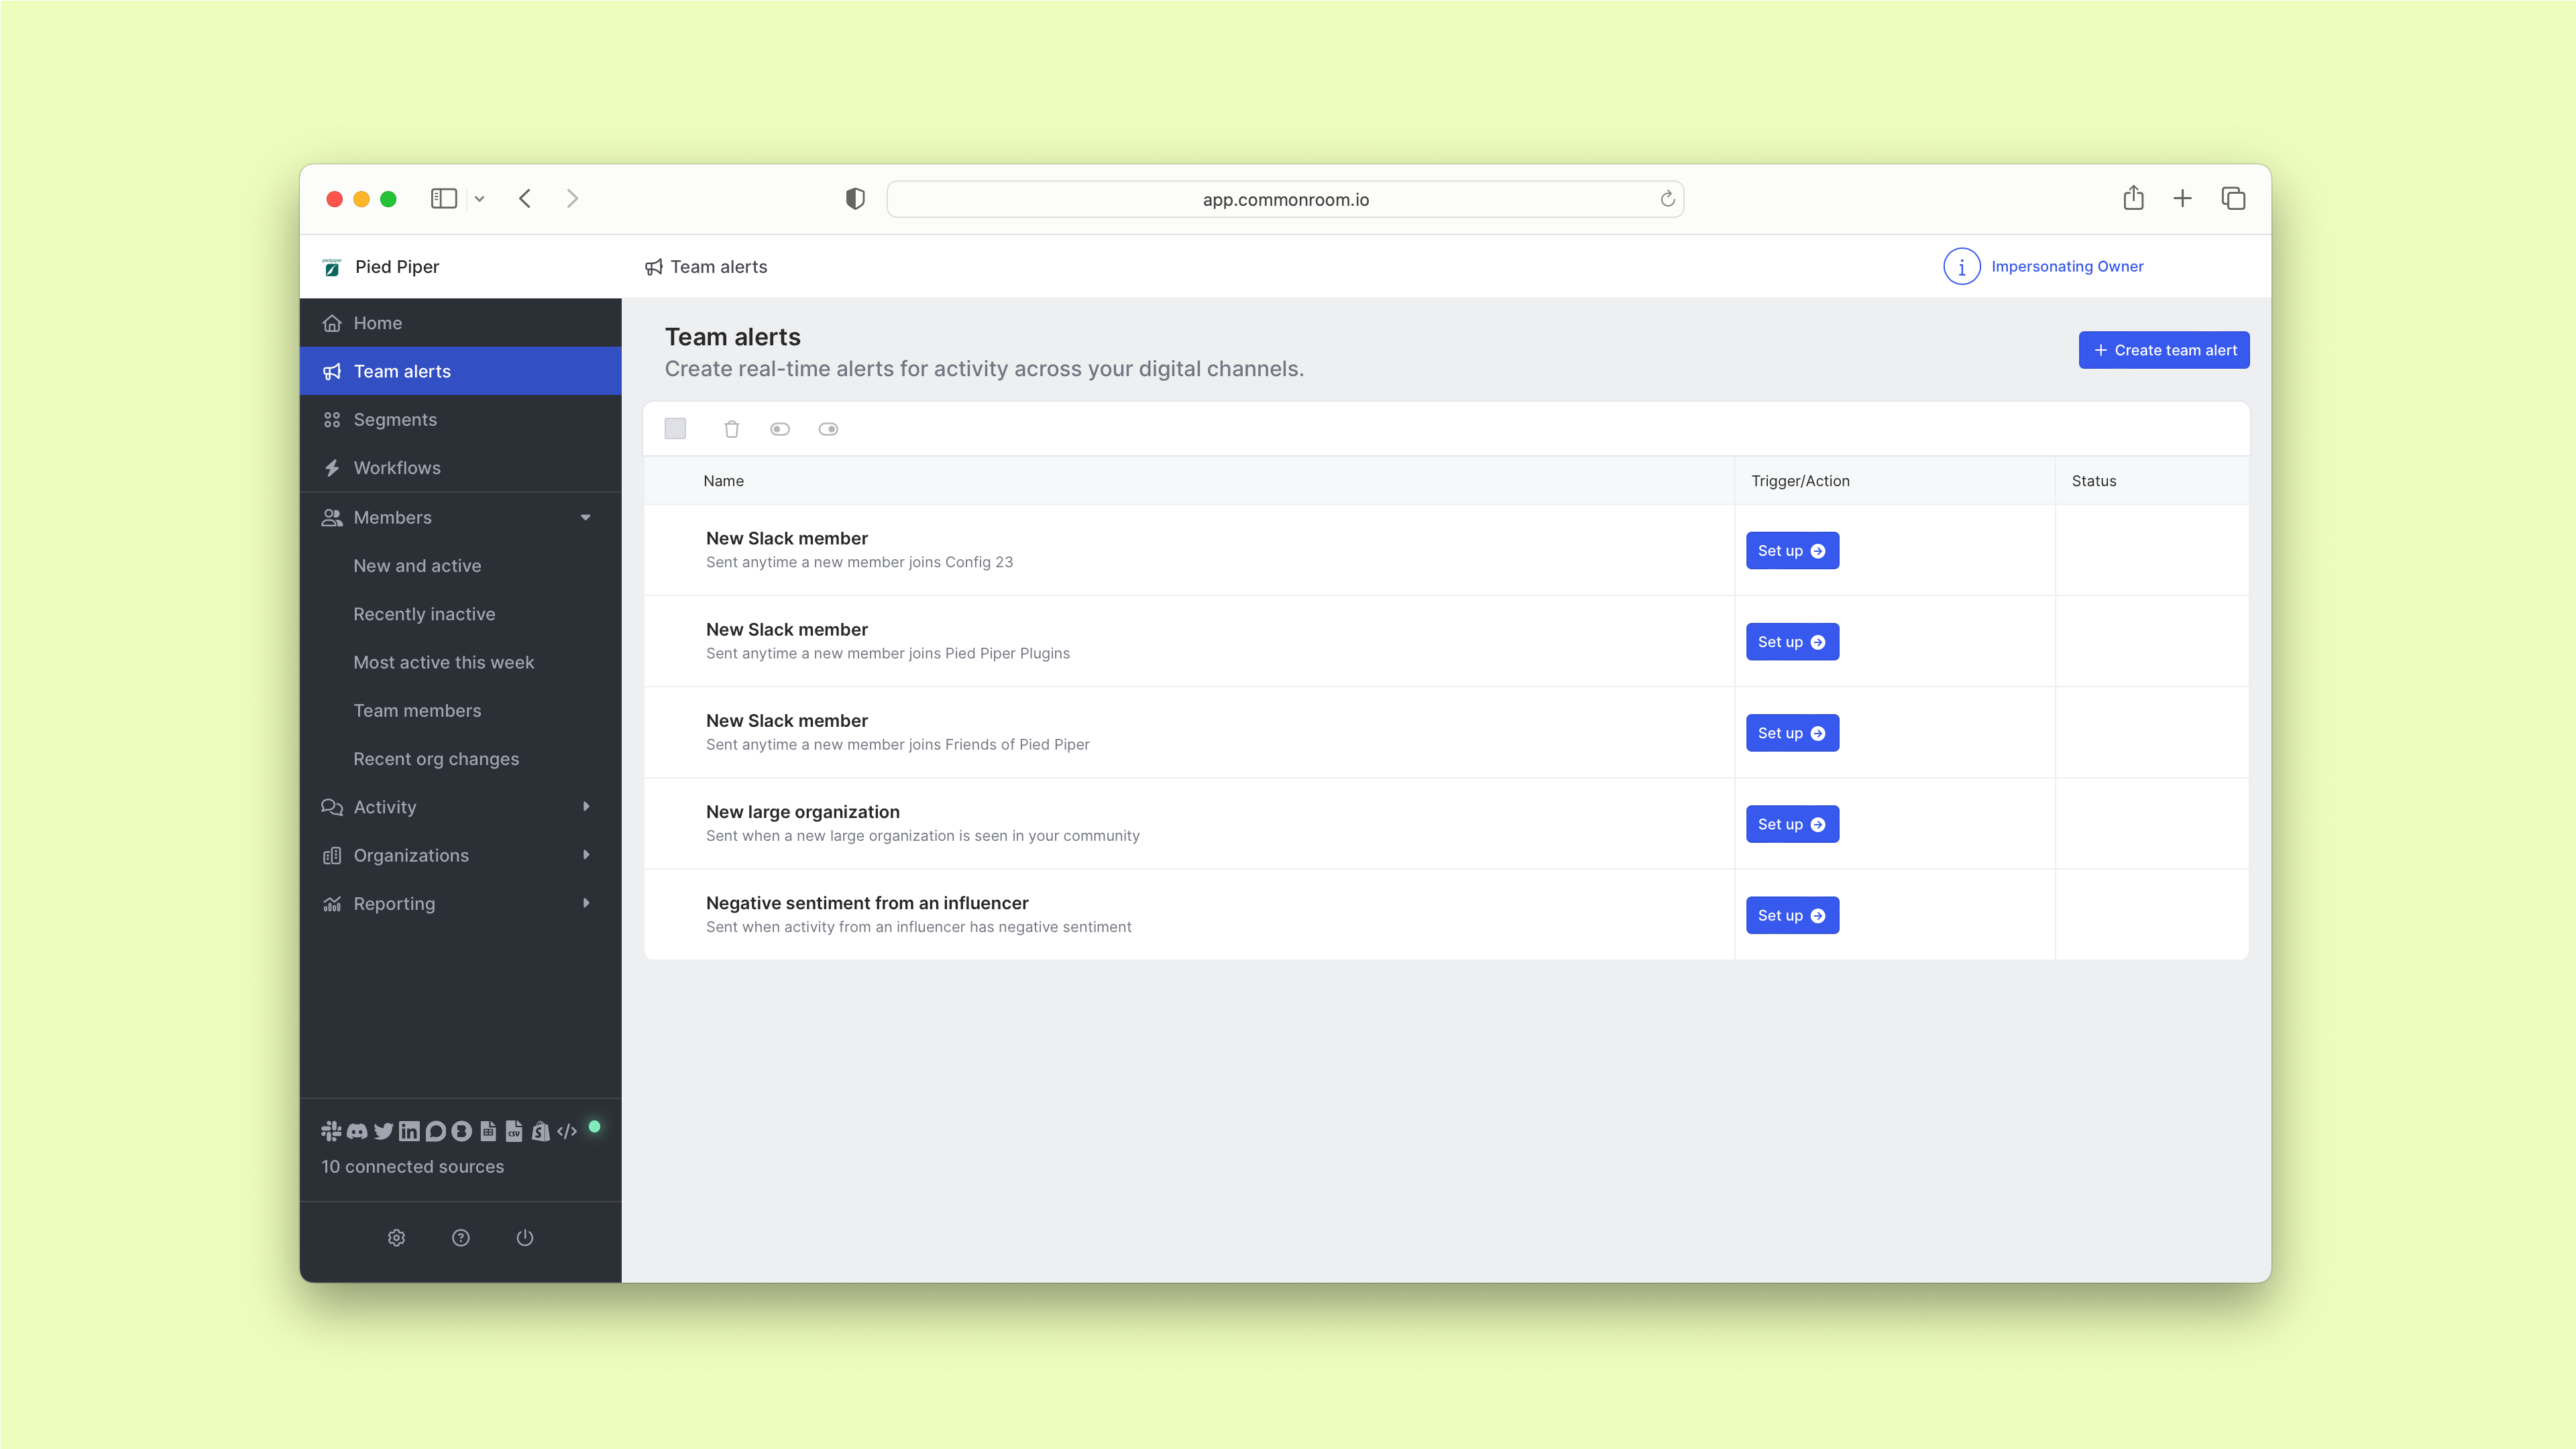
We’ll click Create team alert to set up what will trigger our alert and where it will be sent.
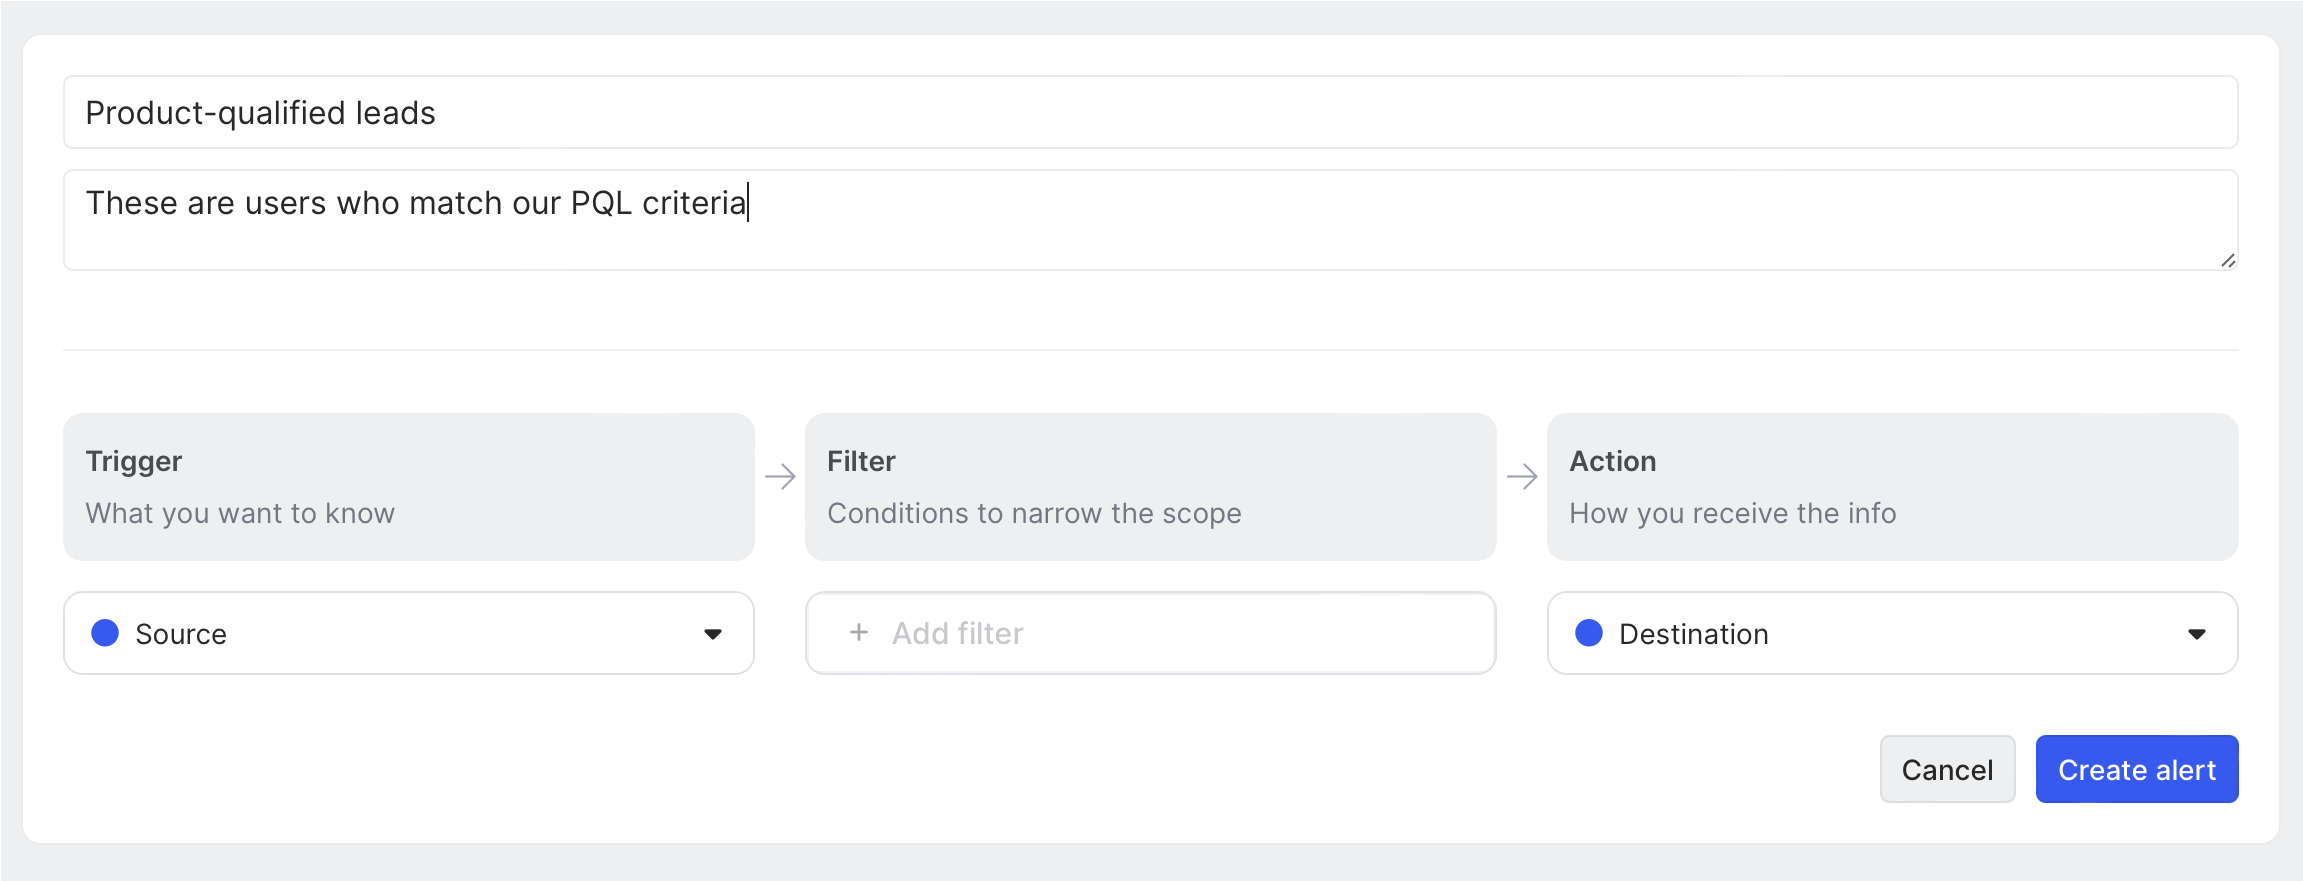
We want to get notified any time a user becomes a PQL 📟
First we’ll select New member under the trigger section.

Then we’ll click Add member filter under the filters section and choose Member tags. Select Product qualified from the dropdown list.
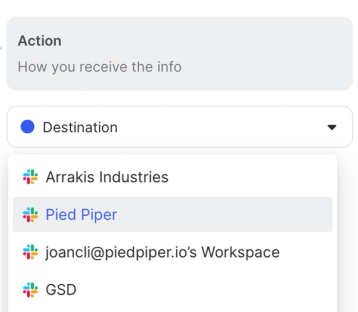
Finally, let’s make sure we get alerted where we work. We’ll choose an internal Slack channel under the Action section.
Click Create alert and now we’ll be the first to know about new PQLs.
But we don’t just want to know about product-qualified leads—we want to follow up with them. Let’s make it easy to get in touch with our PQLs.
Step 7: Create segment
Select Segments from the left sidebar.
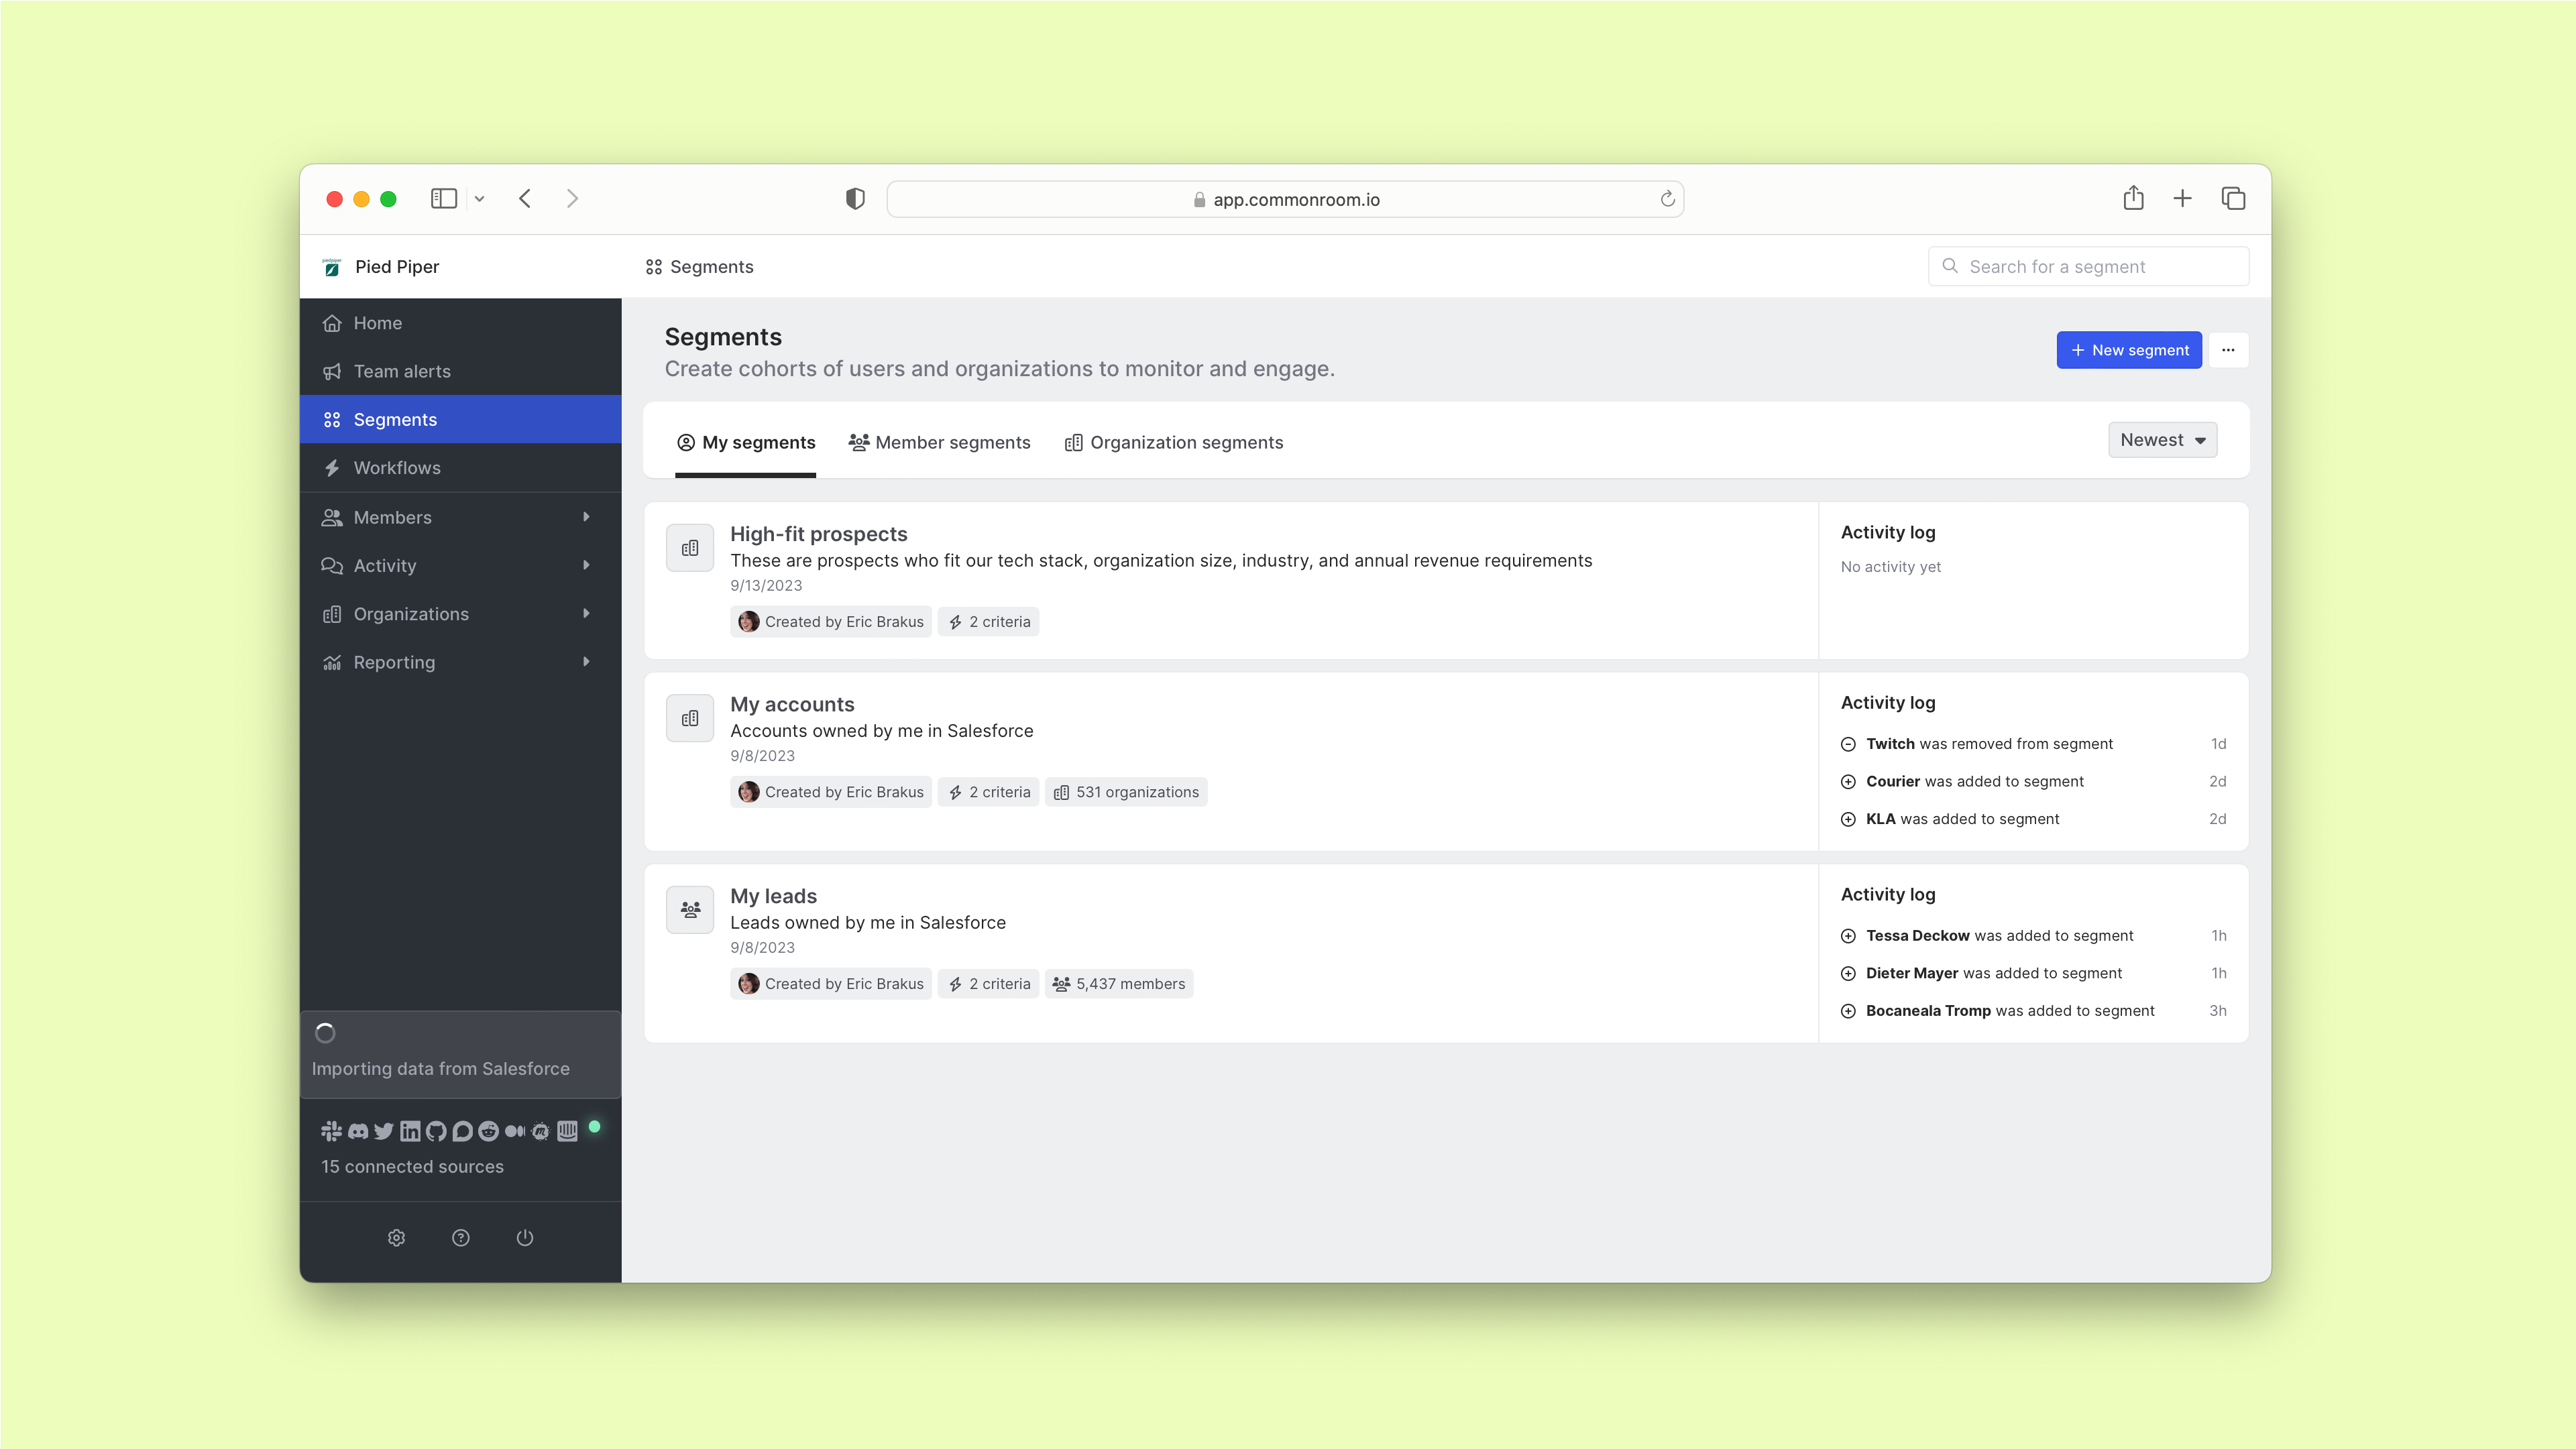
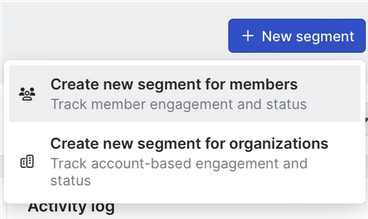
Click New segment and choose Create new segment for members.
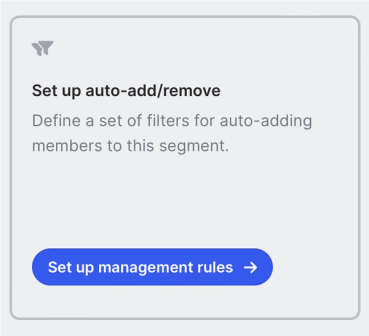
Next we’ll click on Set up management rules to configure how leads will be added to our segment.
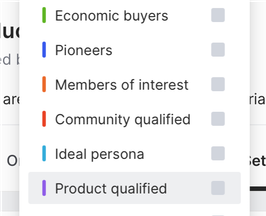
Click Set criteria, then hit Add filter. Choose Member tags and select Product qualified from the dropdown list.
Segments are reactive. Any time a person matches our criteria, they’ll automatically be added to our segment. Likewise, any time a person stops matching our criteria, they’ll be removed. We can always turn this off by unselecting the auto-remove feature.
We’ll click Save and now we have a list of all our PQLs.

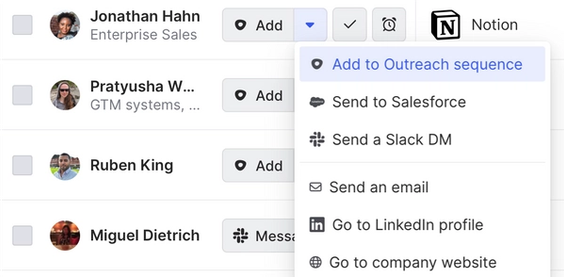
Now let’s make it actionable. We’d simply toggle on Task view at the top of our segment page and voilà—we can work down our list one by one 🗂️
Depending on what integrations we have set up in Common Room, we can add leads to an Outreach sequence, send them to Salesforce, DM them on Slack, and more.
We can mark leads as complete as we work, or even snooze them to repopulate our list at a later date.
We’ll be turning product-qualified leads into product-qualified buyers in no time.
Wrapping up
There you have it—a fast, easy way to surface product-qualified leads and take action on them right away.
We can discover high-intent product users, evaluate their customer fit, stay alerted to their movements, and reach out to them—all from the same place 😍
In search of another playbook? Let us know what you had in mind. And if you haven’t already, Request a demo
We think you'd like these
Playbook
Build a customized view of your leads and accounts
Create a sales command center to boost productivity.


Playbook
Automatically identify and track economic buyers
Hone in on the people who hold the purse strings.

Playbook
Add community-qualified leads (CQLs) to your funnel
Introduce a new source of high-intent leads into the mix.
