Product Update
Common Room is a GTM and sales pipeline platform focused on unifying intent and buying signals, enriching contacts and accounts with AI-powered context, and activating precise pipeline plays. Learn more.
Community activity remains supported as one of many possible sources of intent within the broader set of GTM signals. Some resources below reflect earlier community-led examples and may be outdated.
Overview
There are many reasons to use Slack to survey your community—faster responses, higher completion rates, and better user experience (no need to jump to a survey website!).
The problem is that surveys on Slack are notoriously limited. Single question only. Respond by emoji. Zero personalization.
It doesn’t have to be this way.
In this playbook, we’ll show you how to use Common Room to create a multi-step Slack survey and send it to only the members of your Slack community you want it to go to. No making new channels or manually sending direct messages!
What you’ll need
Step 1: Connect to Slack
This is a Slack-specific playbook, so we’ll need to hook up Slack to Common Room.
With Slack connected, we’ll be able to see our members, their activity, info about where they work, and a whole lot more. And we can use all of this info to personalize the survey we send!
To connect to Slack, head over to Settings in Common Room and choose to add Slack.

You’ll need to click through a few prompts and authenticate to enable the integration, which should take less than a minute.

Once authenticated, data will start importing into Common Room. You’ll begin to see members and activities populate immediately, and it should just take a few minutes for the full import to complete.
Now, onto the next step.
Step 2: Define a target audience for your survey
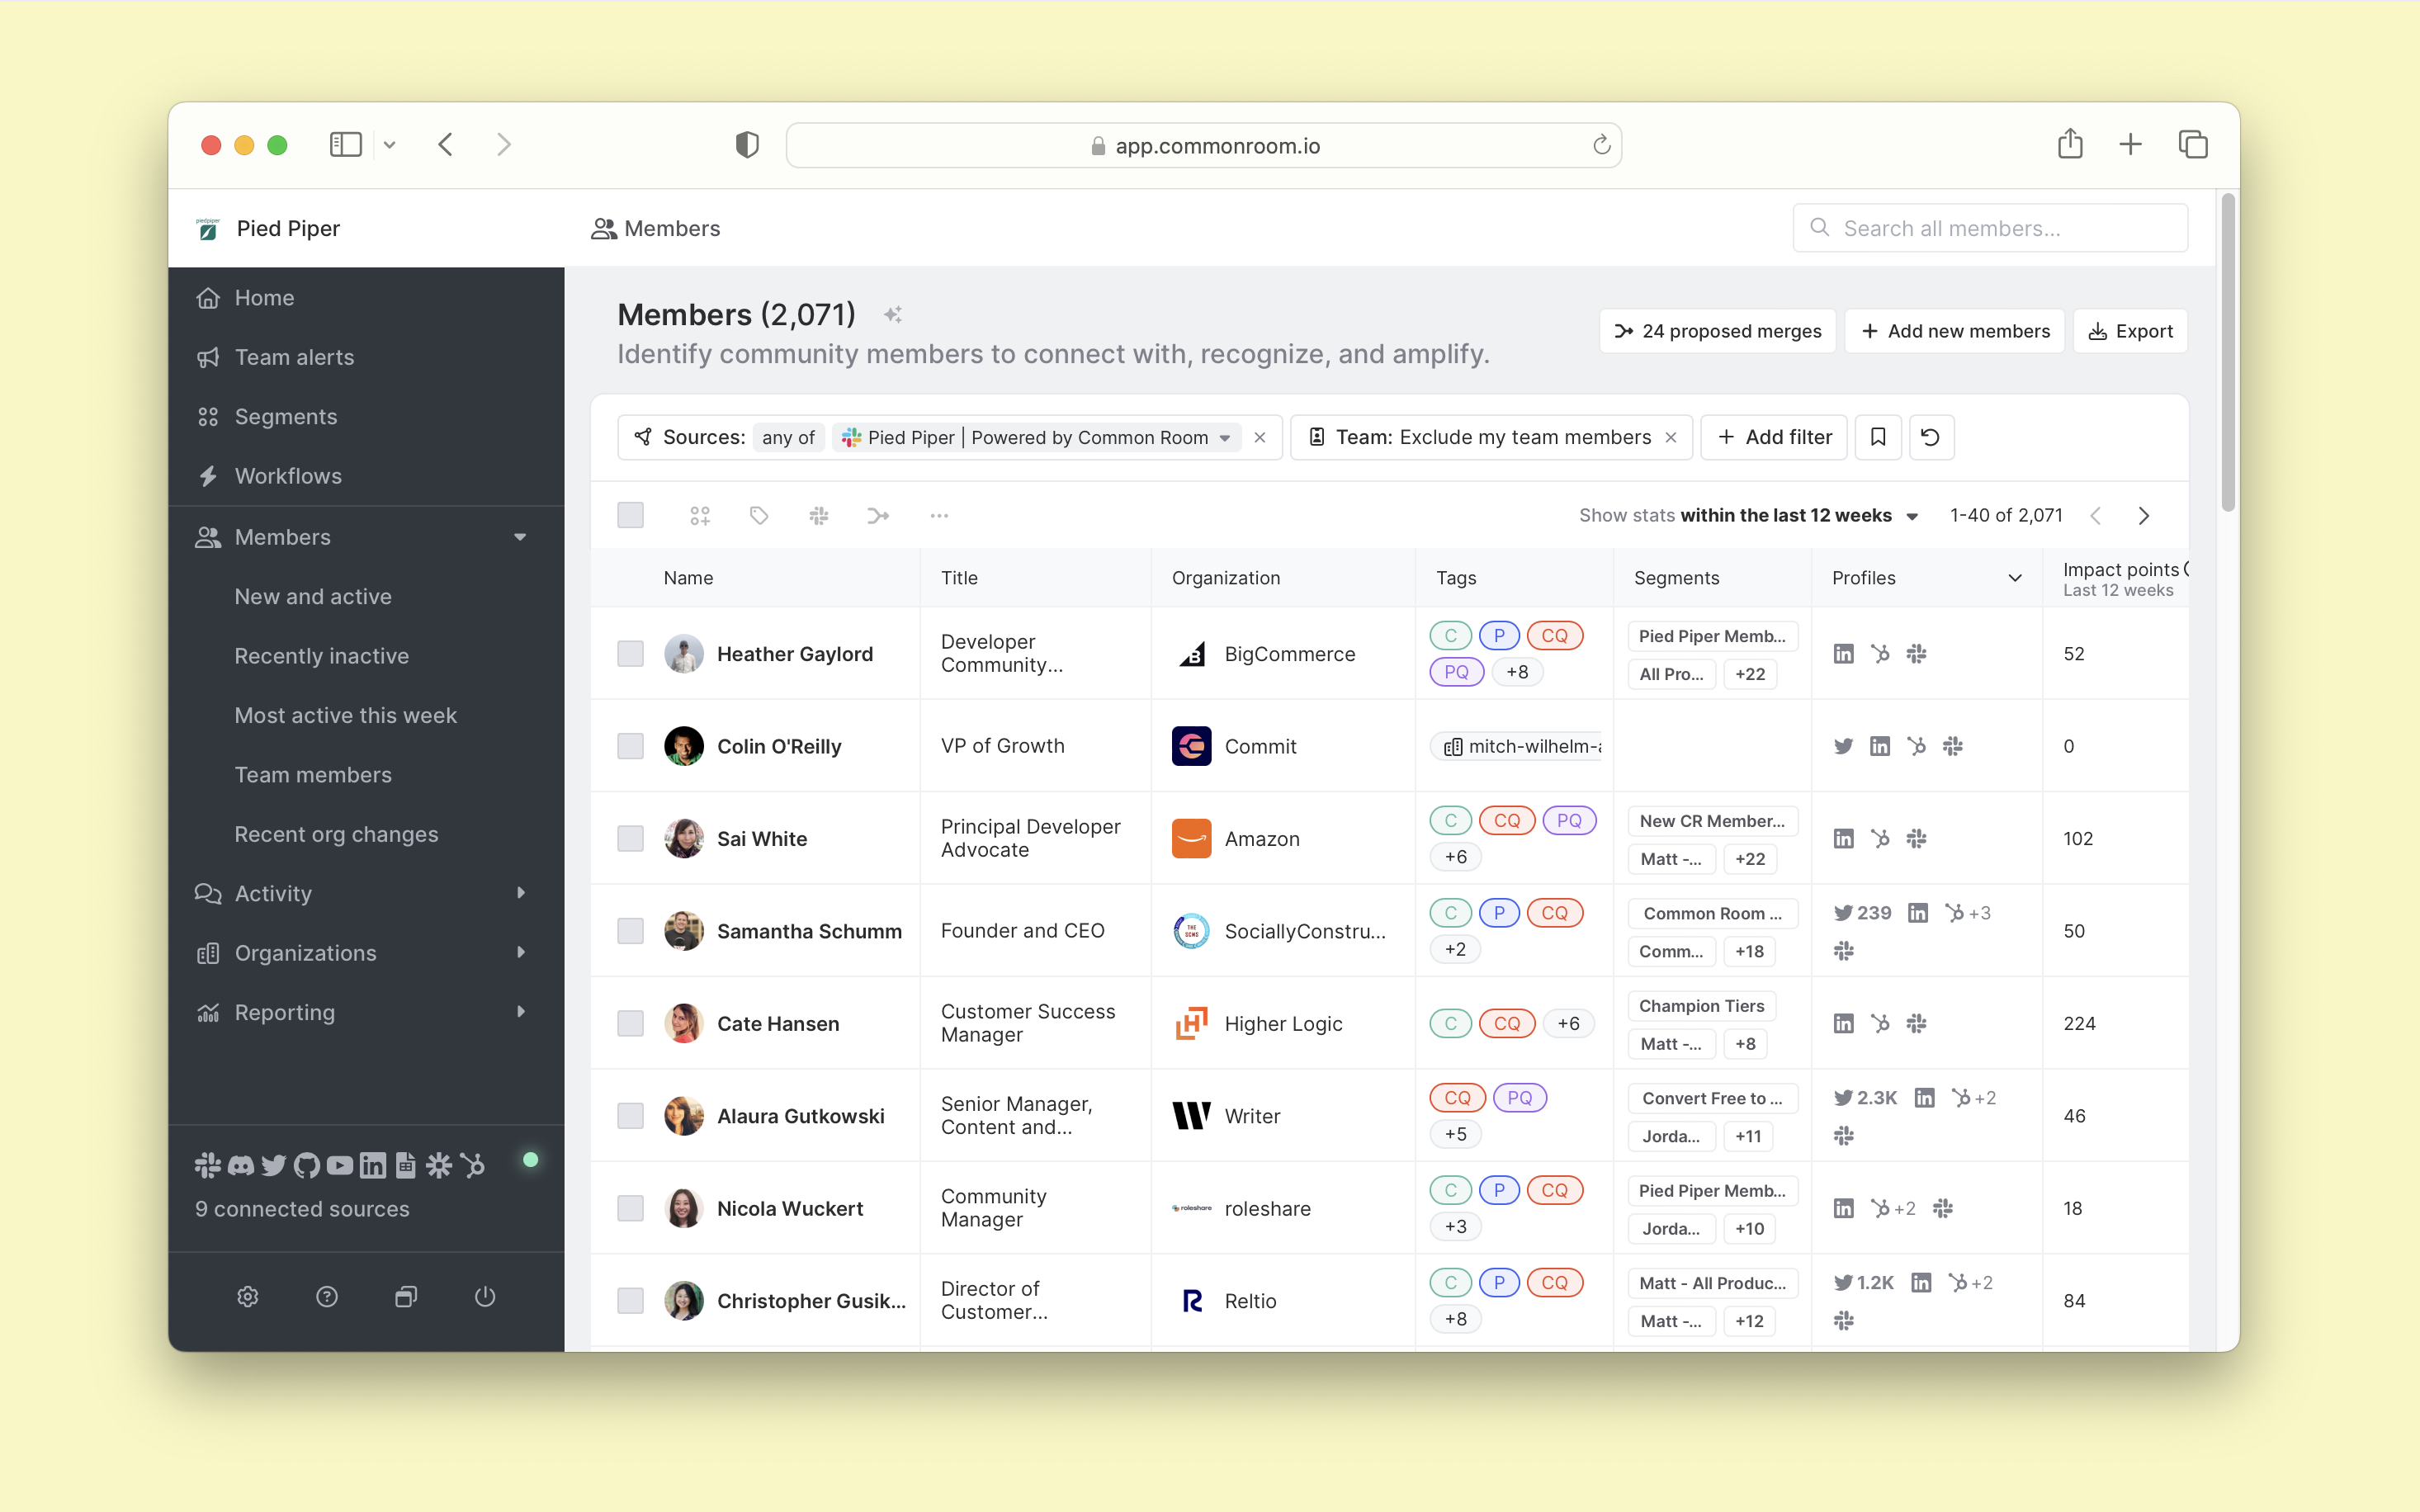
After connecting your Slack, you’ll see all members in your community from the Members menu in Common Room.
In addition to the member information passed over from Slack, Common Room fills in the gaps of publicly available firmographic data like company name, size, location, etc.
Here’s what that looks like:
For this example, let’s imagine we want to send a product-market fit survey to active users who fit the mold of our ideal customer profile.
Because there’s no easy way to identify these members in Slack, we can start applying filters in Common Room.
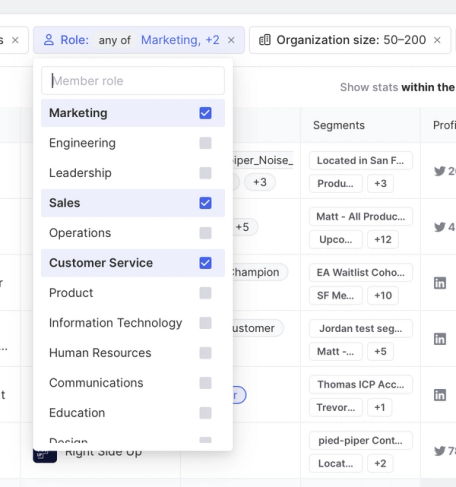
Let’s start with filters for our ideal customer profile, which we’ll define as anyone at a company with more than 50 employees and in a go-to-market role.
We can simply click the + Add filter button and select the corresponding options for Organization size and Member role.
In this case, we’ll also want to add a filter for anyone who logged in at least once in the last 30 days.
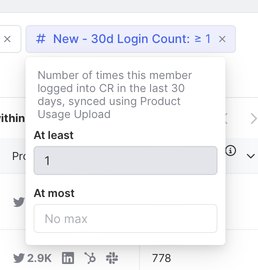
With these filters in place, we have a narrowed list of recipients for our multi-step survey.
Step 3: Tag members for targeting and reporting
Next, we’ll want to add tags to these members to reference them when we build our survey.
To do that, we can select the empty check ✅ the button on the top left of our members preview to select all who qualify (and be sure to click the “select all members” link).
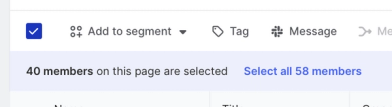
And then, we’ll click on the Tag button and create a new tag labeled something like “P/M fit survey” or similar.
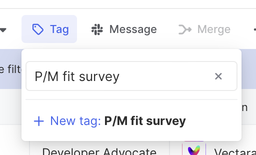
We’ll click + New tag and follow the prompt to tag new members. And with all of these members tagged, we can reference the tag in filters and workflows going forward!
Now, we’ll start to build our survey.
Step 4: Compose your multi-question survey
For this step, we’ll click on the Workflows menu in the left sidebar and click on the + New workflow button.
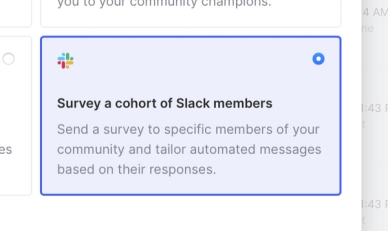
This brings up a menu of options for pre-built workflows — everything from Discord member verification to Slack surveys.
From here, we’ll click on the option to survey a cohort of Slack members.
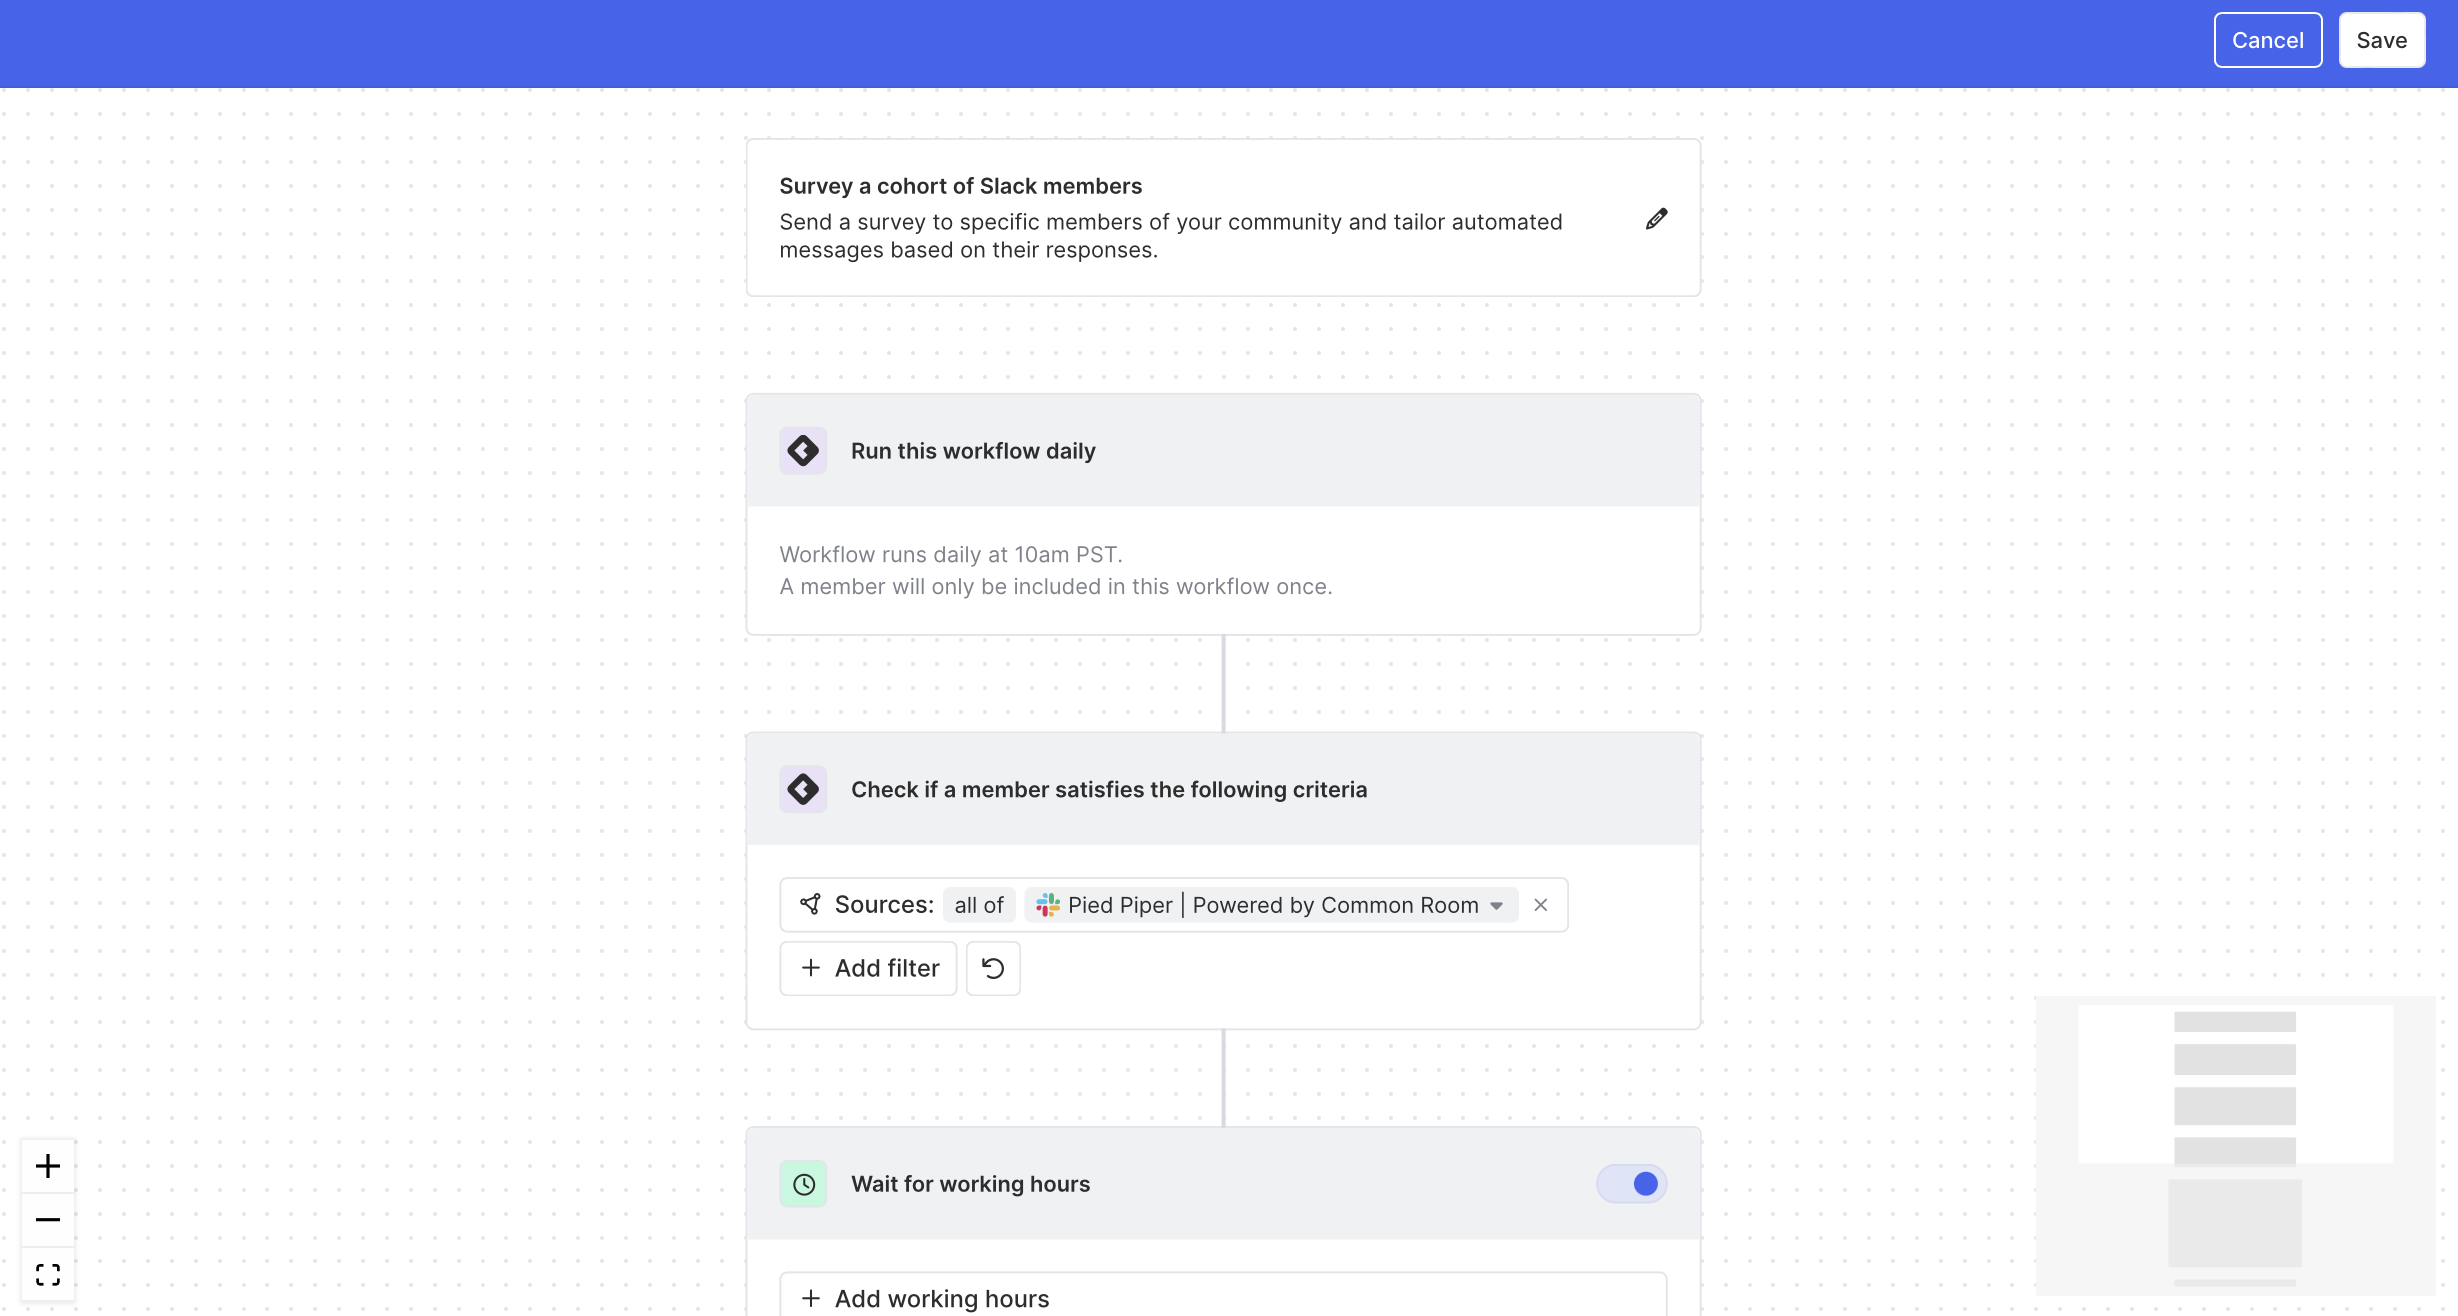
This brings us to a workflow canvas to design our survey, which looks something like this:
The first thing we’ll want to do from here is add a filter using the tag we just created. So we’ll click the + Add filter button and apply a Member tag filter.
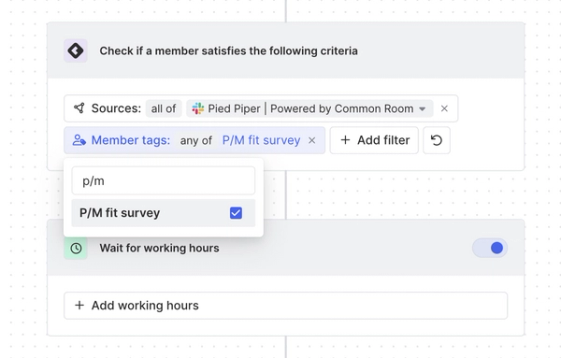
The workflow’s next step allows us to choose when to send this survey. For this example, we can just toggle off the option to wait for working hours so it will send immediately. (Feel free to set working hours if you want.)
Next, we’ll build our survey by choosing the Slack account we just authenticated in the first step and adding questions to the composer.
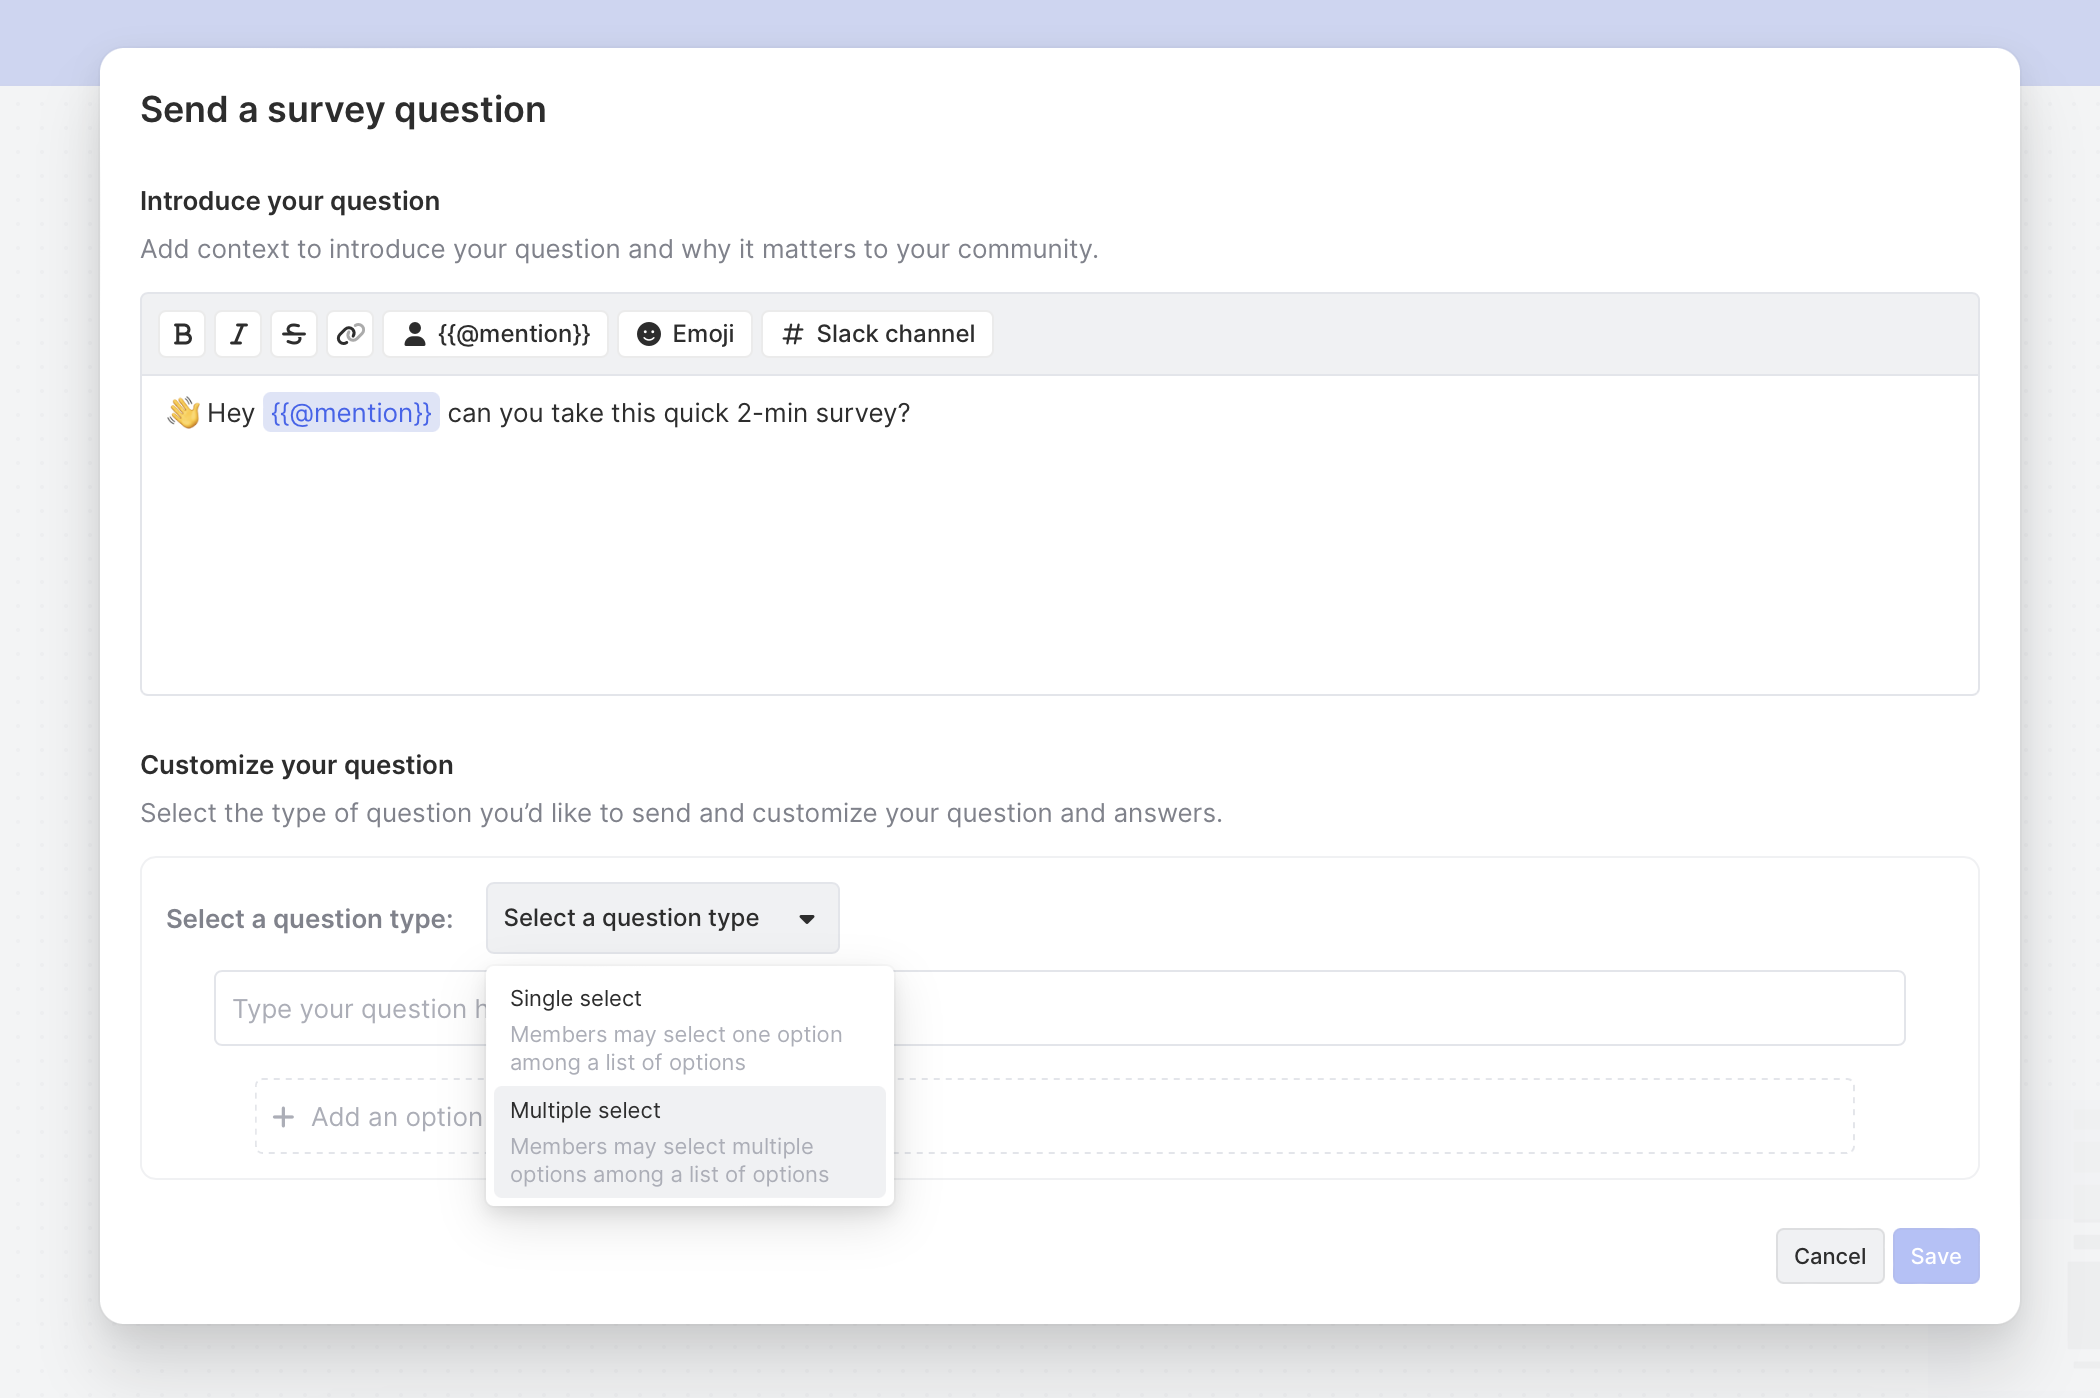
We can add some intro text and rich-text features of Slack, like mentions, emojis, and styling. And then, we’ll select the Single select option for our first question.
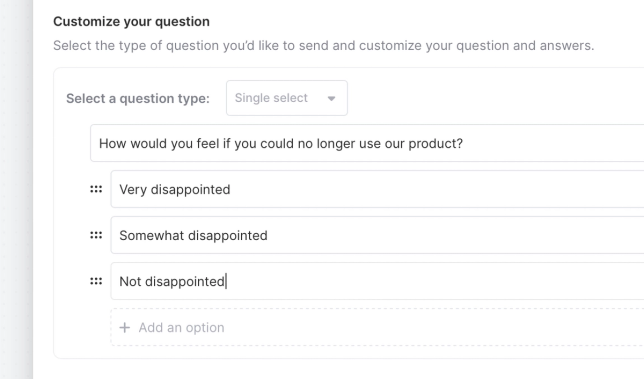
Then we’ll add our questions and options for a product-market fit survey.
After clicking Save, you’ll be placed back into the workflow canvas, where there are pre-built options to add a wait step, send a custom message, and add members to a segment.
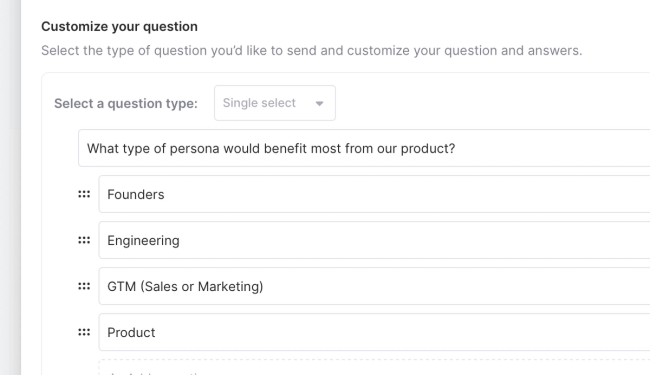
We want this survey to be multiple questions without any interruptions, so we’ll toggle these options off and add our follow-up question: what type of people do you think would benefit most from our product?
We’ll click + Add a survey question and return to the composer to add our next question.
And we can just repeat the same steps for any other questions we want to include, like how can we improve the product for you?
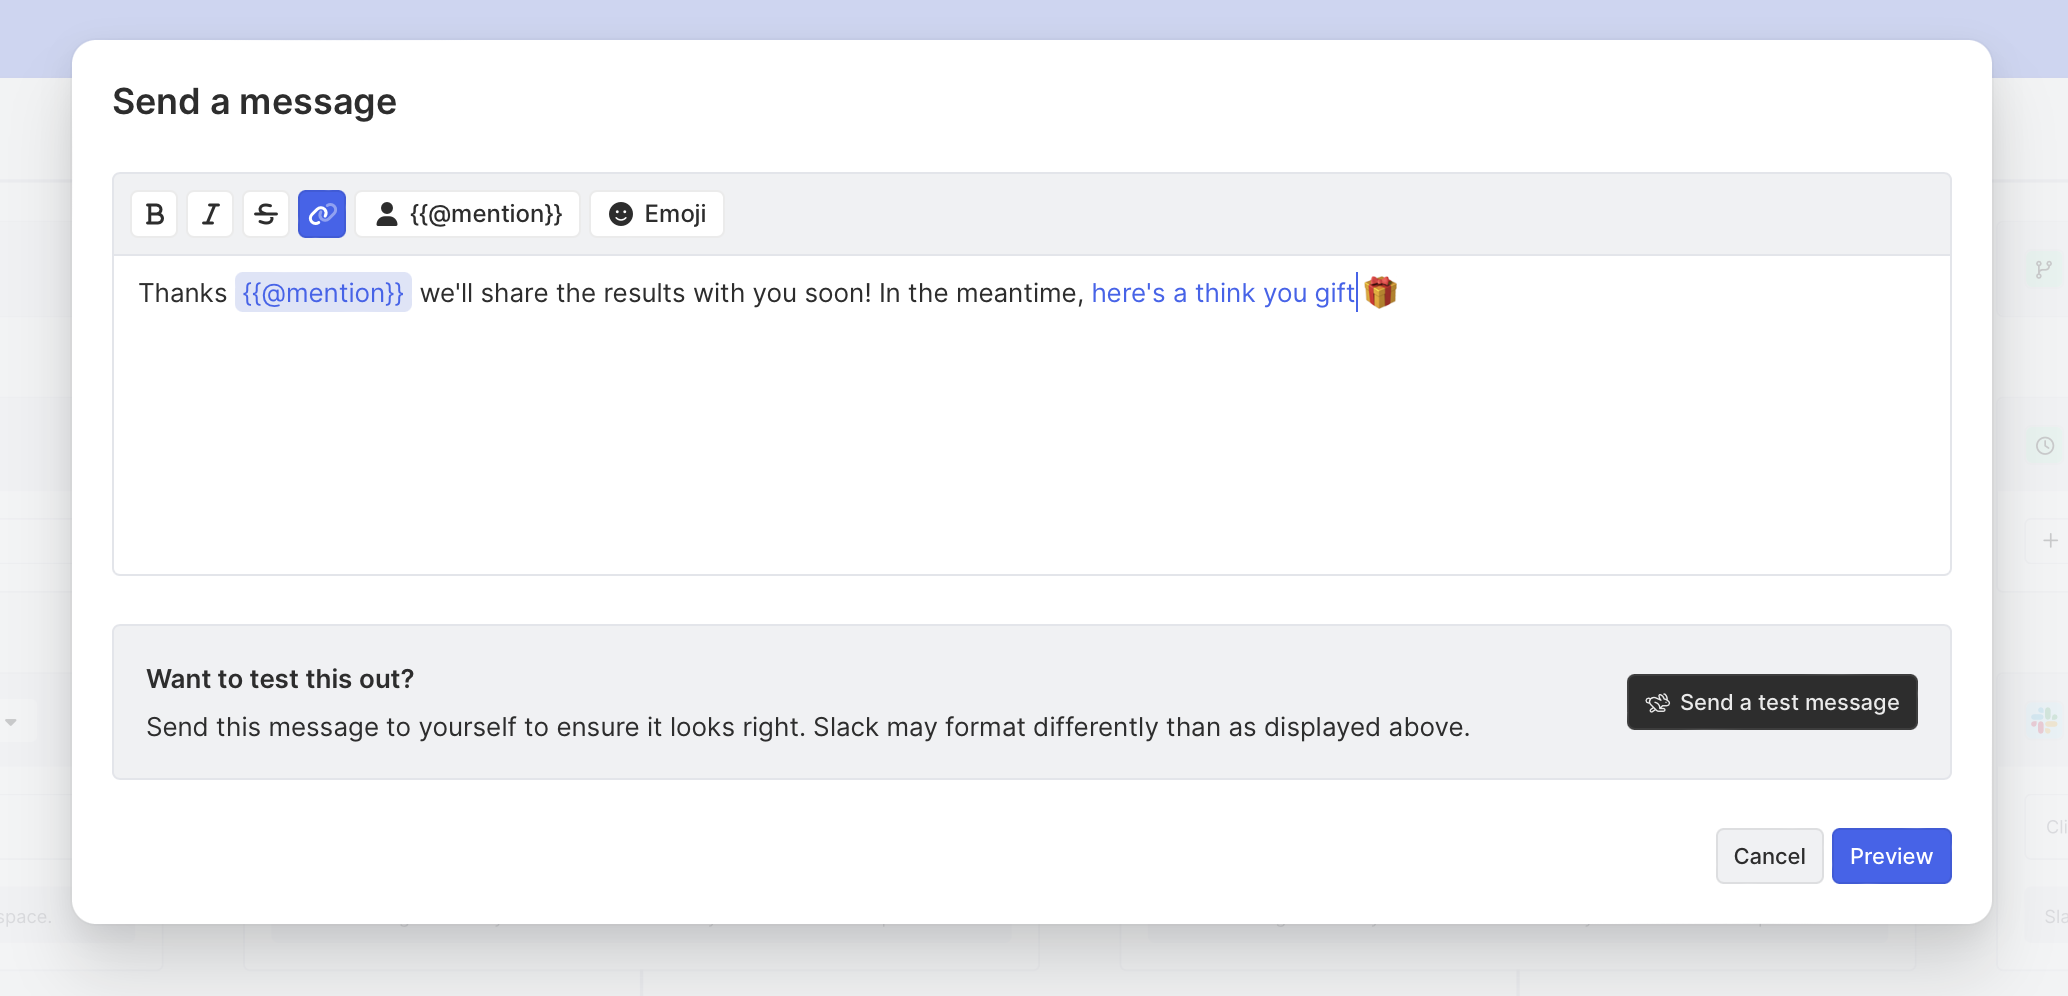
Once our questions are all input, we can add a confirmation message to indicate the survey is complete.
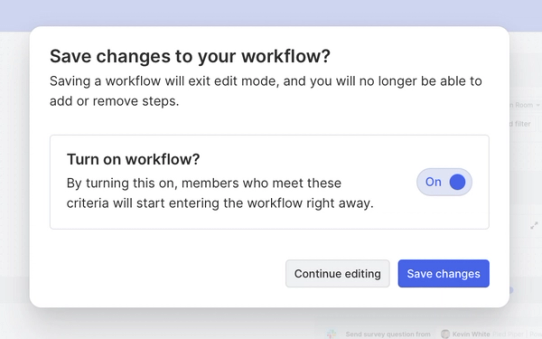
If our survey looks good, we can click Save in our canvas. This will prompt a modal to turn our workflow on. We can toggle the button, save changes, and our survey will be sent!
Step 5: Track survey responses
With our survey live, we can sit back for a bit and let the responses roll in.
When they do, you’ll be able to see them by clicking on the workflow item that was just created.
Here’s what that looks like:
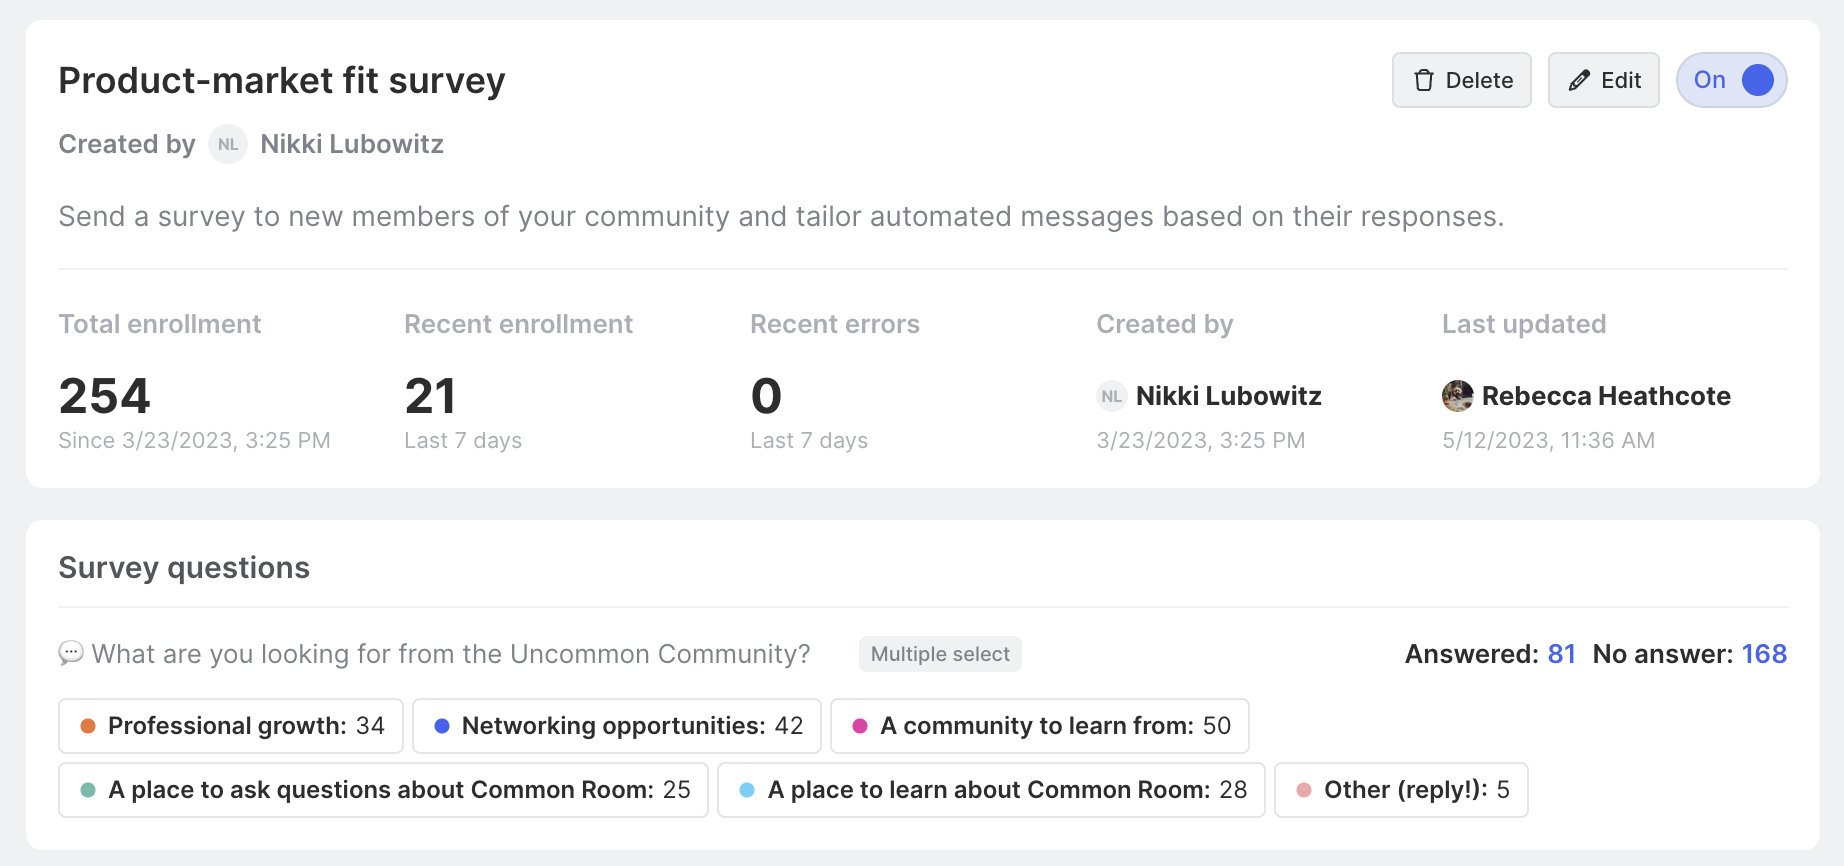
By clicking on any of the answers, we’ll be able to click on the answers and see the members who answered in any given way.
From here, we can send a follow-up message, add them to a segment, export their info, and more!
Wrapping up
If you’re using Slack for your community, sending surveys is just the start of what’s possible. With Common Room, you can do a lot more, like track stages of your community funnel, find VIP members hidden in your community, incentivize champions, and much more.
Try running this playbook yourself now. Request a demo or get some hands-on help from one of our experts.
We think you'd like these
Playbook
Find champions, influencers, and VIPs in your Slack community
Get a better pulse on your Slack community by adding firmographic data.
Playbook
Automated welcome messages to new community members on Slack and Discord
Community onboarding without the overhead.
Guide
The ultimate guide to Slack community management
From setting community goals to top features and best practices, here is everything you need to know about Slack community management.